
Introduction
Brevo (formerly Sendinblue) is a reliable and easy-to-use mailer option for GoSMTP. It can significantly improve email deliverability on your WordPress site. The setup process is straightforward, and you can use Brevo's free plan to send up to 300 emails per day without any credit card requirements. Using a domain-specific email is recommended for better reliability. Overall, Brevo is a recommended mailer with a strong focus on performance and ease of use.
To integrate Brevo effectively, you'll need an email address associated with your domain, which ensures better email deliverability and credibility. Avoid using generic email addresses like @gmail.com or @yahoo.com.
To integrate Brevo effectively, you'll need an email address associated with your domain, which ensures better email deliverability and credibility. Avoid using generic email addresses like @gmail.com or @yahoo.com.
Installing & Configuration with Sendinblue
To begin, make sure you have installed and activated the GoSMTP plugin.
After Installing GoSMTP, you can easily configure the plugin's settings. Just Go to GoSMTP » Settings in your WordPress dashboard and navigate to the SMTP Settings tab.
After Installing GoSMTP, you can easily configure the plugin's settings. Just Go to GoSMTP » Settings in your WordPress dashboard and navigate to the SMTP Settings tab.

To get started, follow these steps to configure the GO SMTP plugin in WordPress:
Basic configuration
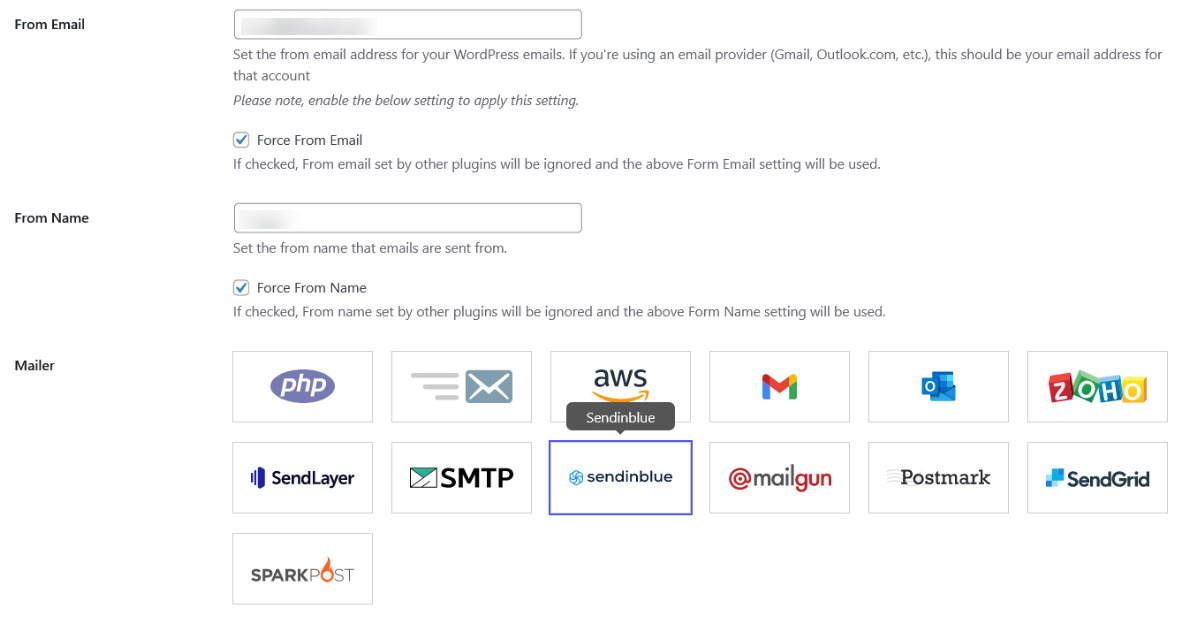
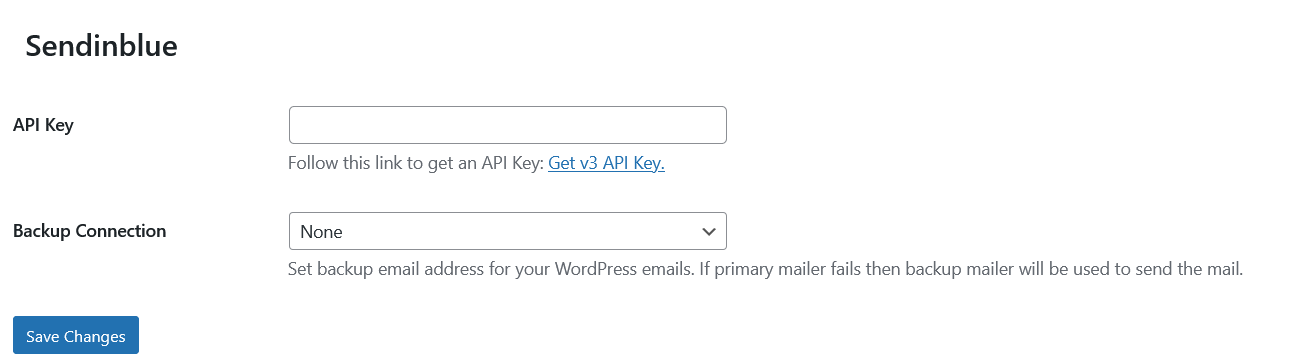
After choosing Sendinblue as the mailer in GoSMTP settings, you'll need to fill in two important fields: API key. Simply enter the required information from your Sendinblue account to complete the integration and enable smooth email delivery using Sendinblue's API.
To begin your journey with Brevo (formerly Sendinblue) and seamlessly integrate it with GoSMTP, you'll need to go through a simple yet essential setup process. Below, we'll guide you through each step, making sure you have a smooth experience from account creation to API setup:
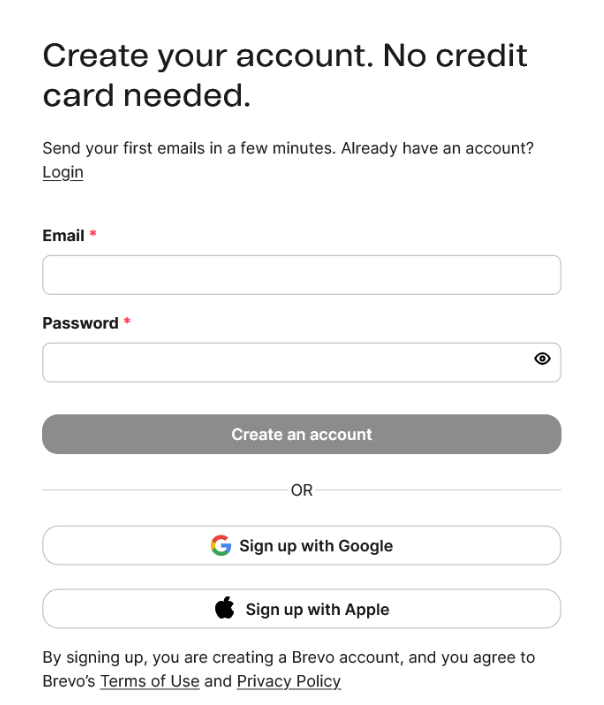
Visit the Brevo (formerly Sendinblue) website(brevo.com) and sign up for a new account.
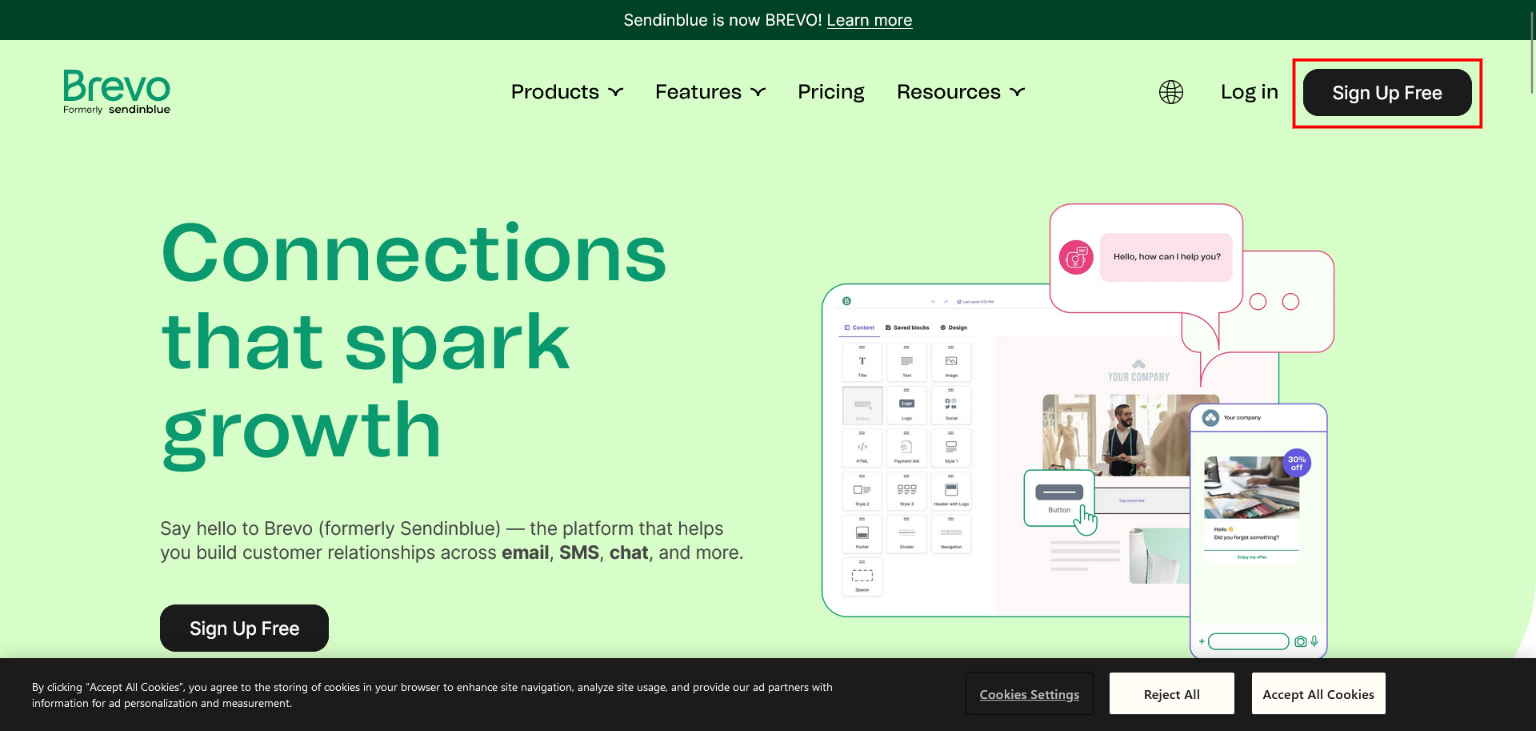
This will prompt you to sign up for a Brevo. The registration process is straightforward and doesn't require any credit card information.
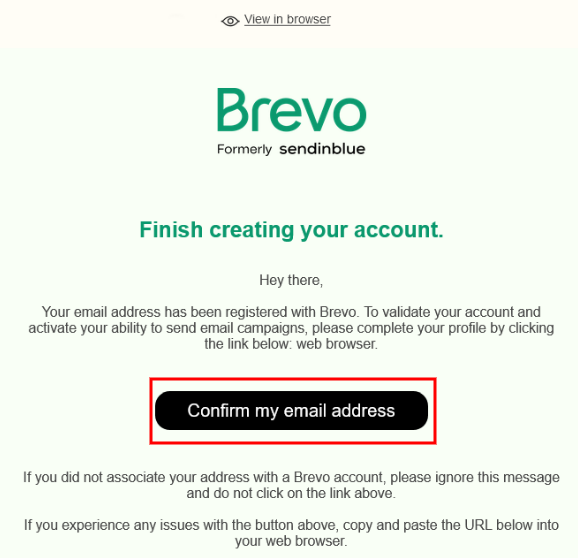
After signing up, check your email inbox for a verification email from Brevo. Click on the verification link provided in the email to confirm your email address and complete the registration process.
After clicking the verification link, you'll be redirected to your Brevo account.Start by entering your name and company name to personalize your account.
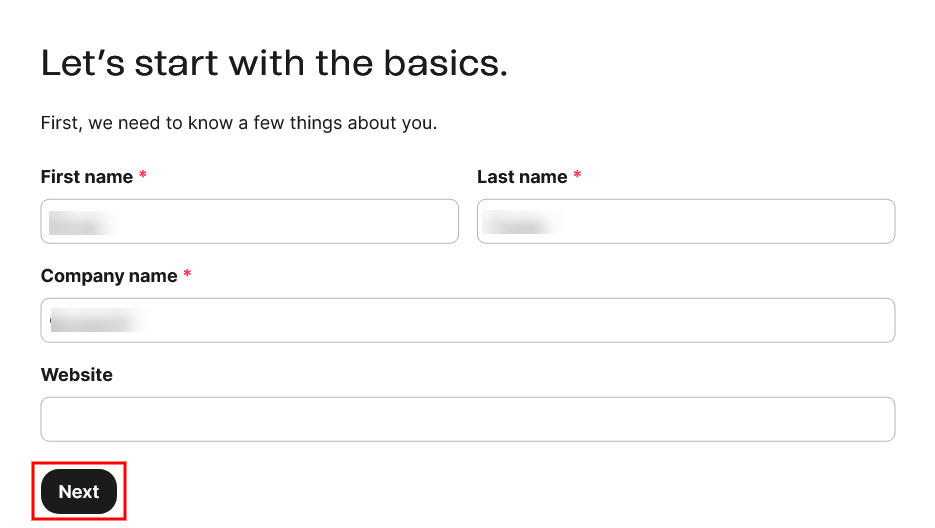
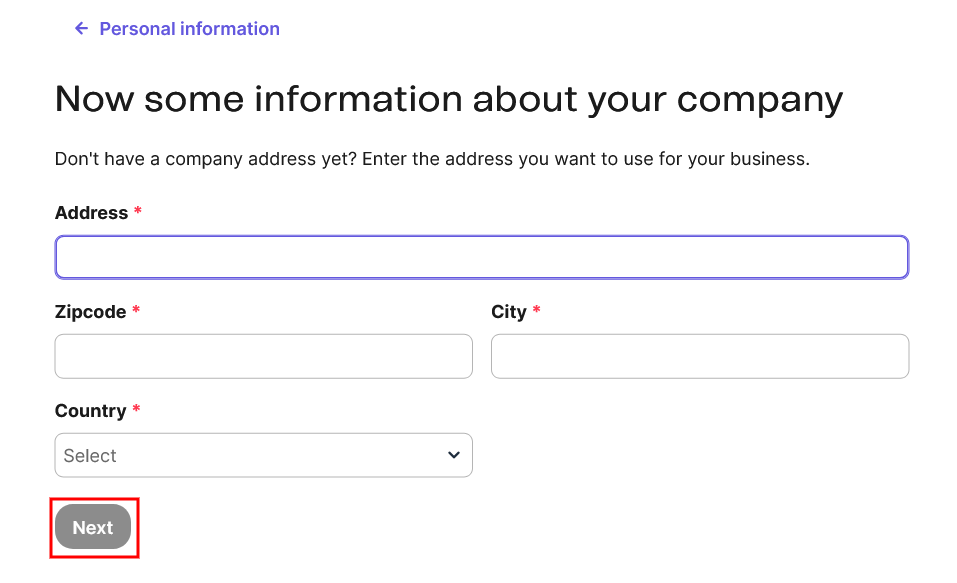
Next, fill in your company name and address to ensure accurate branding for your communications.
Brevo will ask for details about your company's size, the number of team members, and the size of your mailing list.
If you plan to sell products online, indicate that as well.
If you plan to sell products online, indicate that as well.
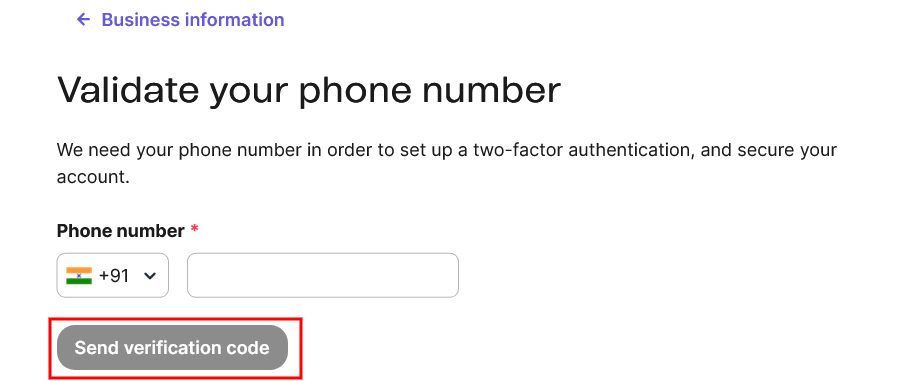
Add your phone number for contact purposes.
Click the "Save" button to proceed.
Click the "Save" button to proceed.
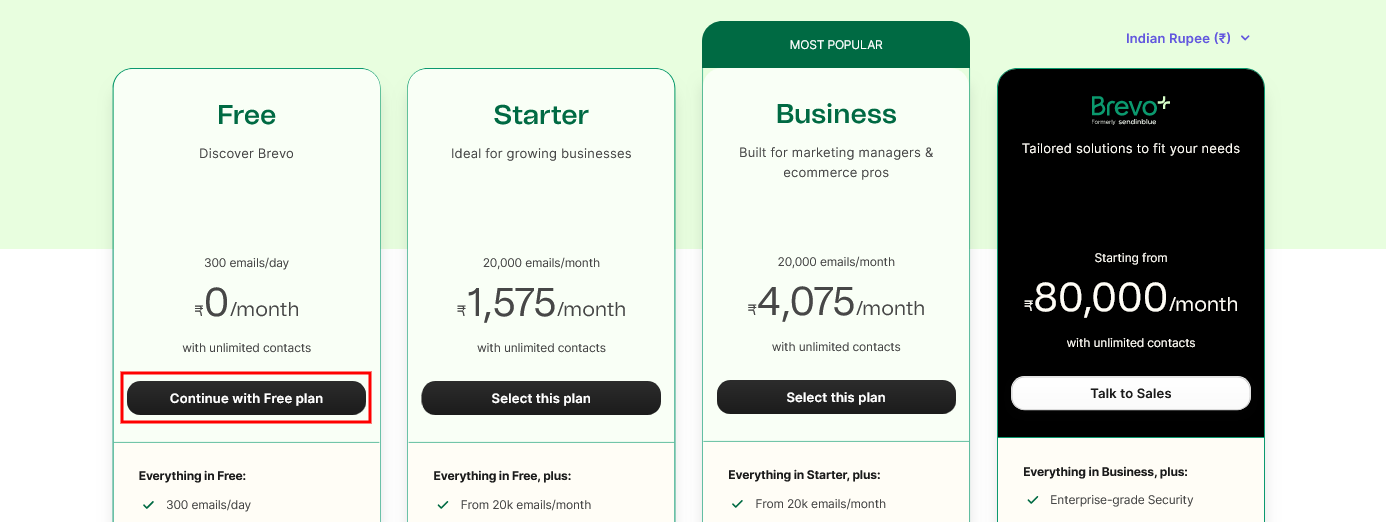
Now, you'll be presented with different plan options. For this guide, we'll use the Free plan, which offers excellent features without any financial commitment.
Select the plan that best suits your needs.
Select the plan that best suits your needs.
To ensure smooth email delivery and authentication, it's crucial to verify your domain in Brevo. This verification process involves adding specific DNS records to your domain settings. Don't worry; we'll guide you through the steps.
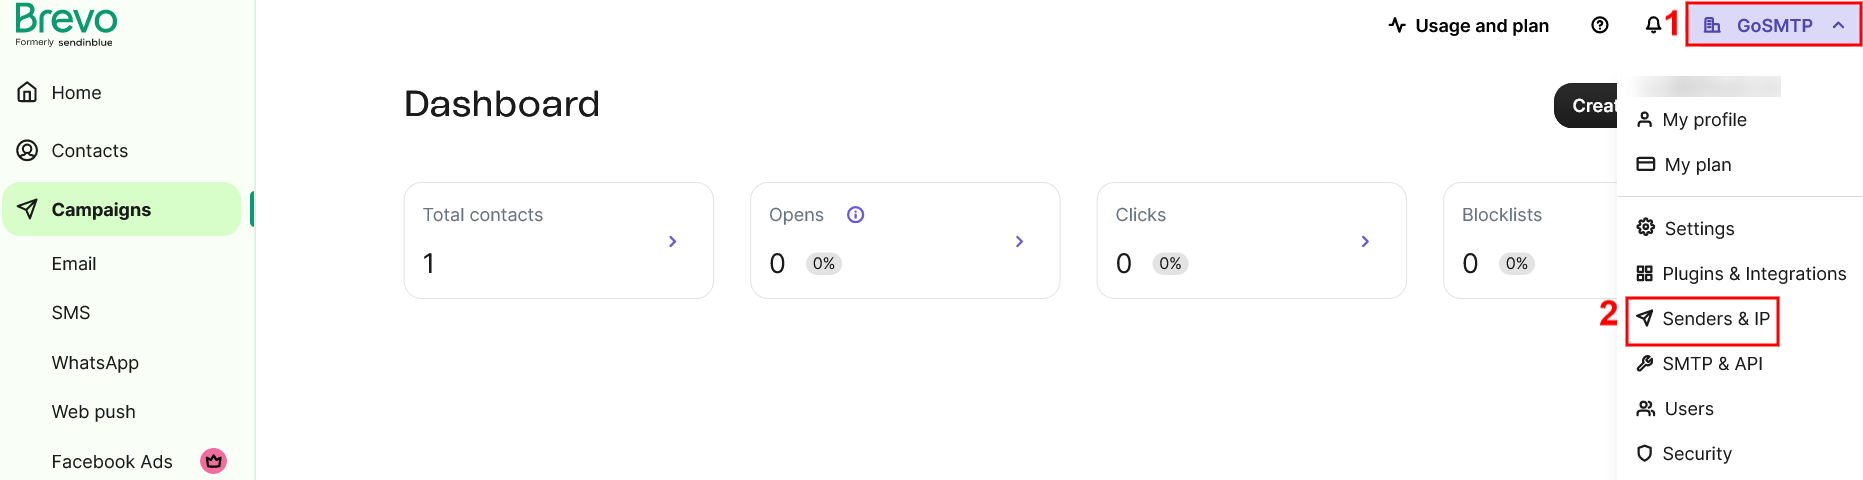
After logging into your Brevo account click on your profile located in the top right corner, navigate to the "Senders & IP" section.
After logging into your Brevo account click on your profile located in the top right corner, navigate to the "Senders & IP" section.
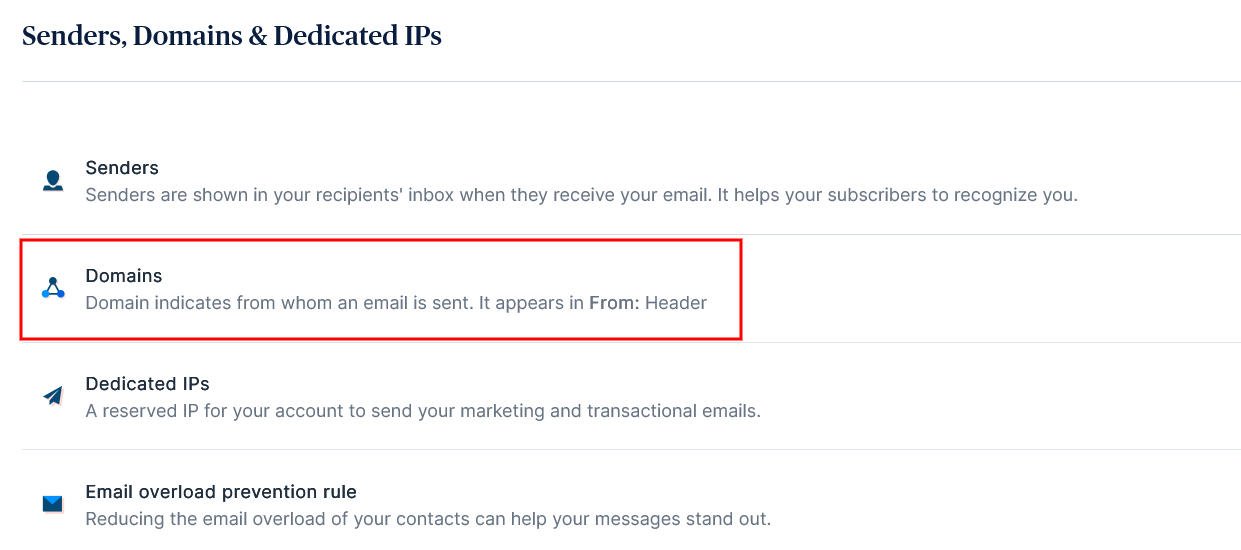
Click on "Domains."
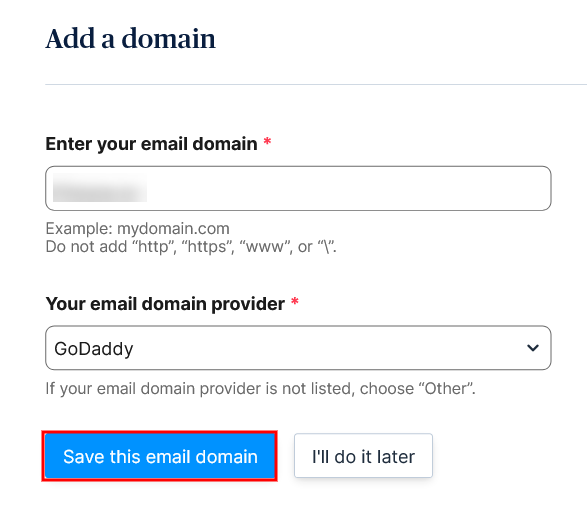
Click on "Add a domain."
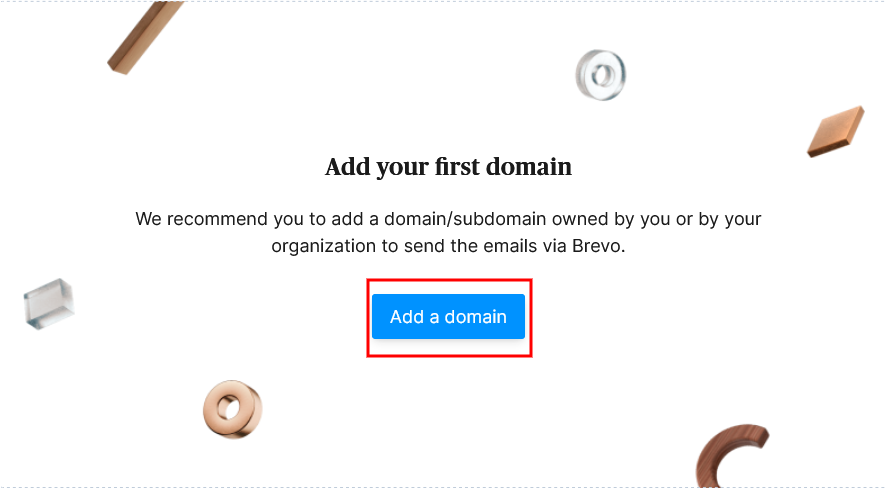
Add your website's domain name and select your domain provider after that save it to proceed further.
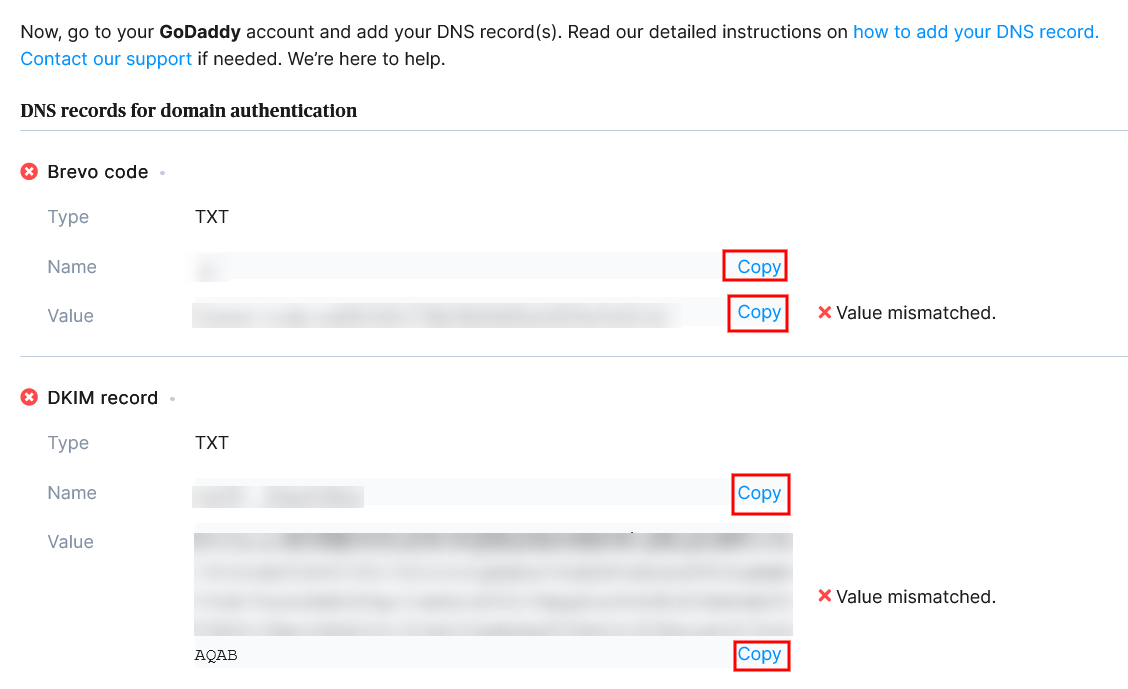
To authorize your domain successfully, Brevo requires you to add two TXT records to your website's DNS settings. These records play a significant role in ensuring reliable email delivery. Take your time to carefully copy the provided records from Brevo to avoid any errors.
After saving your email domain in Brevo, you'll be directed to a new page showing DNS records.
Open a new browser tab and log in to your domain's hosting provider account where you manage DNS settings. Look for an option to add a new record in your DNS settings. Add two TXT records provided by Brevo to authorize your domain. One record is for your domain itself (e.g., example.com), and the other is for DKIM verification (e.g., mail._domainkey.example.com). Copy the unique values from Brevo and paste them in the respective TXT record fields.
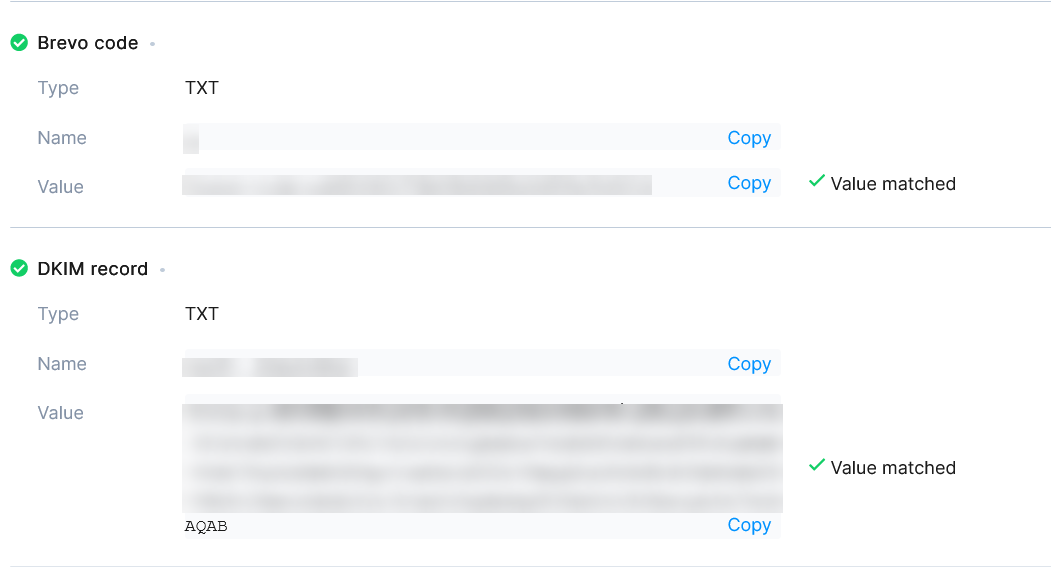
After adding the TXT records, it may take up to 24-48 hours for the changes to propagate. However, verification can sometimes happen faster, so you can try clicking the Check configuration button in Brevo for a quick test.

Once verified, Brevo will show a green "Value Matched" status next to the records.
While waiting for verification, you can proceed to the next steps. Keep the tab or window open to complete the setup successfully. By following these steps, you'll authorize your domain and ensure smooth email delivery with Brevo.
While waiting for verification, you can proceed to the next steps. Keep the tab or window open to complete the setup successfully. By following these steps, you'll authorize your domain and ensure smooth email delivery with Brevo.
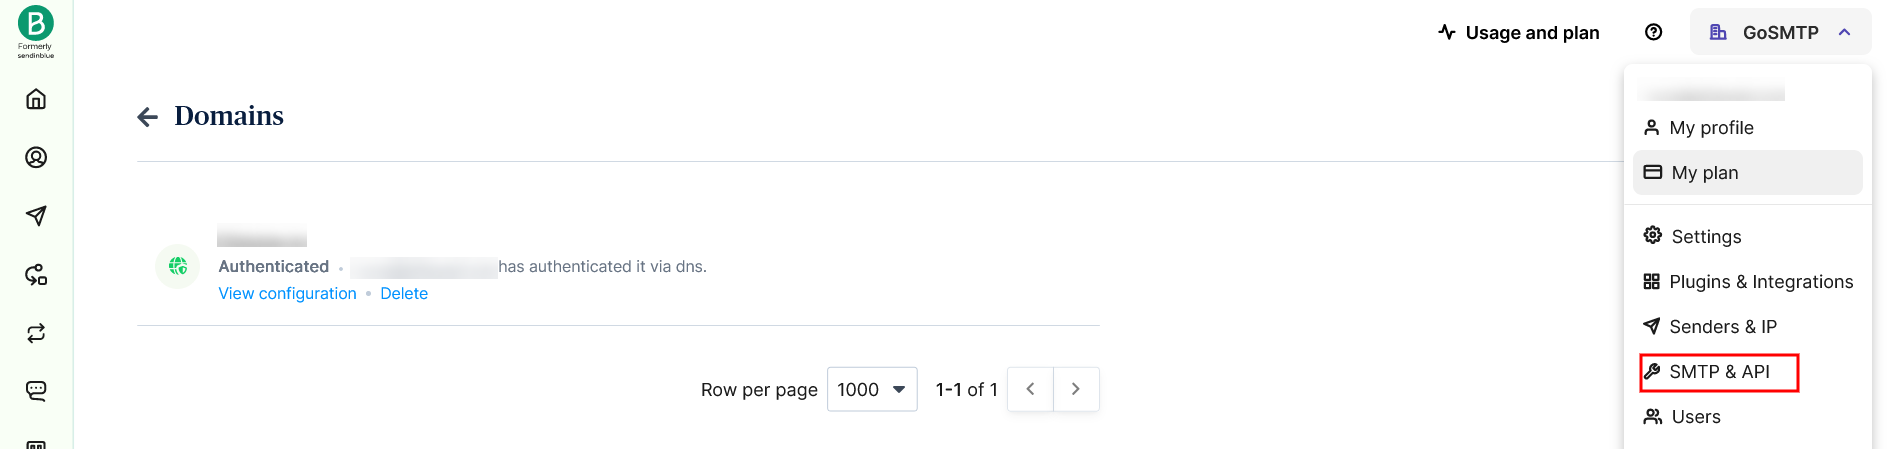
To connect Brevo with GoSMTP, you'll need to generate an API key. In your Brevo account, click on your profile in the top right corner and select "SMTP & API."
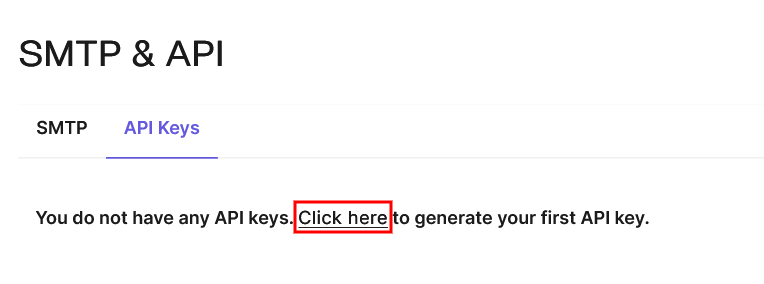
Navigate to the "API Keys" section and click "Click here" to generate your first API key to create a v3 API key.
Name your API key and click "Generate" to create it.

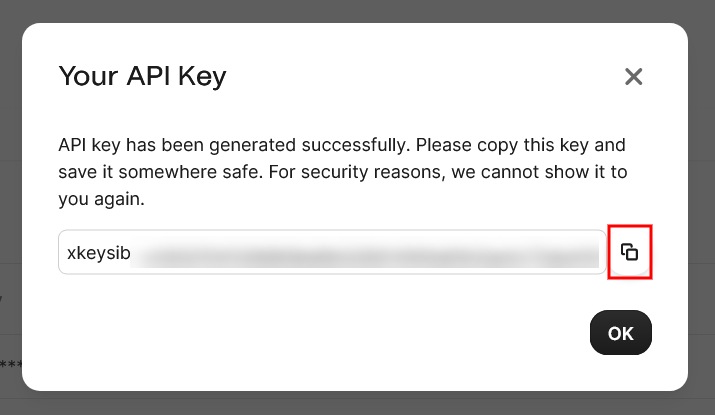
Copy the generated API key and save it in a secure location as you won't be able to view it again.
Mailer configuration
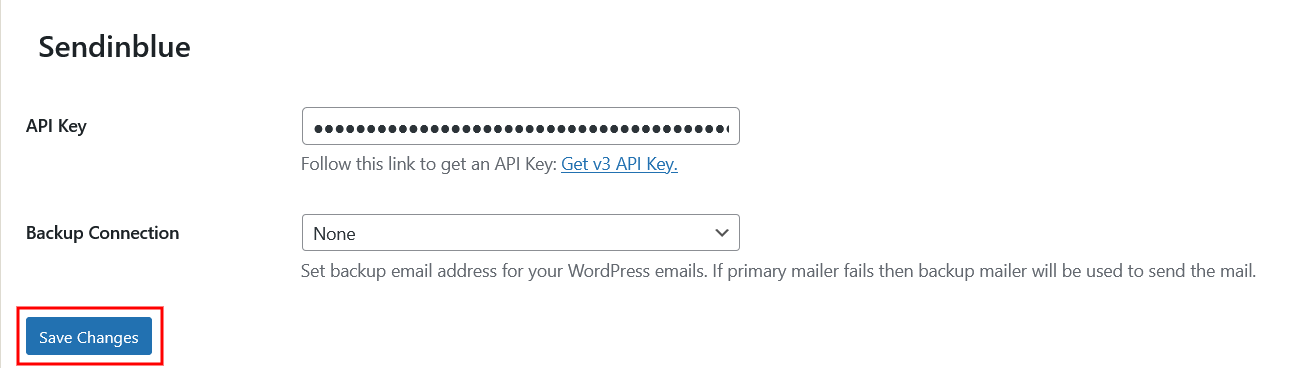
In your WordPress dashboard, go to GoSMTP settings. Enter the Brevo API key copied earlier. Save the settings to apply the changes.
Following these steps will integrate Brevo with GoSMTP, enhancing your email deliverability. Brevo's reliability and feature-rich free plan make it an excellent choice for many users. For any assistance or questions, feel free to reach out to Brevo's support team. Happy emailing!
Send test Mail
After successfully configuring the mail settings, it's time to test your email functionality. Send a test email to verify whether it will be delivered successfully or encounter any issues. This test will determine whether your mail setup is functioning properly.
Freqently Asked Question
Yes, Brevo offers a free plan that allows you to send up to 300 emails per day. This plan is suitable for small businesses and personal websites.
Yes, using a domain-specific email (e.g., info@example.com) is recommended for better email deliverability and reliability with Brevo.
Domain verification can take up to 24-48 hours as DNS records need time to propagate. However, in some cases, verification may happen more quickly.