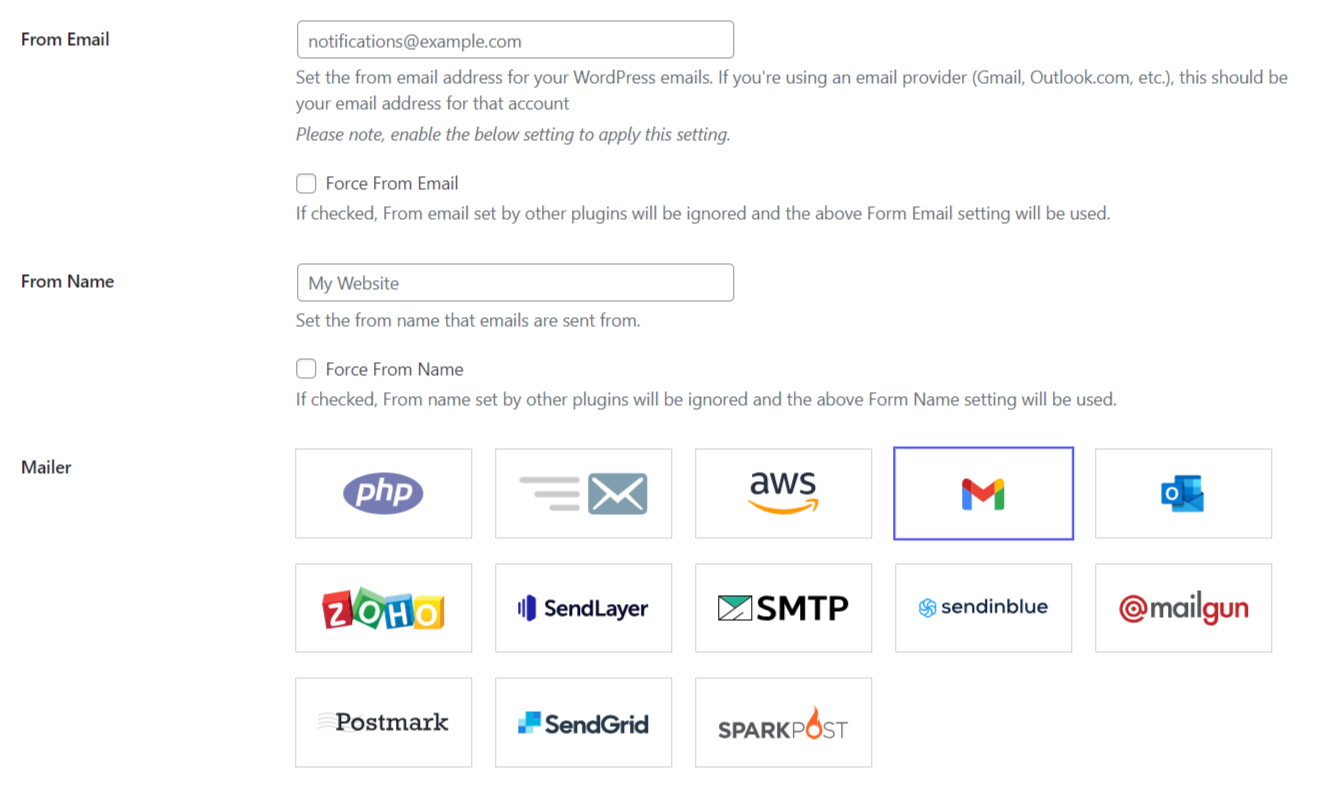
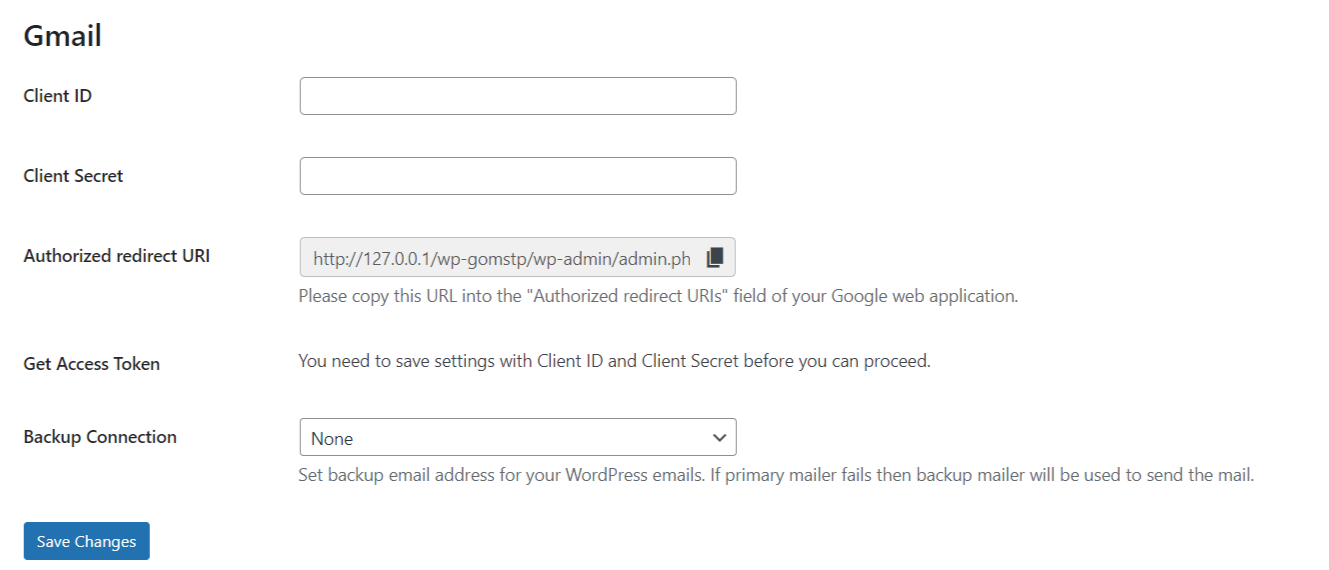
To obtain the necessary information for these fields, you'll need to create a web application using your Google account. Don't worry, no coding is required, and we'll guide you through the process in the next step.
Keep in mind that you'll return to the GoSMTP settings page later on, so in the next step, open a new tab or window in your browser.
Obtain Google Cloud Application Client ID & Client Secret
Here's a step-by-step guide on how to obtain the Client ID and Client Secret key from Google Workspace Gmail:
-
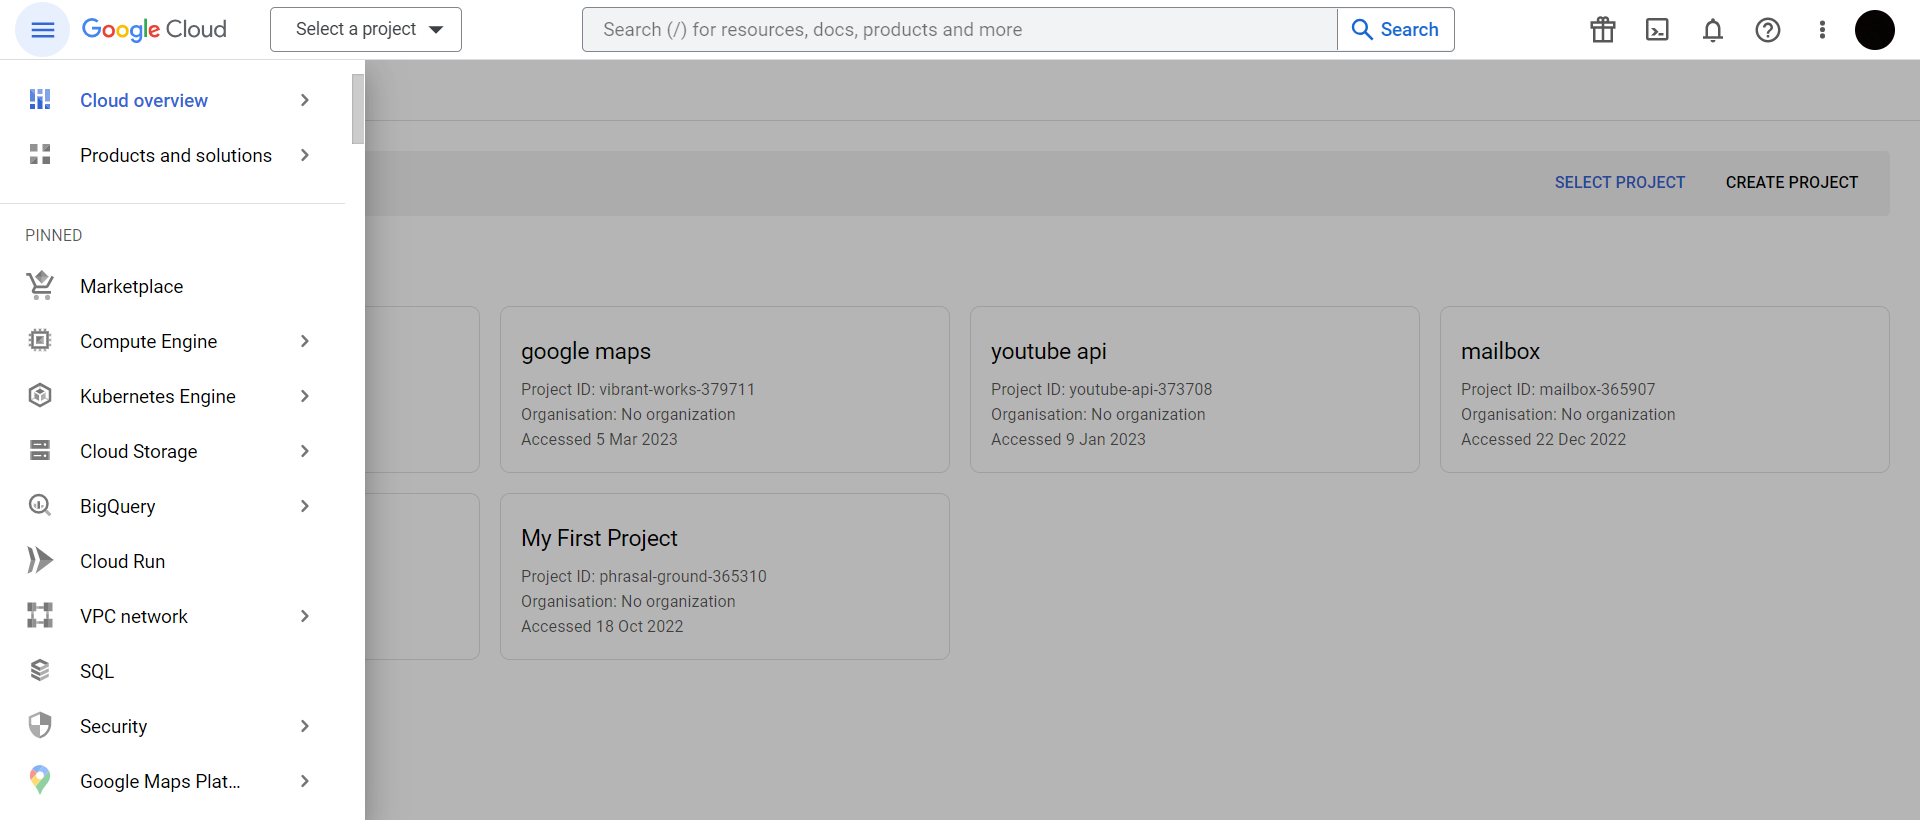
Navigate to the Google Cloud Platform Project
Go to the Google Cloud Console: Visit the Google Cloud Console at
console.cloud.google.com.
If you don't have a project already, create a new one by clicking on the project drop-down menu at the top and selecting "New Project."
Give your project a name and click "Create."
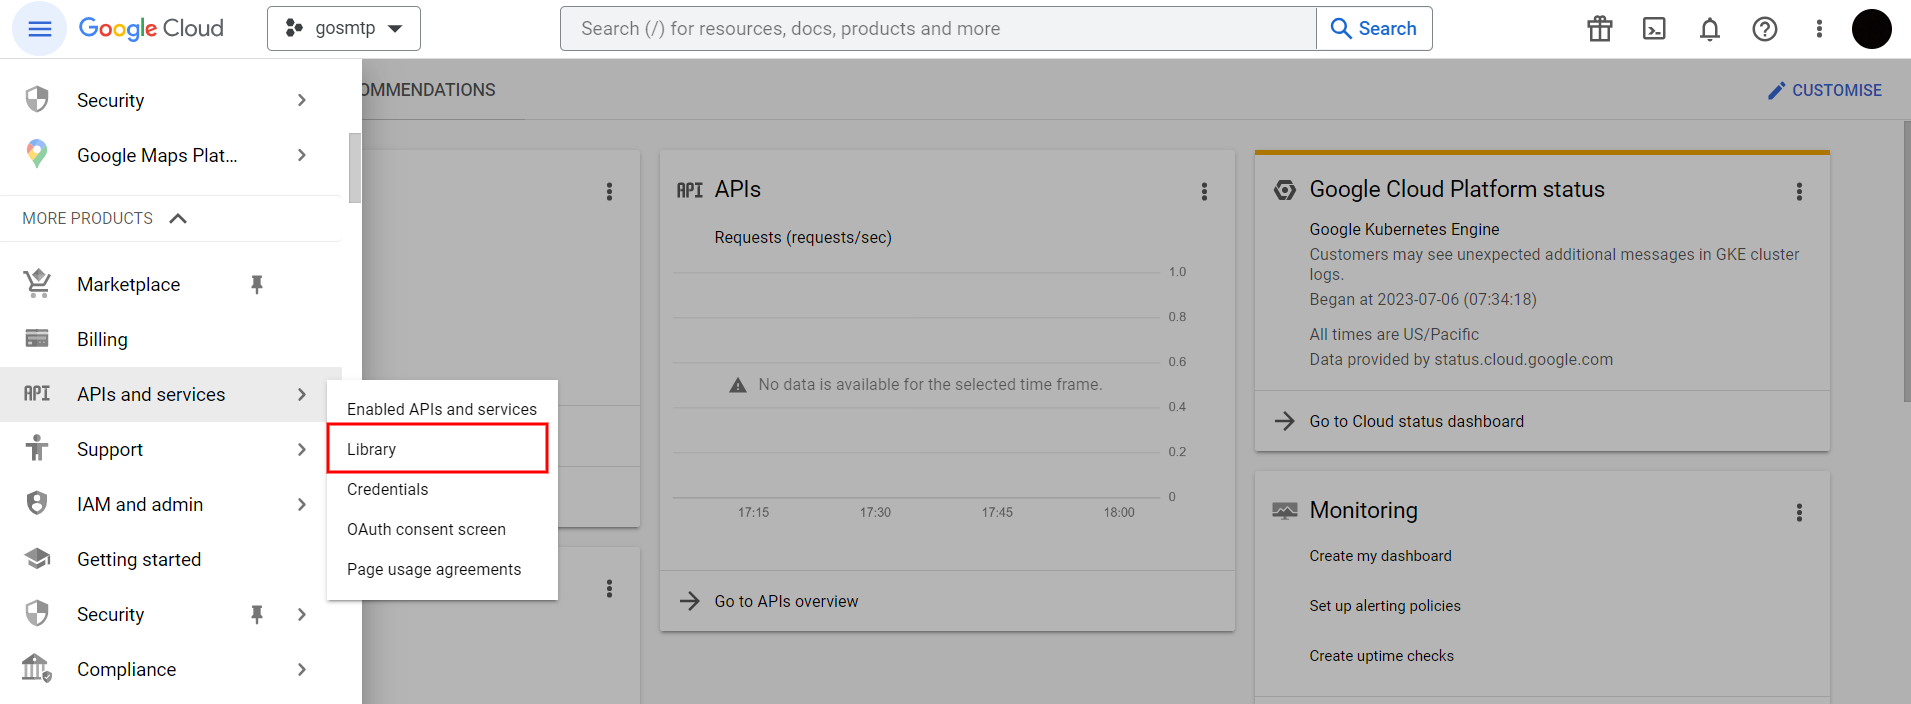
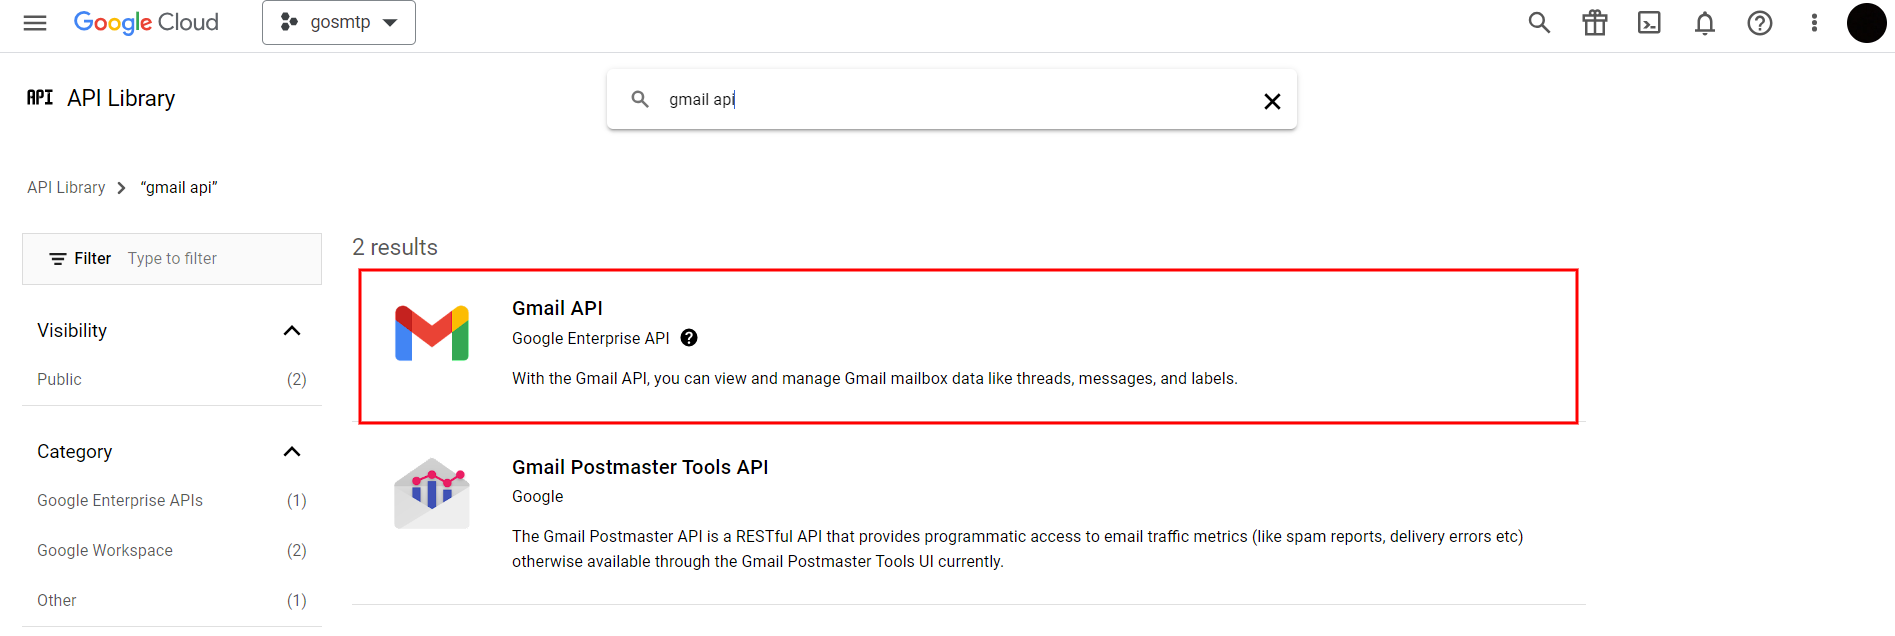
In the left navigation menu, click on "APIs & Services" and then select "Library."
Search for "Gmail API" and click on it.
On the Gmail API page, click the "Enable" button.
-
Configuring Your OAuth Consent Screen
Enabling the Gmail API is a quick process that only takes a few seconds. Once enabled, you will be redirected to the Gmail API Dashboard. Next, click on "Credentials" in the left navigation menu under "APIs & Services." On the Credentials page, click on the "+ Create Credentials" button and select "OAuth client ID" from the drop-down menu.
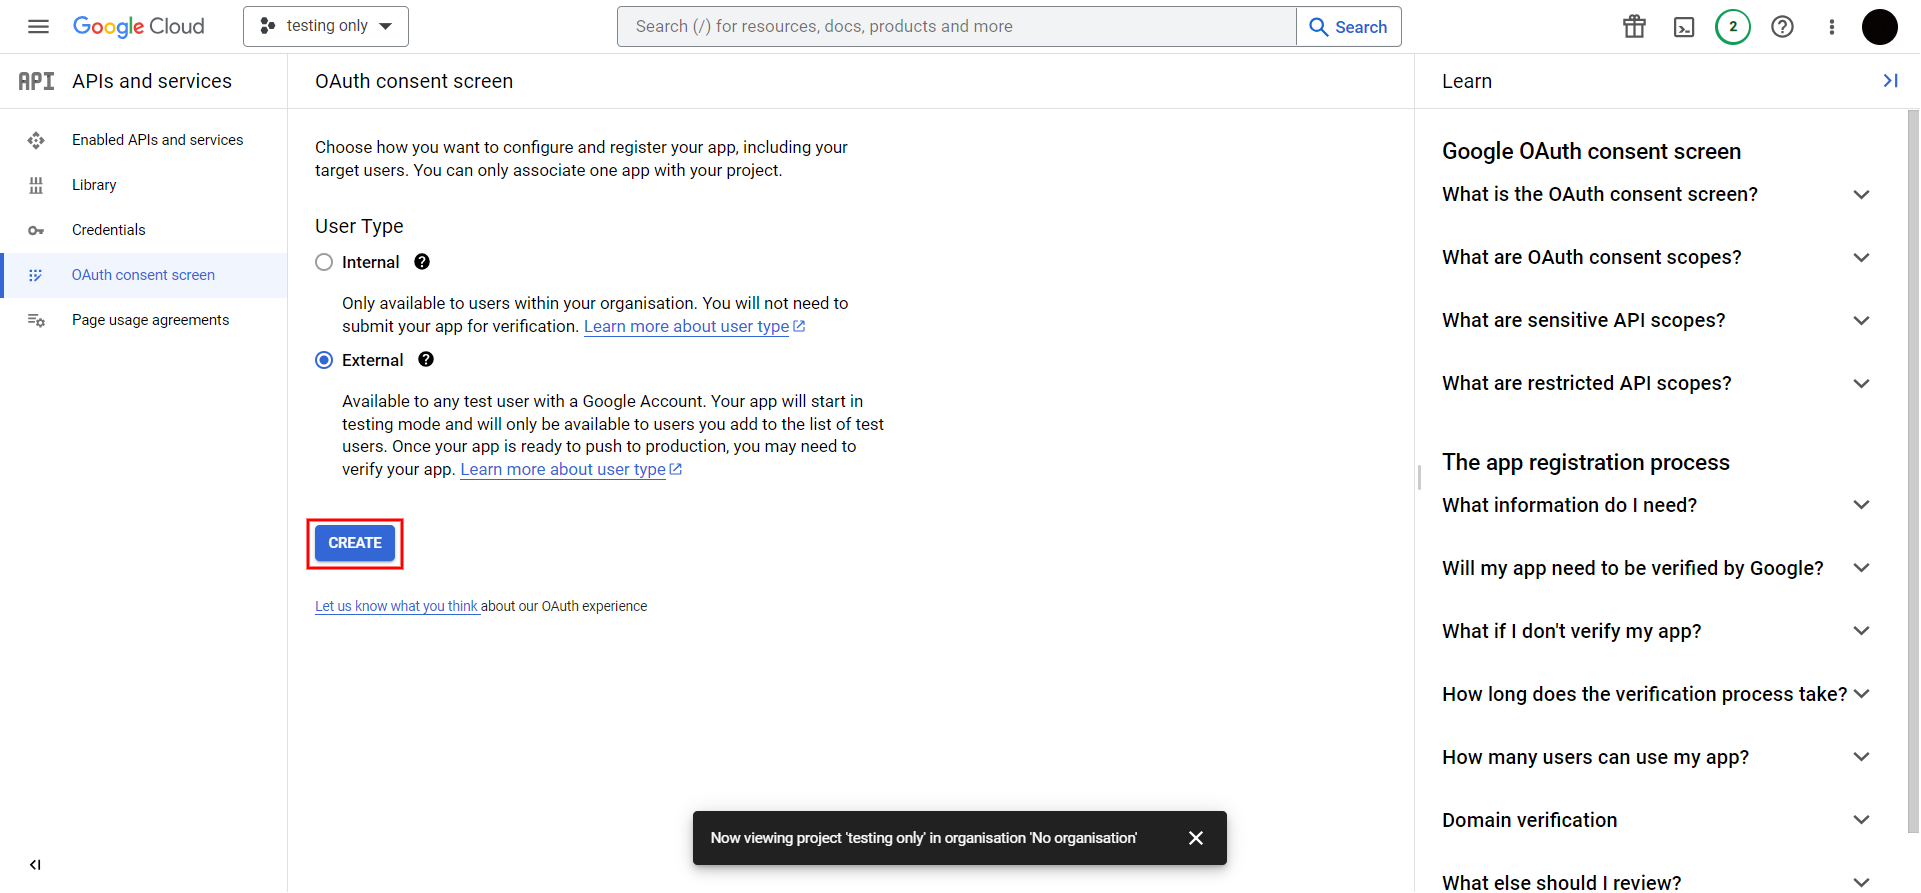
If the Consent screen is not configured, you will see a "Configure Consent Screen" button. Simply click on it.
You will now be redirected to the OAuth consent screen page. If you don't want your credentials to be used by anyone, you can select the "External" option on the Google Consent Screen. This ensures that your credentials are not accessible to others and helps maintain the security of your application.
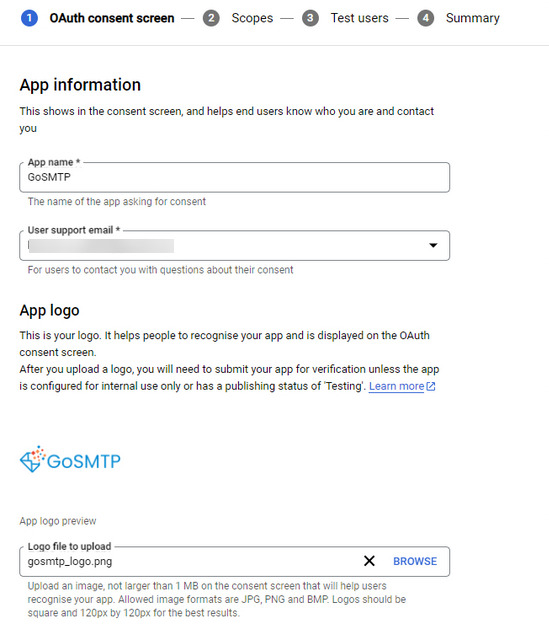
For the OAuth Consent Screen, provide the following information:
App Name: Name for the App.
User support email: Support email address.
App logo: If you have an app logo, you can upload it here.
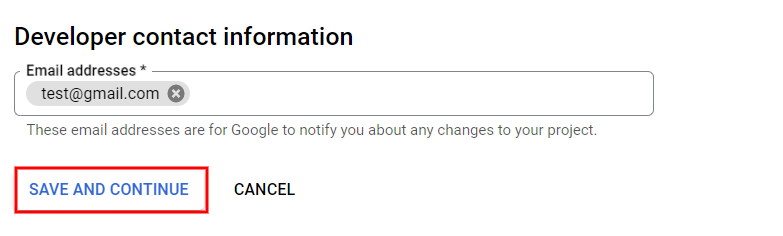
Developer contact information: Developer's contact email.
These email addresses will be used as the Email Address for delivering emails from WordPress using the GoSMTP plugin. After entering the required information, click on "Save and Continue."
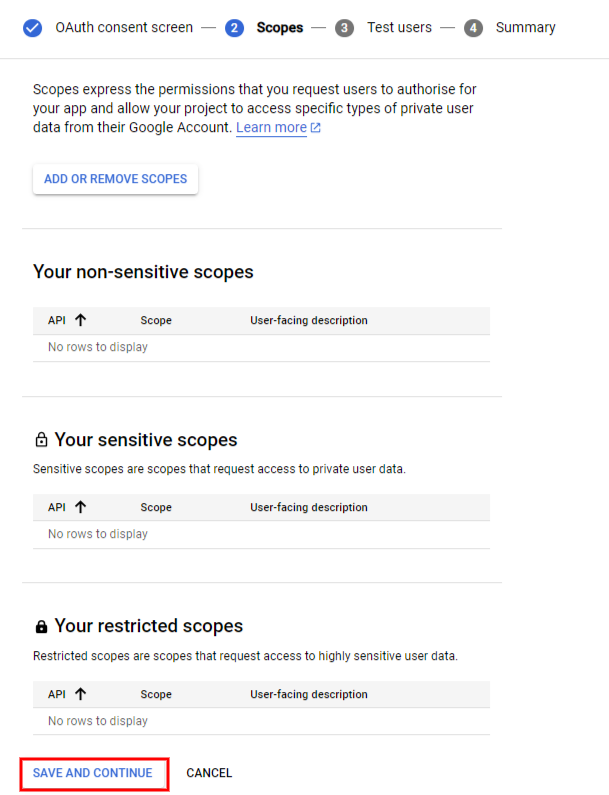
For GOSMTP, there is no need to make any changes to the SCOPES options. However, if you have specific requirements, you have the flexibility to configure them accordingly and click on "Save and Continue".
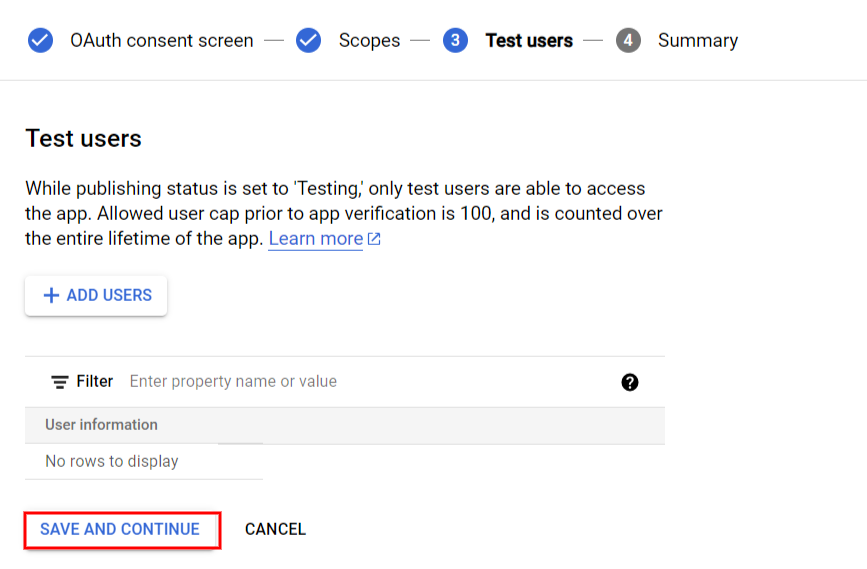
If you want to create a test user, you can easily do so on the OAuth consent screen page. Simply click on the "Add User" button and then click "Save and Continue." otherwise no need to create user just click "Save and Continue." This allows you to include a test user for your application's consent screen.
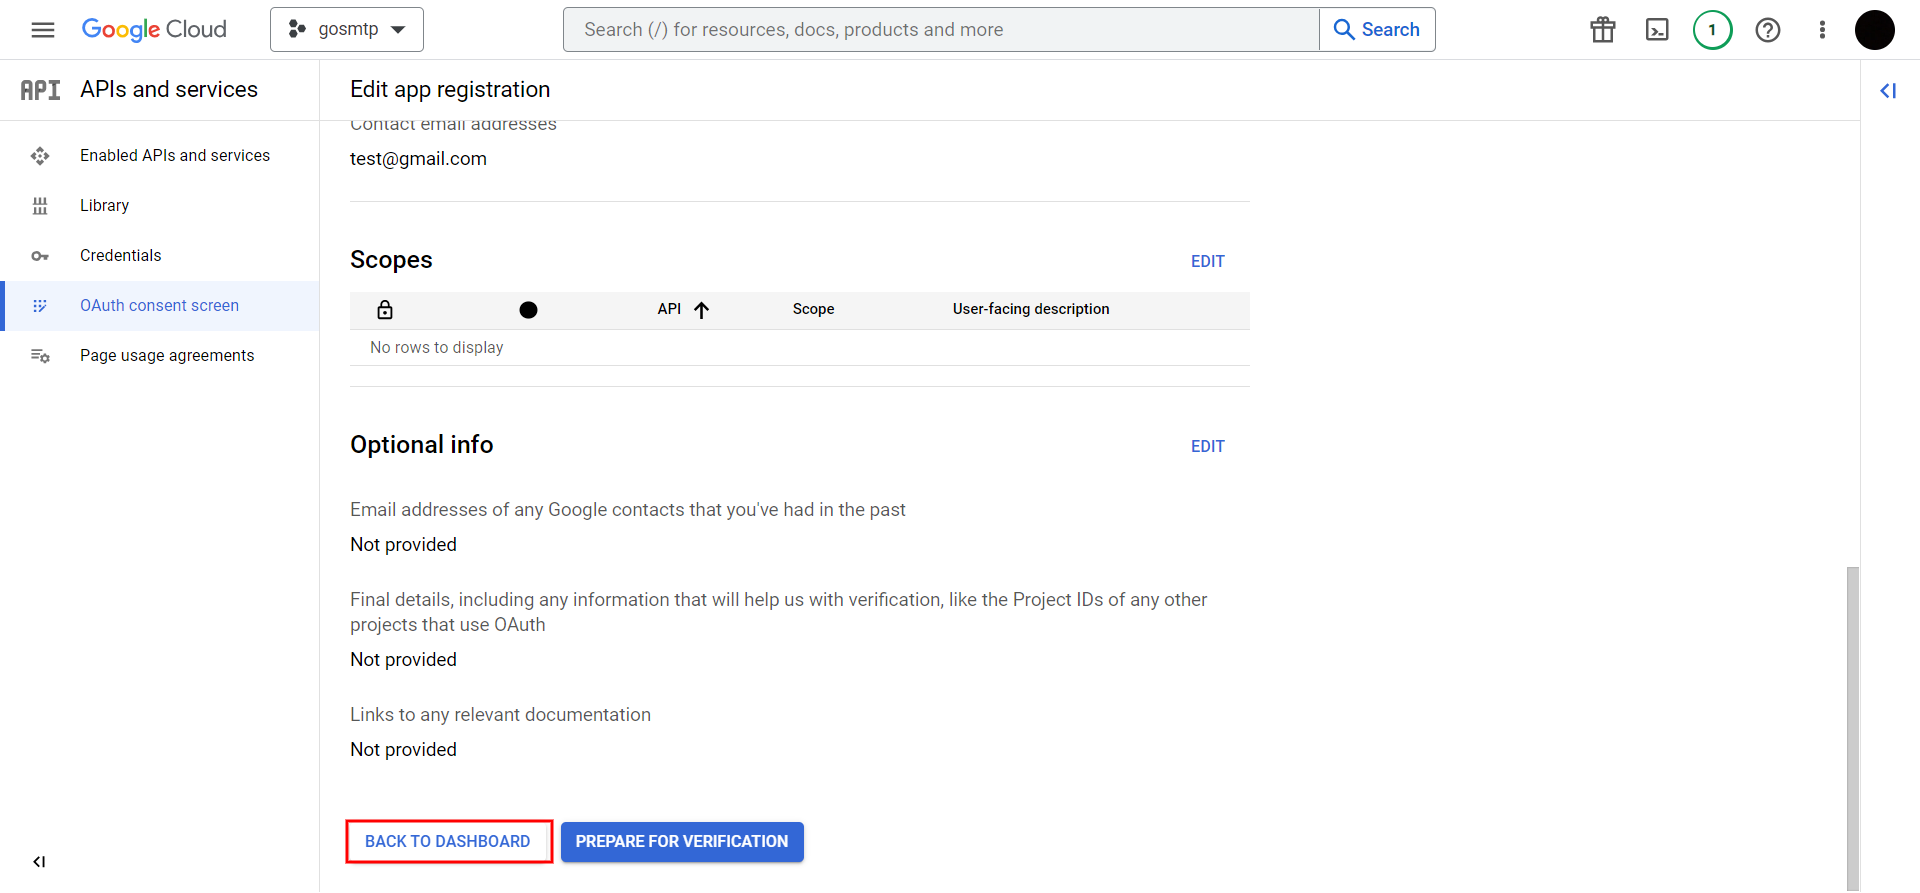
After filling in the information on the OAuth consent screen, you will see a summary of the details you provided. To return to the dashboard, simply click the "Back to Dashboard" button. This will take you back to the main dashboard where you can continue with the next steps.
-
Setting Up Your OAuth Client ID
Now again click on "Credentials" in the left navigation menu under "APIs & Services." On the Credentials page, click on the "+ Create Credentials" button and select "OAuth client ID" from the drop-down menu.
Now you will see OAuth client ID page, For the OAuth client ID, provide the following information:
Application Type: Select "Web application" as the application type.
Name: Enter a name for your OAuth client ID in the "Name" field. This can be any descriptive name that helps you identify the purpose of the credentials.
Authorised JavaScript origins (You can skip the Authorized JavaScript origins section): Configure authorized JavaScript origins: In the "Authorized JavaScript origins" section, you need to specify the URLs that are allowed to make requests to your Gmail API. Enter the URL of your website or application in this field. If you are testing the API locally, you can enter "http://localhost:YOUR_PORT_NUMBER" as the origin.
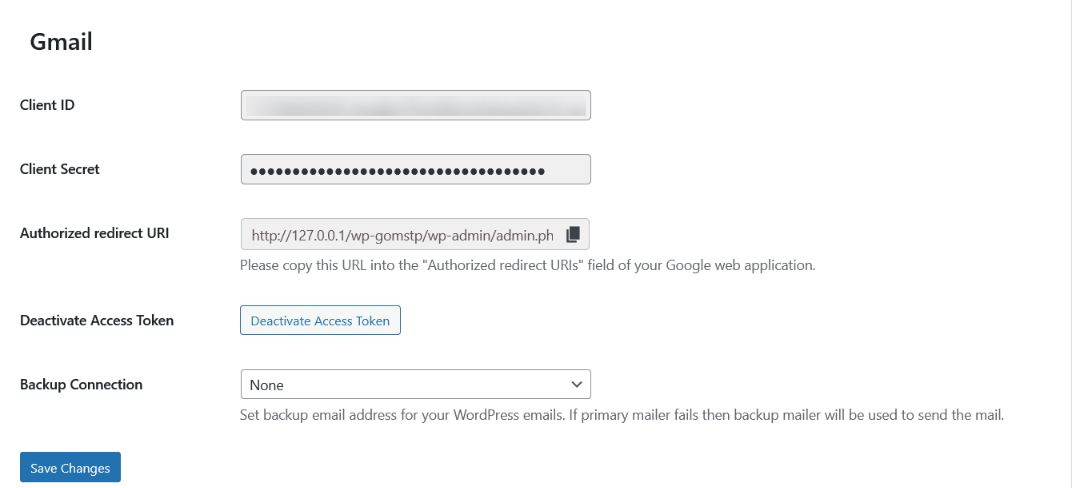
Authorised Redirect URL: To add a Redirect URL, click on the "+ ADD URI" button. Copy the Redirect URL from your GoSMTP SMTP settings and paste it in the provided field and click on "Create".
Next, you'll receive a Client ID and Client Secret as credentials. You can choose to skip copying them or I can copy them for you. Simply click "OK" since we have already created the credentials for GoSMTP, which we will collect later in this tutorial.
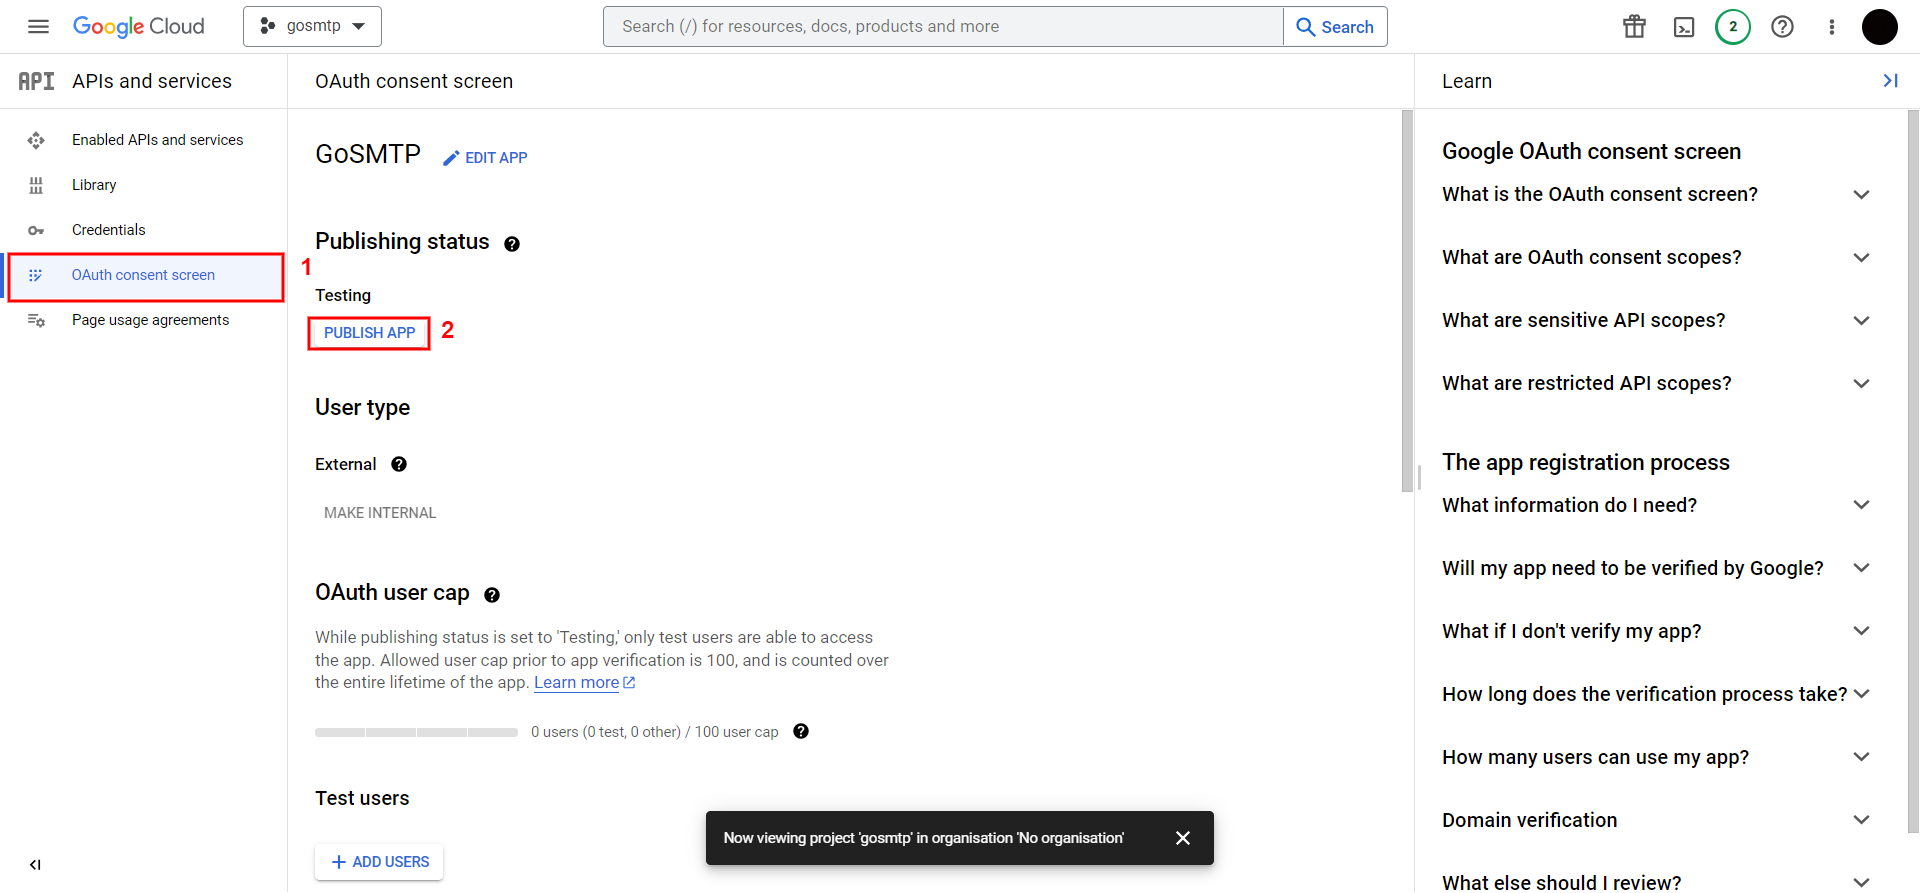
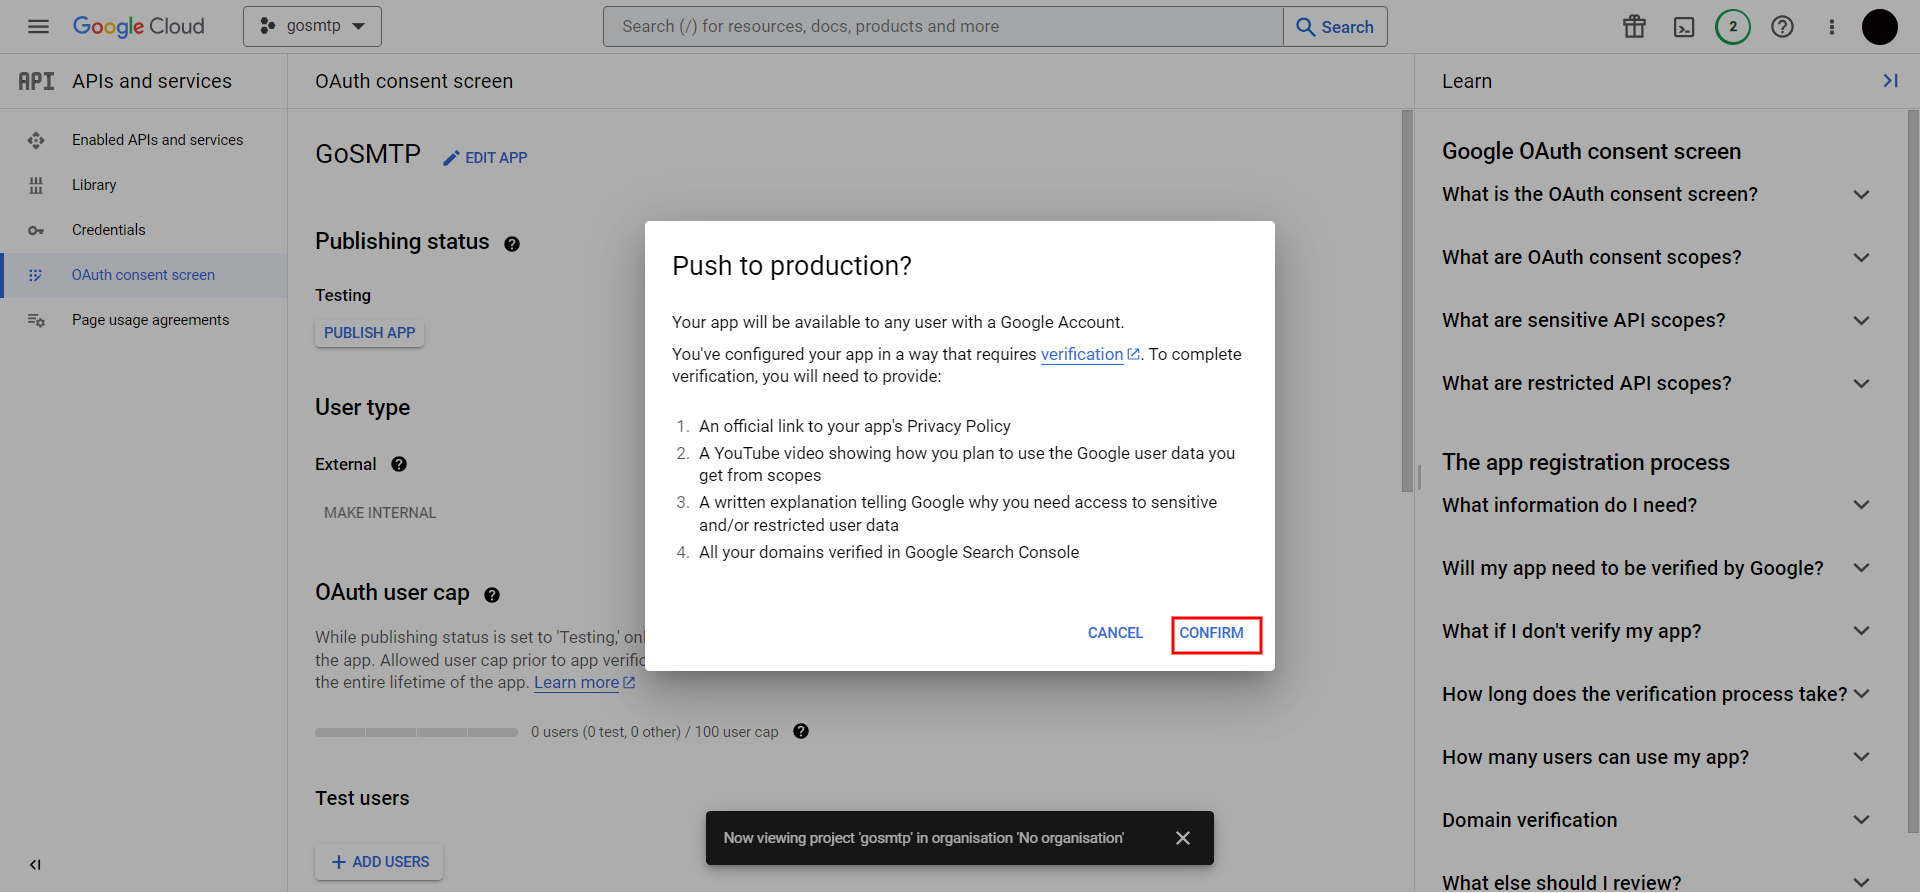
To publish the app you have created, go to the OAuth Consent Screen section in the left sidebar. You will find your GOSMTP app listed there. Click on "PUBLISH APP" located under the Testing section.
To collect the required credentials, go to the Credentials section in the left sidebar. Look for the Project Name you created, which is "GOSMTP," and click on the Edit icon located on the right side.
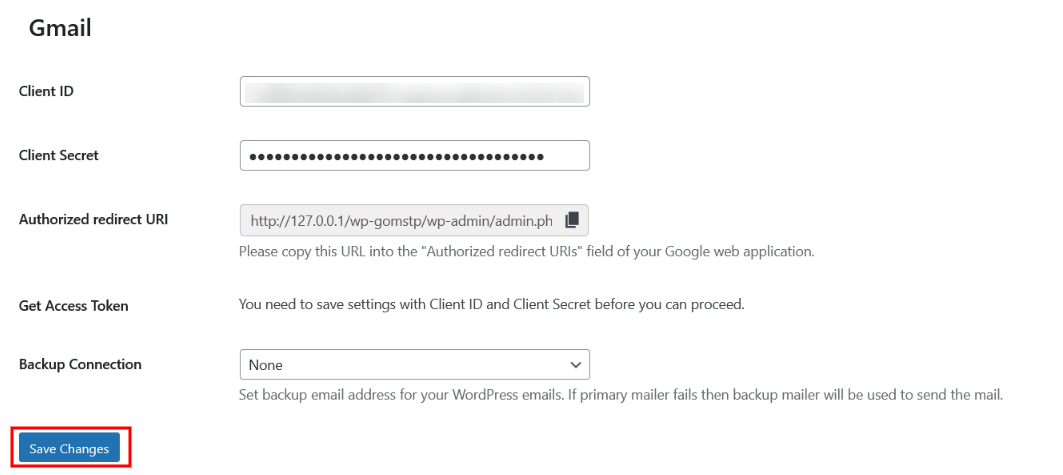
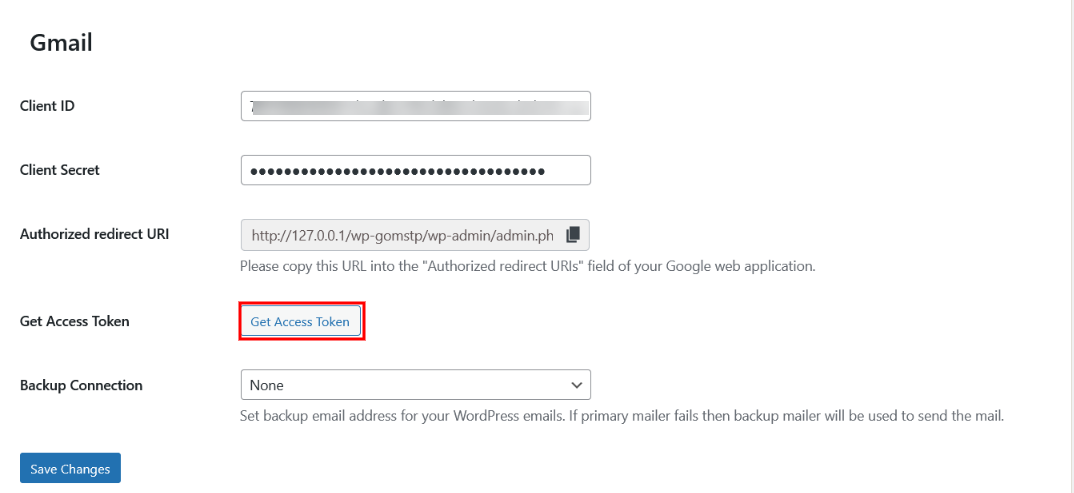
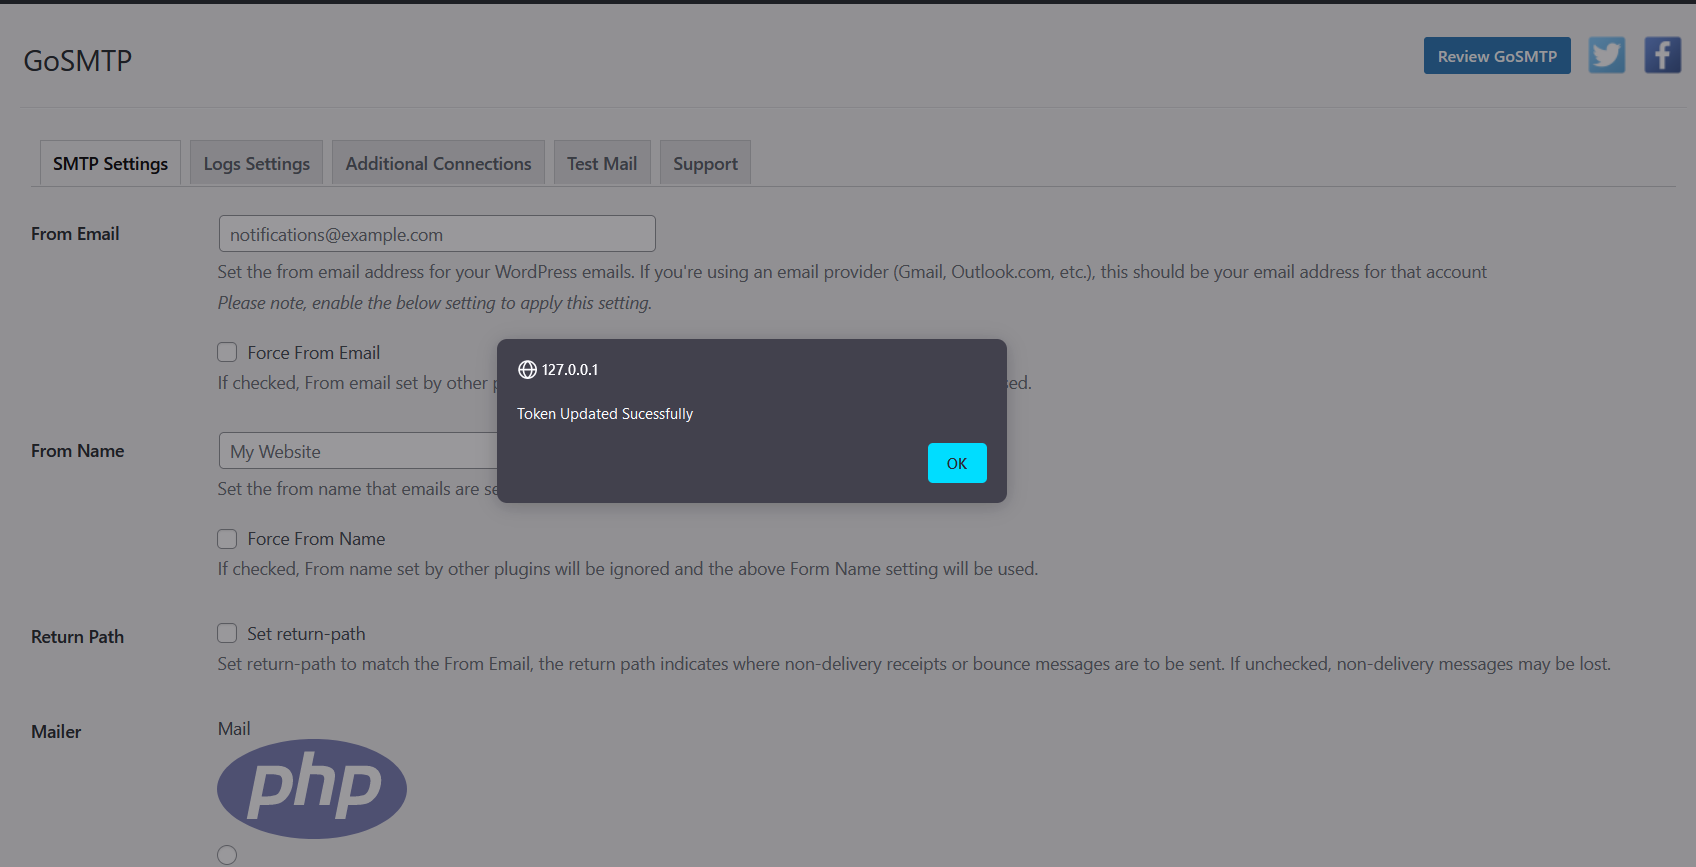
On the right side, you will find the Client ID and Client Secret displayed. Simply copy these two values and paste them into the GOSMTP SMTP settings in the upcoming steps.