
Introduction
Sendlayer is a powerful and user-friendly email delivery service that allows you to send transactional and marketing emails with ease. By integrating Sendlayer with GoSMTP, you can significantly improve the deliverability of your emails, ensuring that they reach your recipients' inboxes promptly and reliably. In this comprehensive guide, we'll walk you through each step of the integration process, making it seamless and hassle-free.
Installing & Configuration with Sendlayer
To begin, make sure you have installed and activated the GoSMTP plugin.
After Installing GoSMTP, you can easily configure the plugin's settings. Just Go to GoSMTP » Settings in your WordPress dashboard and navigate to the SMTP Settings tab.
After Installing GoSMTP, you can easily configure the plugin's settings. Just Go to GoSMTP » Settings in your WordPress dashboard and navigate to the SMTP Settings tab.

To get started, follow these steps to configure the GO SMTP plugin in WordPress:
Basic configuration
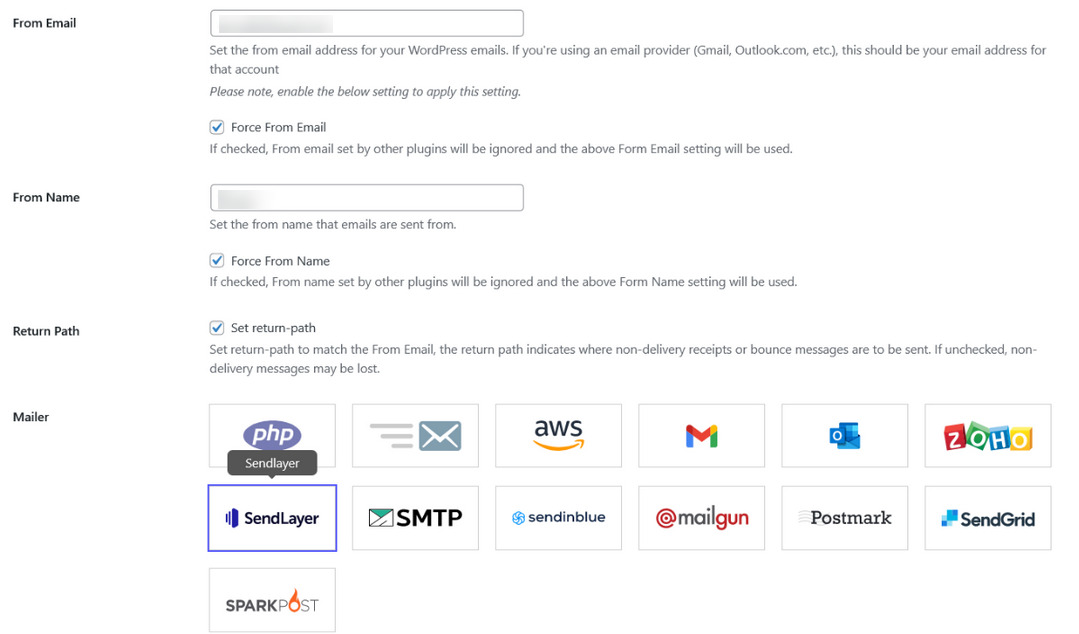
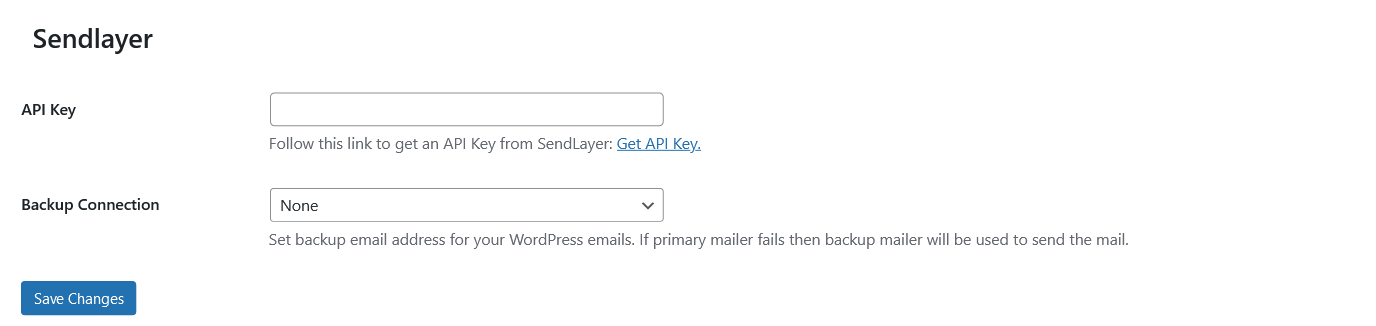
Once you have chosen "Sendlayer" as the mailer option in GoSMTP settings, you'll come across a significant field called the "API Key." This field is crucial for integrating Sendlayer with GoSMTP and ensuring seamless email delivery using their API.
Obtain Sendlayer API Key
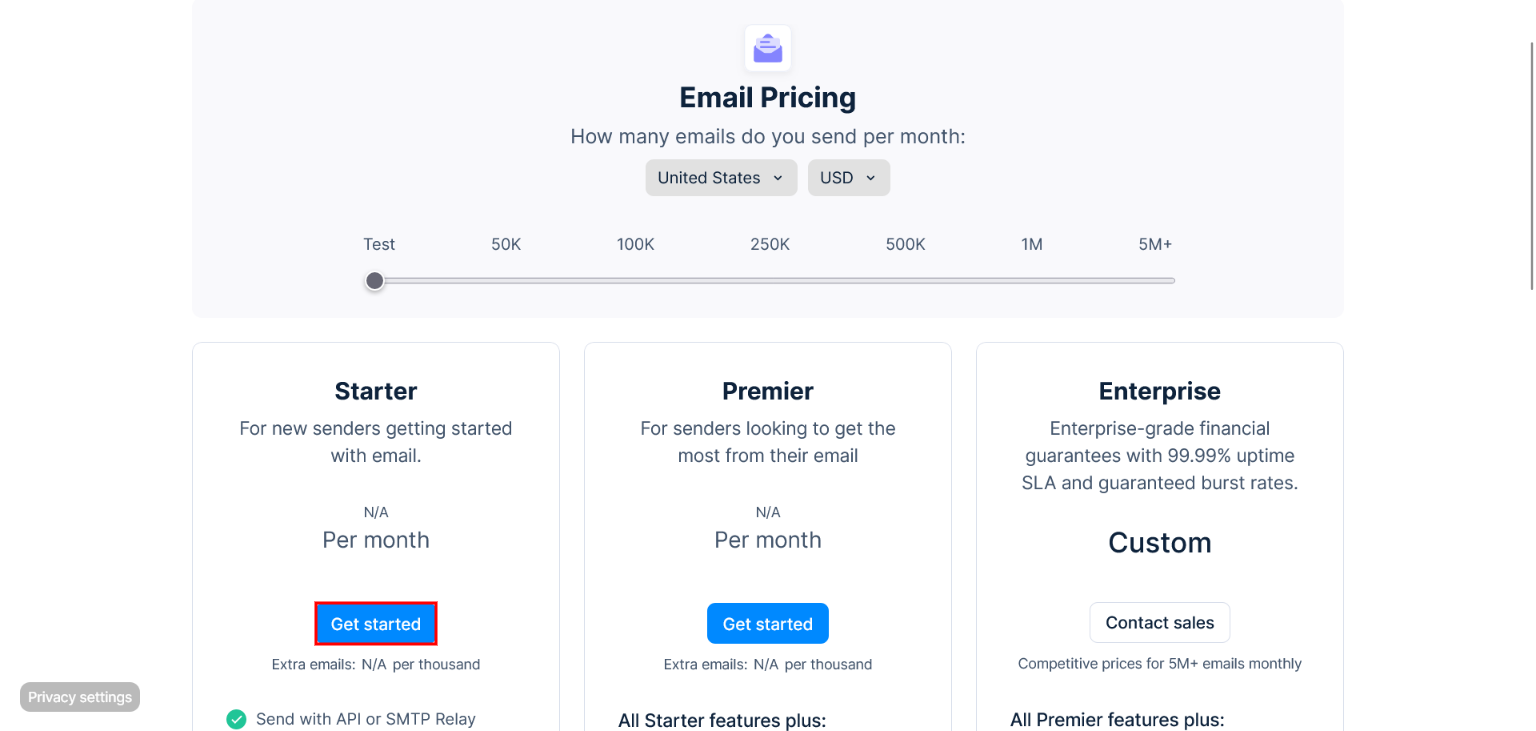
If you're new to Sendlayer, consider signing up for the Free Plan to start. This plan is suitable for testing purposes and offers essential email sending features. Visit the Sendlayer Pricing plan page at sendlayer.com/pricing and click on free trial link just beow the plans.
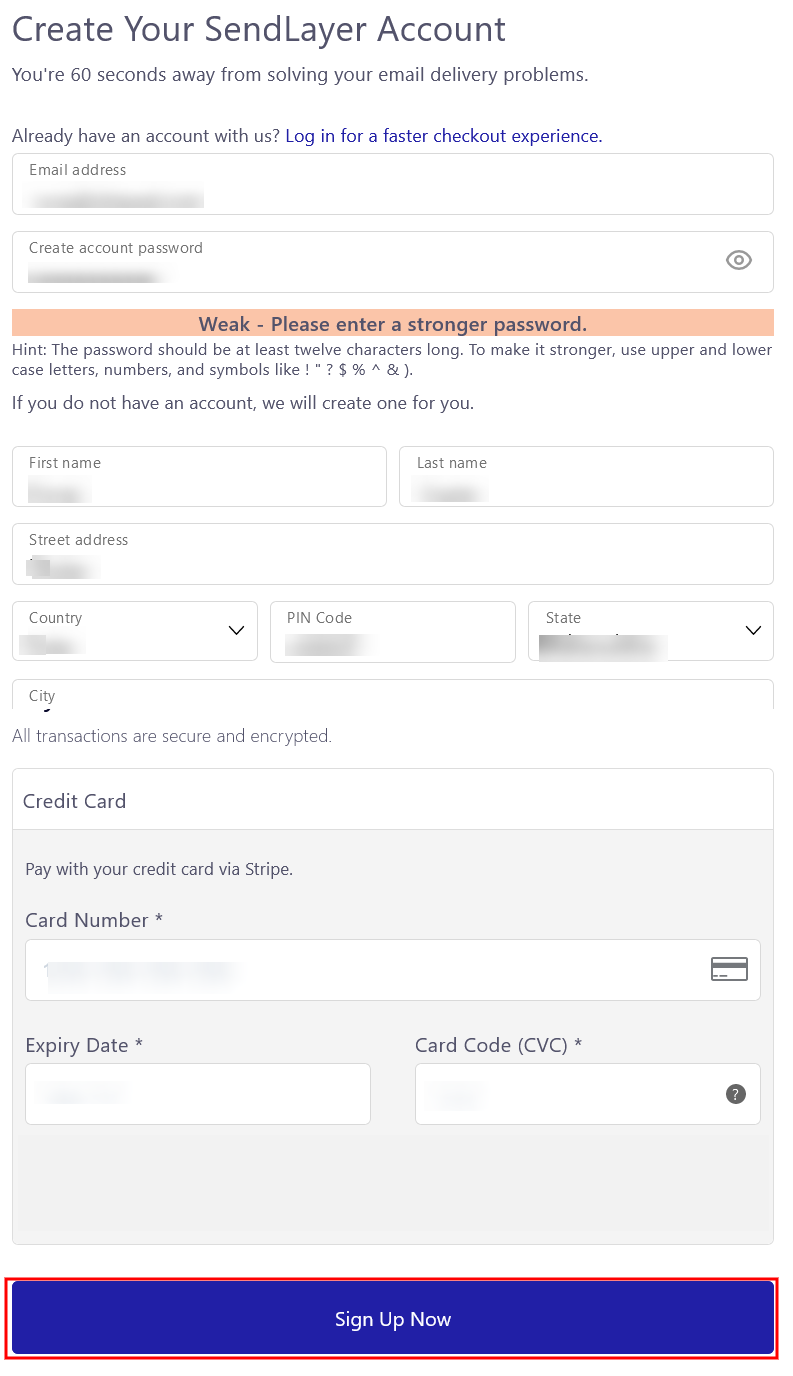
Sign up for a new account. The registration process is straightforward and will only require your email address and a password.
After signing up, check your email inbox for a verification link from
Sendlayer. Click on the link to verify your email address and gain
access to your Sendlayer account.
After logging in, access your Sendlayer dashboard. Look for a section related to domain settings or email configuration.
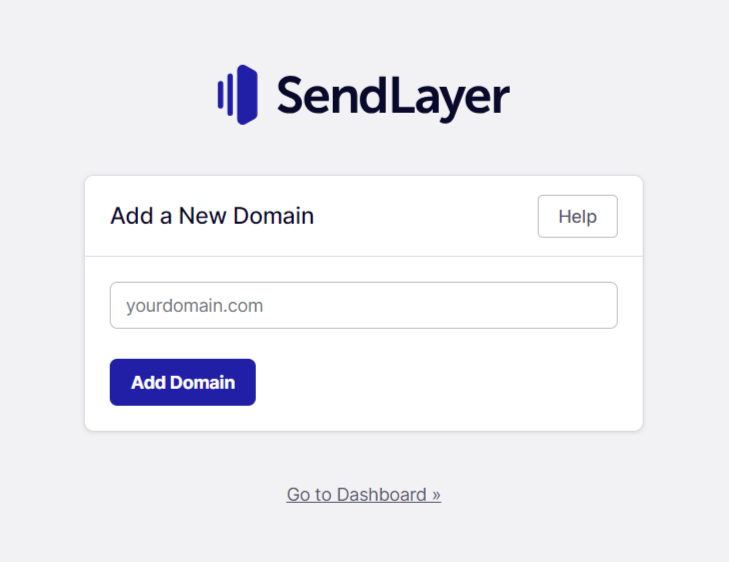
In the domain settings section, click on the option to add a new domain.
Enter the domain name that you use for sending emails. Ensure it matches the domain associated with your WordPress site.
Click the "Add Domain" button to proceed.
In the domain settings section, click on the option to add a new domain.
Enter the domain name that you use for sending emails. Ensure it matches the domain associated with your WordPress site.
Click the "Add Domain" button to proceed.
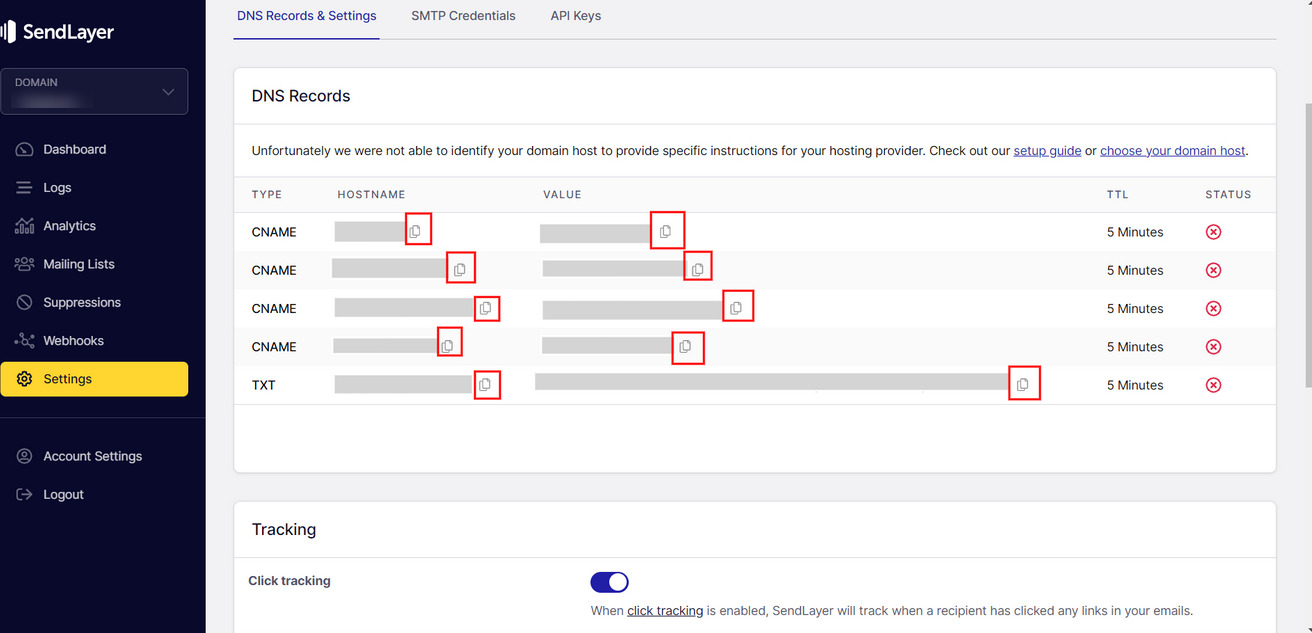
After successfully adding your domain to Sendlayer, you'll be provided with DNS records that need to be added to your domain's DNS settings.These DNS records contain unique information that confirms your domain's ownership and authenticity.
- Open a new tab or window and log in to the account where you manage your domain's DNS settings. This is typically your domain hosting provider's dashboard.
- Within your domain's DNS settings, locate the option to add a new DNS record.
- Depending on your domain hosting provider, this option might be labeled as "Add Record," "Create DNS Record," or something similar.
- From your Sendlayer account, copy the DNS records that were provided for domain verification.
- These records often include TXT records that contain unique strings of characters.
- Return to your domain's DNS settings and paste the copied records into the appropriate fields.
- Once you've added the DNS records, save your changes within the DNS settings of your domain hosting account.
- The changes might take some time to propagate across the internet, which is a normal part of the domain verification process.

- Return to your Sendlayer account and navigate to the domain settings section.
- Look for the option to verify your domain using the added DNS records.
- Click on the "Verify" button, which will initiate the verification process.
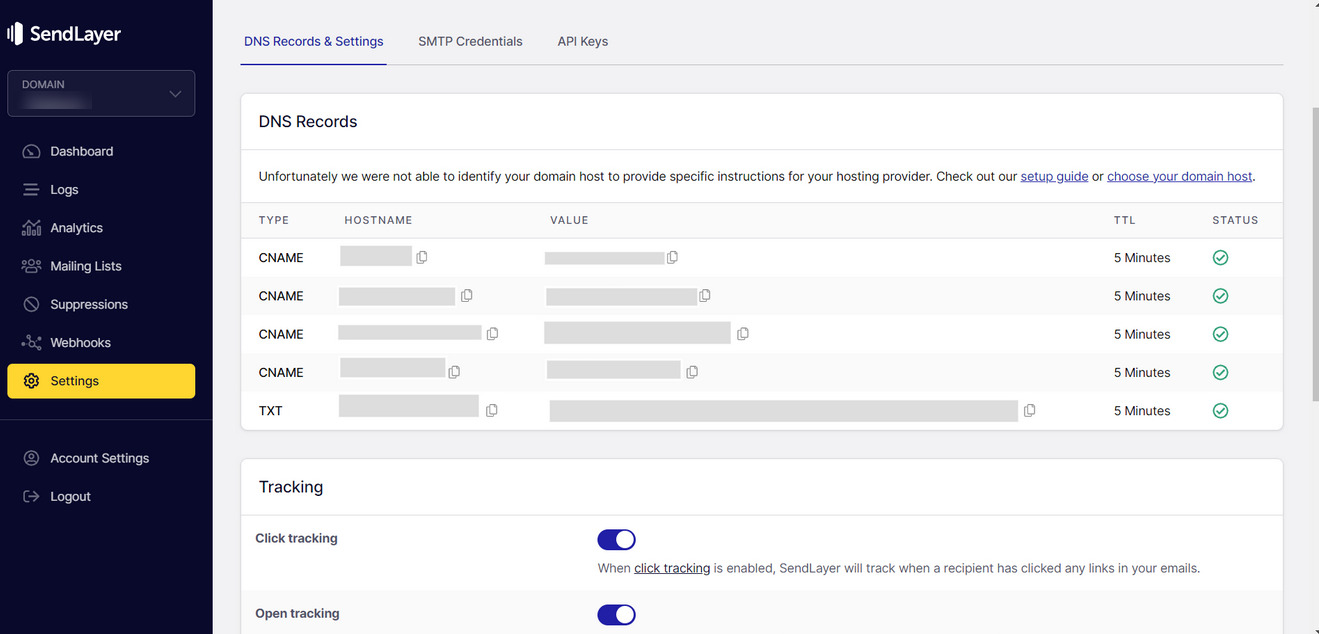
- Once the verification process is complete, you'll see a green checkmark or similar indicator next to your domain in the Sendlayer dashboard.
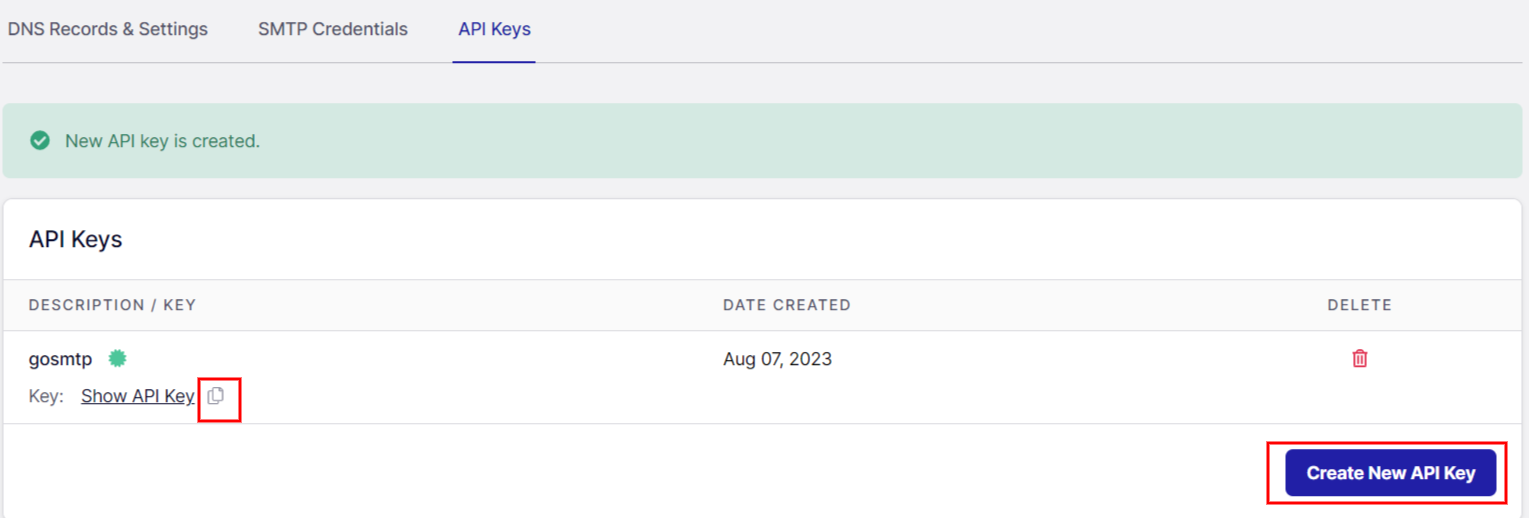
Once you have successfully completed the domain verification process and ensured that your DNS records are correctly set up in Sendlayer, the next step is to logged into your Sendlayer account, navigate to the Settings section. Click on API keys tab. If you haven't generated an API key yet, click on the "Generate New API Key" button to create one.
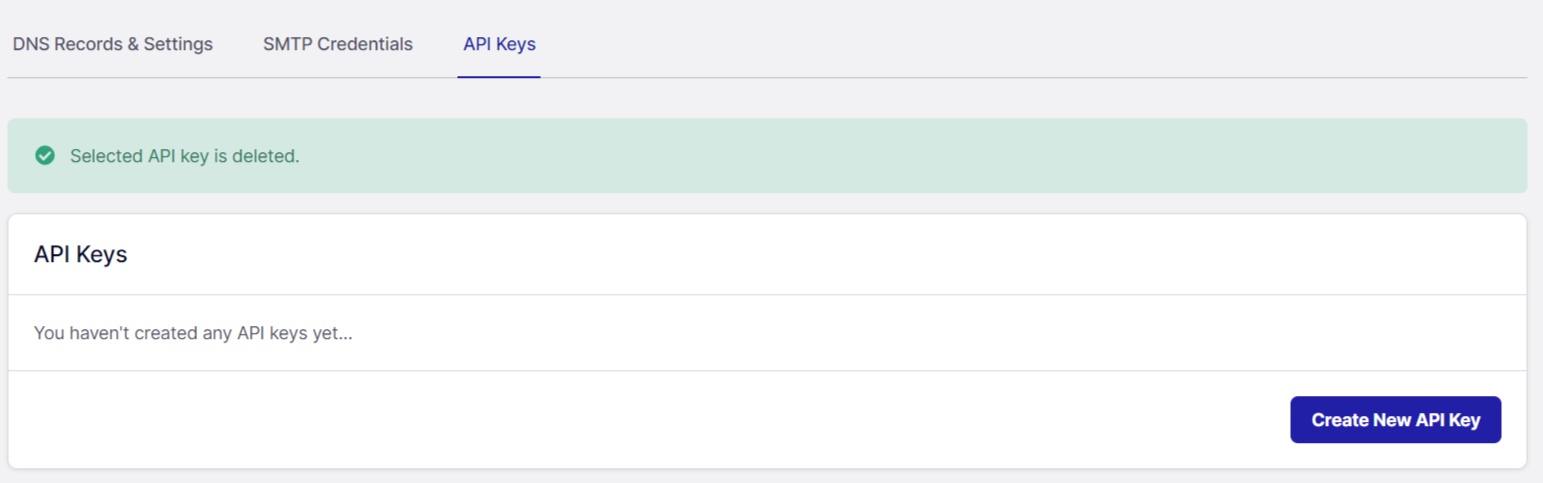
Here, you'll find your unique API key, which is essential for integrating Sendlayer with GoSMTP. Make sure to copy the API key and store it securely, as it serves as an access token for authenticating your requests.Make sure to copy the API key and store it securely, as it serves as an access token for authenticating your requests.
Mailer configuration
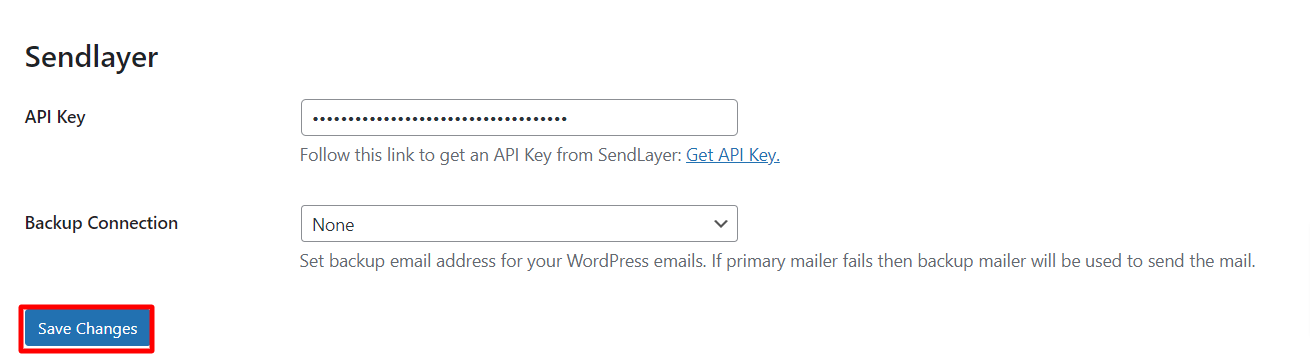
In your WordPress dashboard, go to GoSMTP settings. Paste the API key you copied from your Sendlayer account into the designated field in GoSMTP settings. This step will connect GoSMTP with Sendlayer, enabling you to send emails using their API.
Once you've entered your API key, don't forget to save your GoSMTP settings. This will apply the changes and complete the integration process
Once you've entered your API key, don't forget to save your GoSMTP settings. This will apply the changes and complete the integration process
Congratulations! You have now successfully integrated Sendlayer with GoSMTP. You can now start sending emails with enhanced deliverability and reliability using the power of Sendlayer API.
Send test Mail
After successfully configuring the mail settings, it's time to test your email functionality. Send a test email to verify whether it will be delivered successfully or encounter any issues. This test will determine whether your mail setup is functioning properly.
Freqently Asked Question
Domain verification is essential for authentication and security
purposes. It ensures that you have control over the domain you intend to
send emails from. Sendlayer requires domain verification to prevent
unauthorized usage.
Sendlayer offers email authentication mechanisms such as SPF, DKIM, and DMARC. Implementing these protocols enhances email deliverability, minimizes spam risks, and ensures that your emails are recognized as legitimate by recipient email services.
Sendlayer provides robust tracking and analytics features to monitor email campaign performance. Utilize these insights to optimize your email strategies, enhancing engagement and interaction with your recipients.