
Introduction
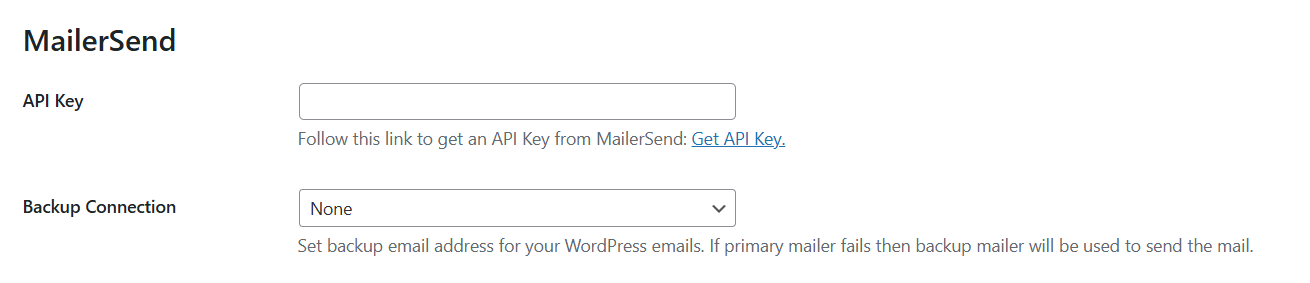
Once you choose MailerSend as the mailer in GoSMTP settings, you'll find a field to add the API token. Generate the API token in your MailerSend account and paste it there. This connects GoSMTP with MailerSend, enabling you to send emails effortlessly using their API.
This tutorial will guide you through the process of setting up GoSMTP with your MailerSend email address.
To begin, make sure you have installed and activated the GoSMTP plugin.
After installing GoSMTP, you can easily configure the plugin's settings. Just go to GoSMTP » Settings in your WordPress dashboard and navigate to the SMTP Settings tab.
After installing GoSMTP, you can easily configure the plugin's settings. Just go to GoSMTP » Settings in your WordPress dashboard and navigate to the SMTP Settings tab.

To get started, follow these steps to configure the GoSMTP plugin in WordPress:
Basic configuration
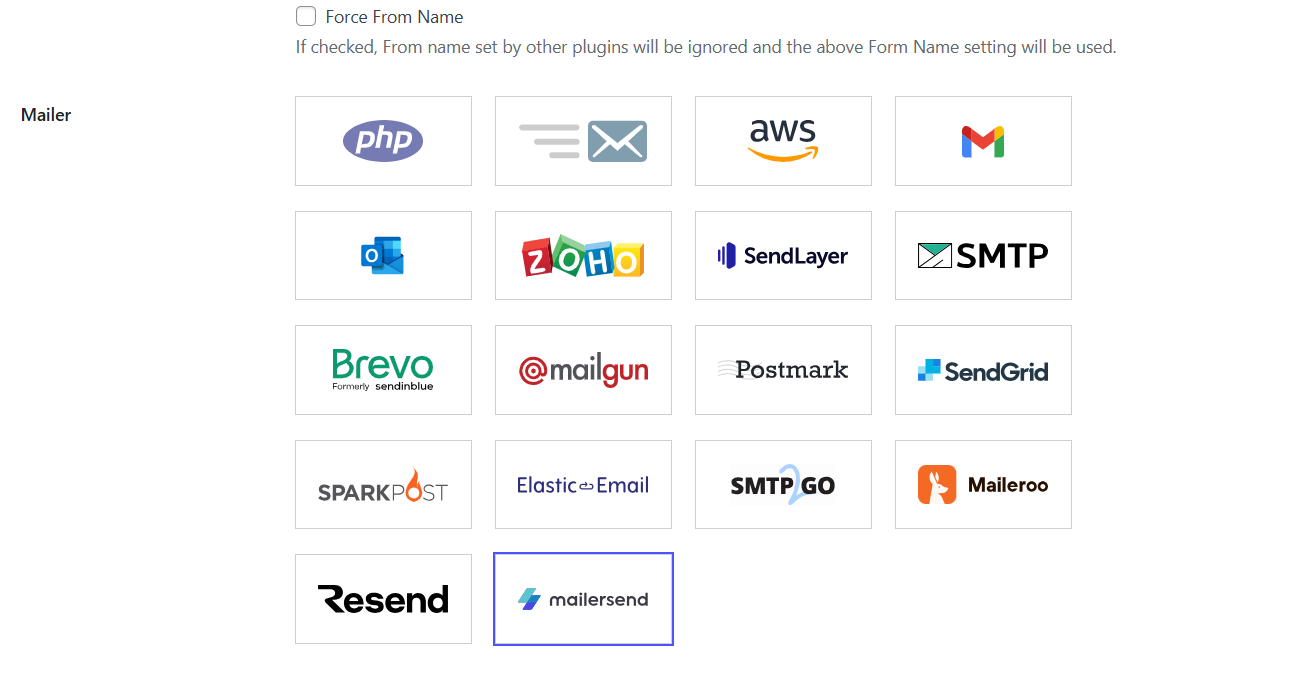
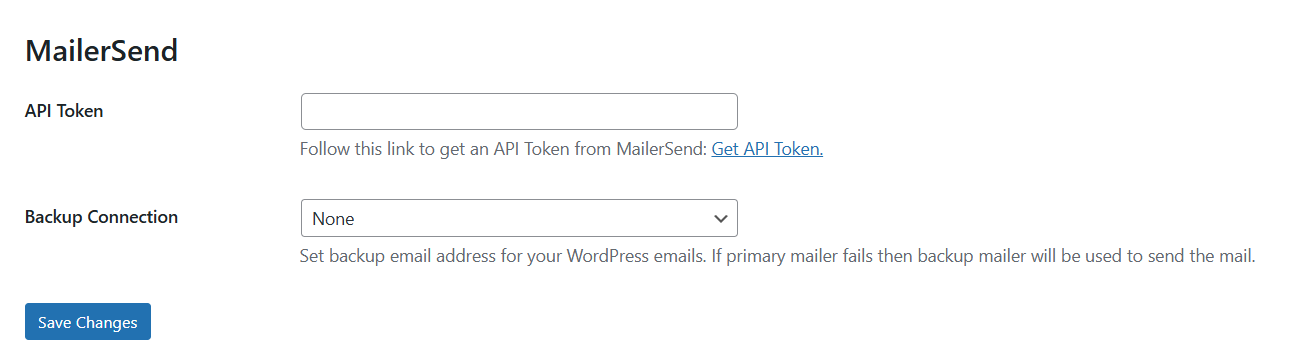
After selecting MailerSend as your mailer in GoSMTP settings, you'll see a field to enter your API Token. Generate this token from your MailerSend account and paste it into the field to connect GoSMTP with MailerSend, allowing you to send emails seamlessly via their API.
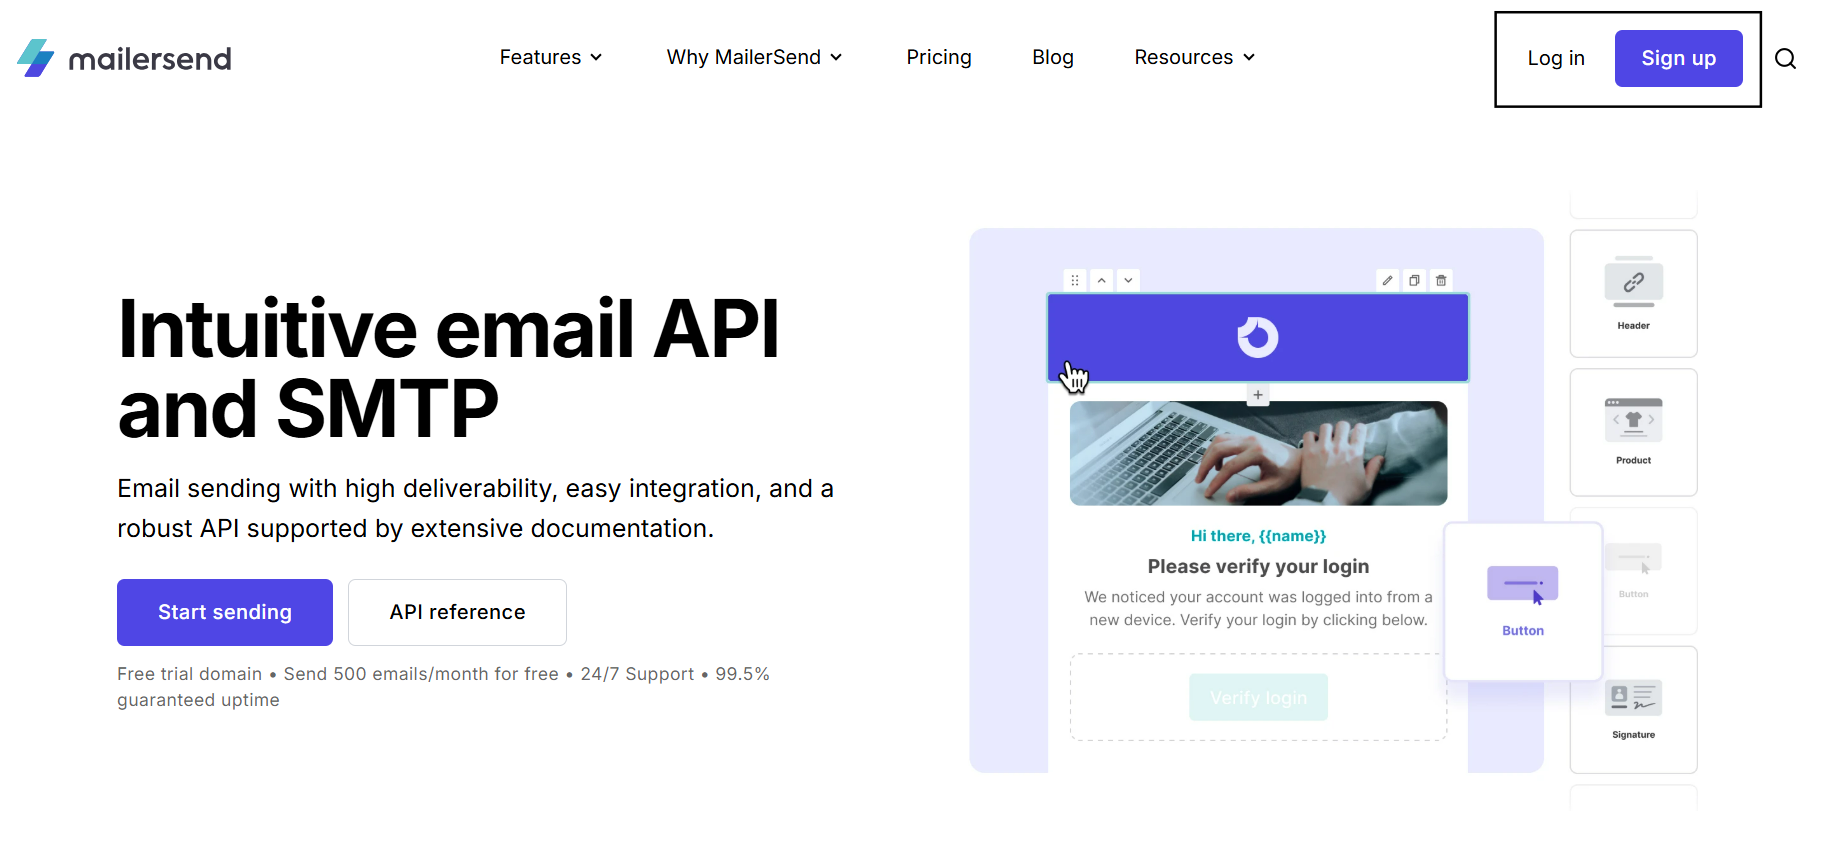
To begin, you'll need a MailerSend account. If you haven't created one yet, simply click on Sign up to register and set up your new account.
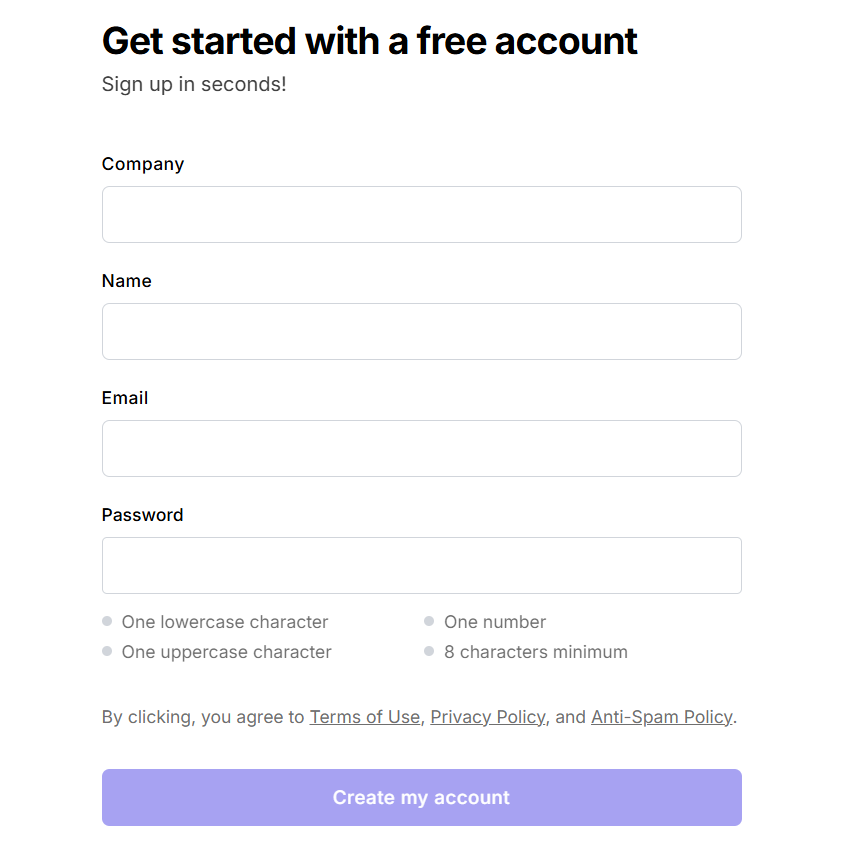
After that, you will see the signup page, or if you already have a MailerSend account, visit MailerSend's website (mailersend.com) and login an account. The signup process is straightforward and typically requires your company, name, email address, and password.
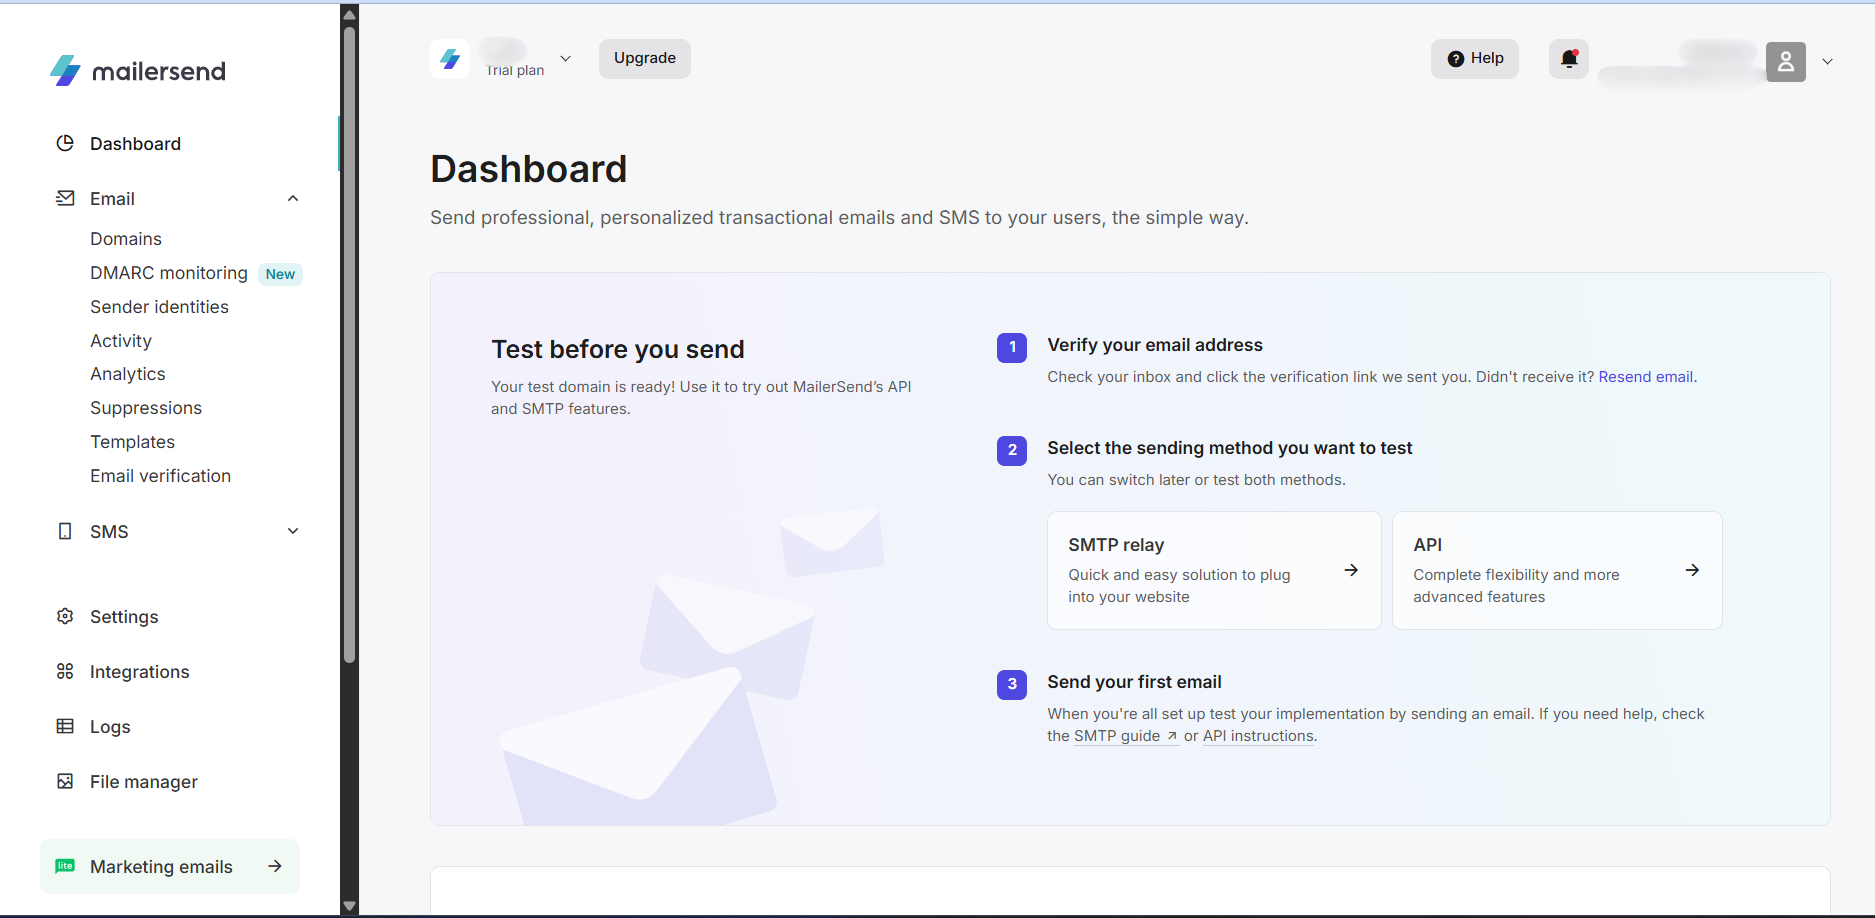
Once signed up, log in to your MailerSend account using the credentials you created during sign-up. You will be directed to the MailerSend dashboard.
Steps to Add Your Domain:
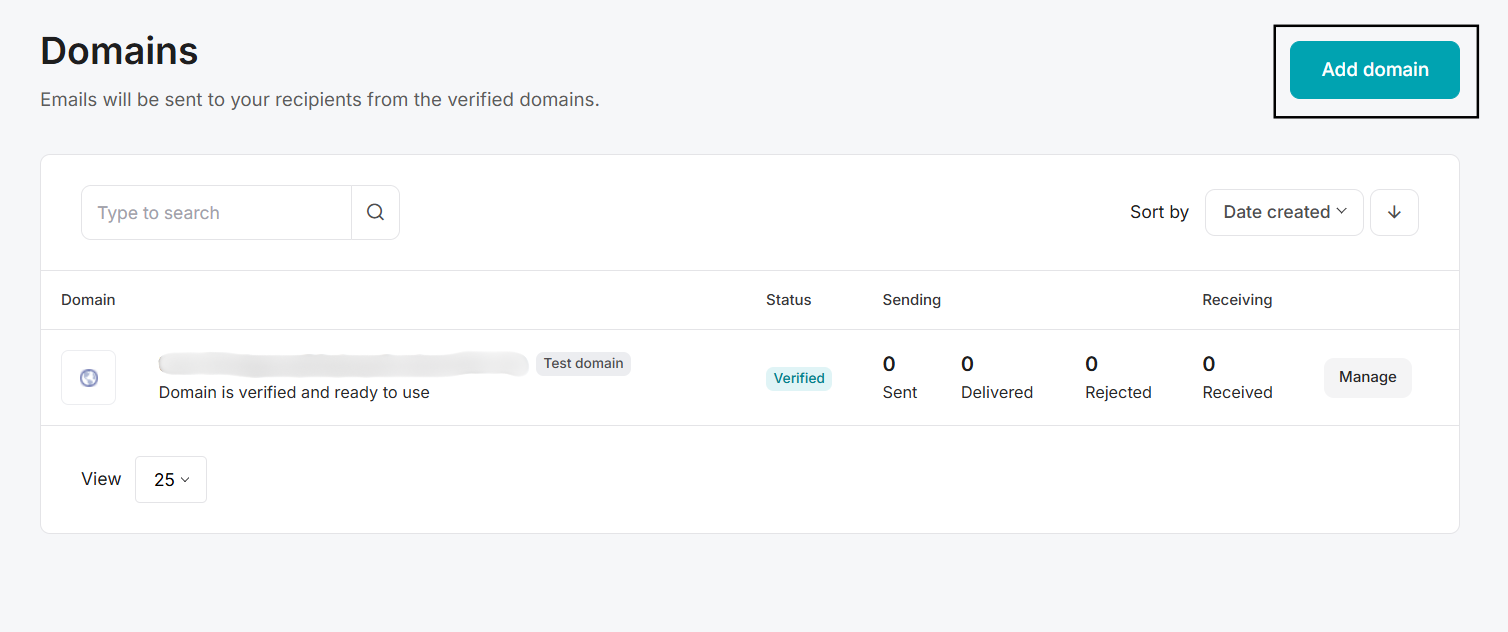
In the MailerSend dashboard, navigate to "Domains". This is where you need to add your domain for verification, which is necessary for integrating MailerSend's API with GoSMTP. Click on Add Domain, which opens a window where you need to enter your domain name.
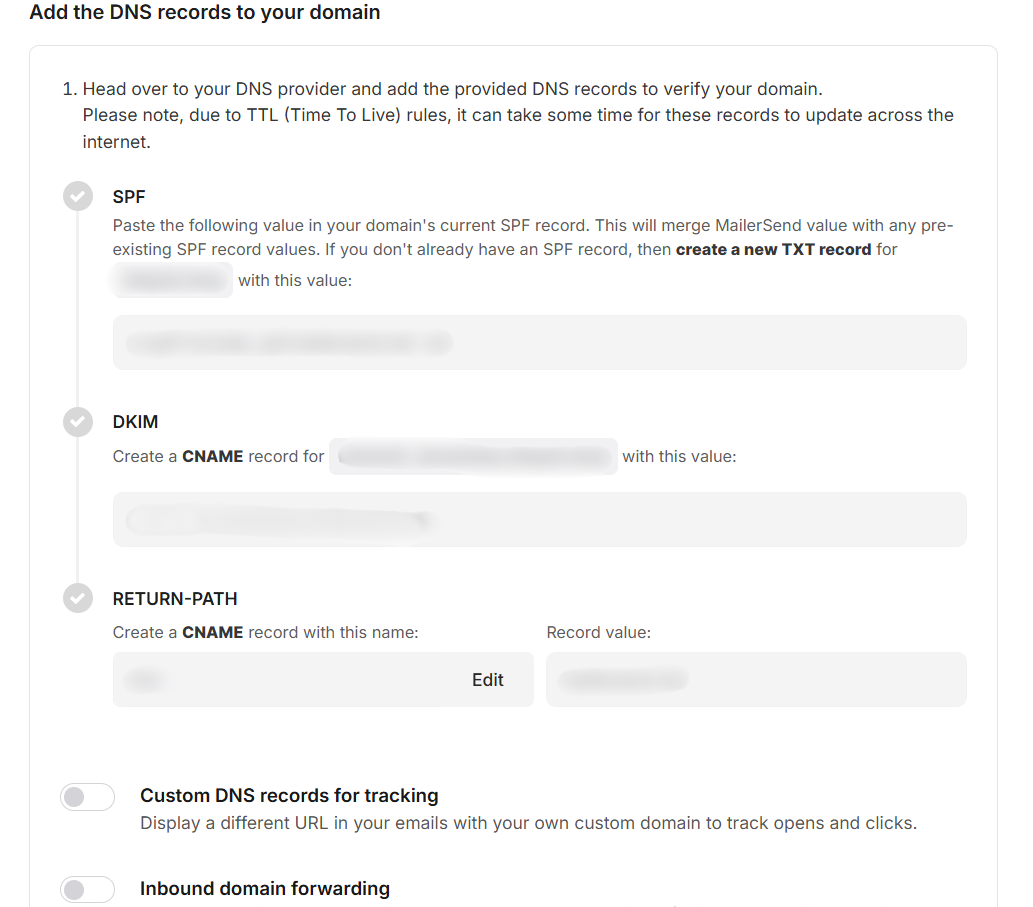
After adding your domain, you will be redirected to the DNS Records screen. You need to verify your DNS records to send emails from your domain. To do so, you need to add the given DNS records to your DNS provider.
After adding your DNS records to your DNS provider, scroll down and check the checkbox “I have added DNS records” and click on Finish verification to complete the verification process. Please note that it might take some time for the records to propagate and be verified.
Once your DNS records are successfully verified, the status will change from “Verified”.
Once your DNS records are successfully verified, the status will change from “Verified”.

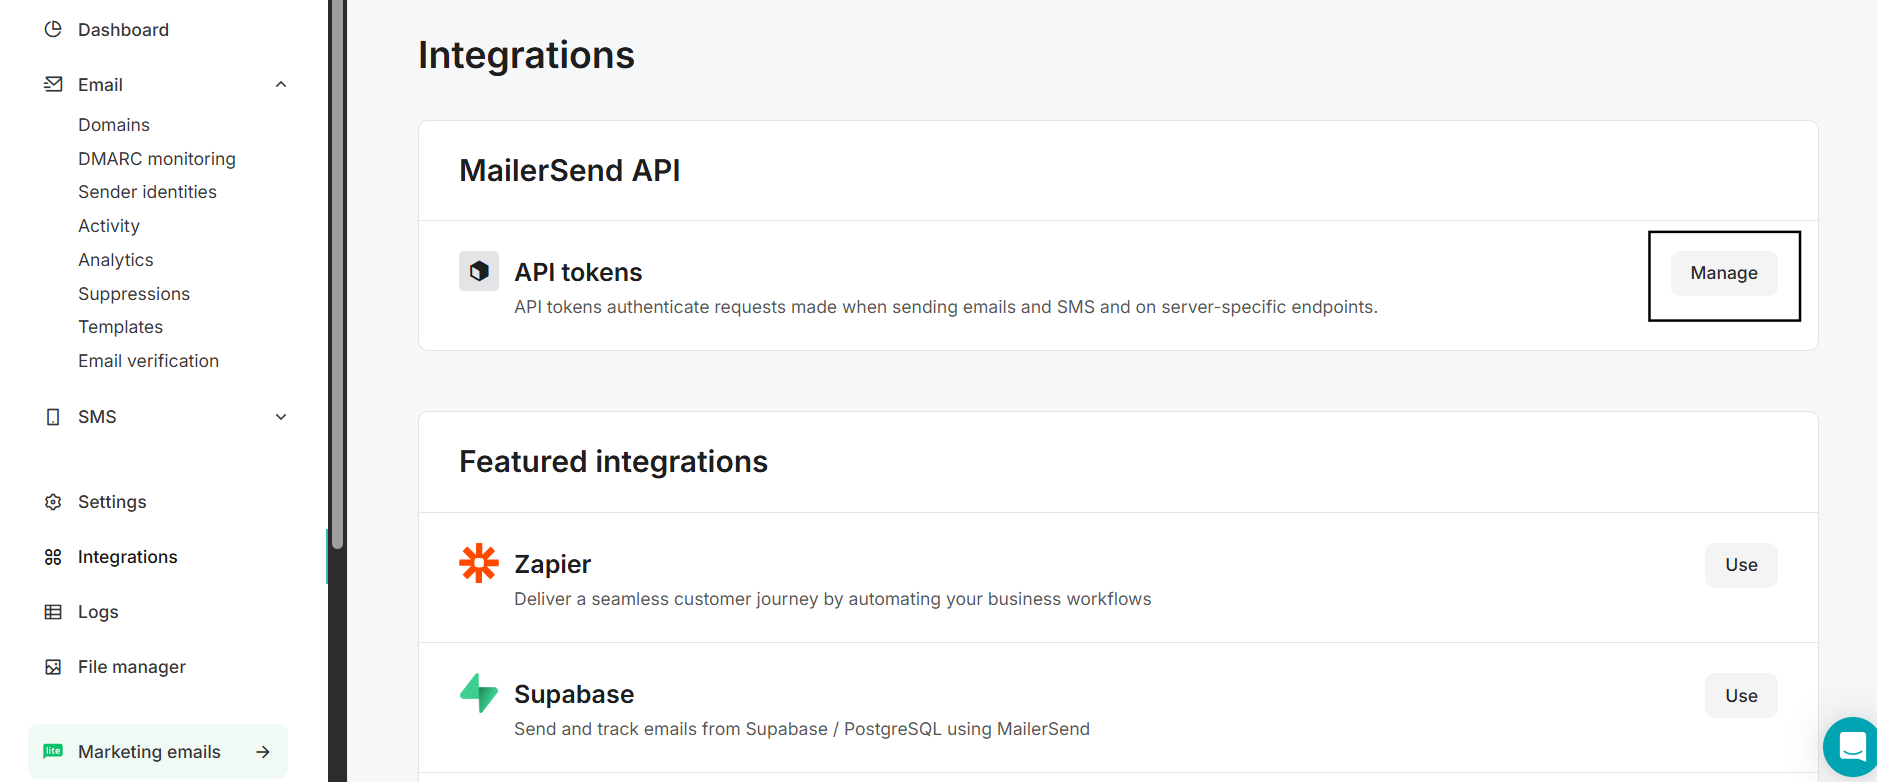
Next, go to the “Integrations” tab and under the API tokens Section click on Manage.
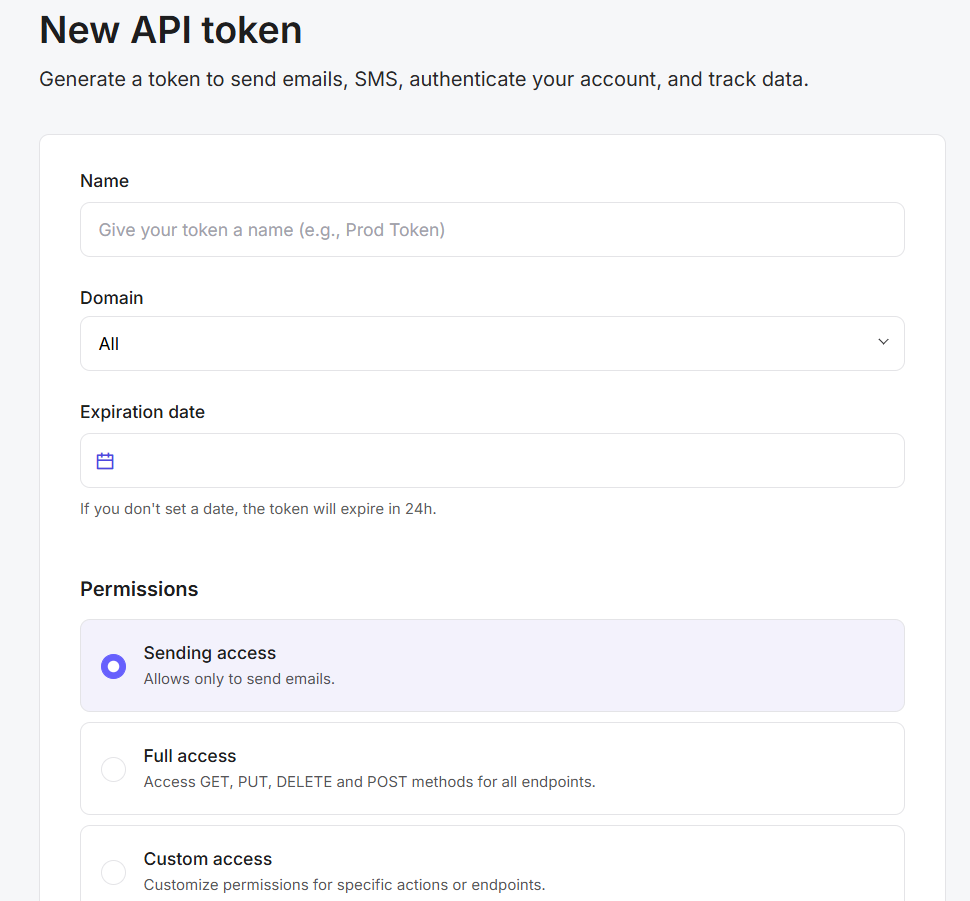
Click on 'Create new token', which opens the New API Token window, provide a suitable name for your token, select the domain you want to send from, set Permission to Full access, and click on Generate Token.
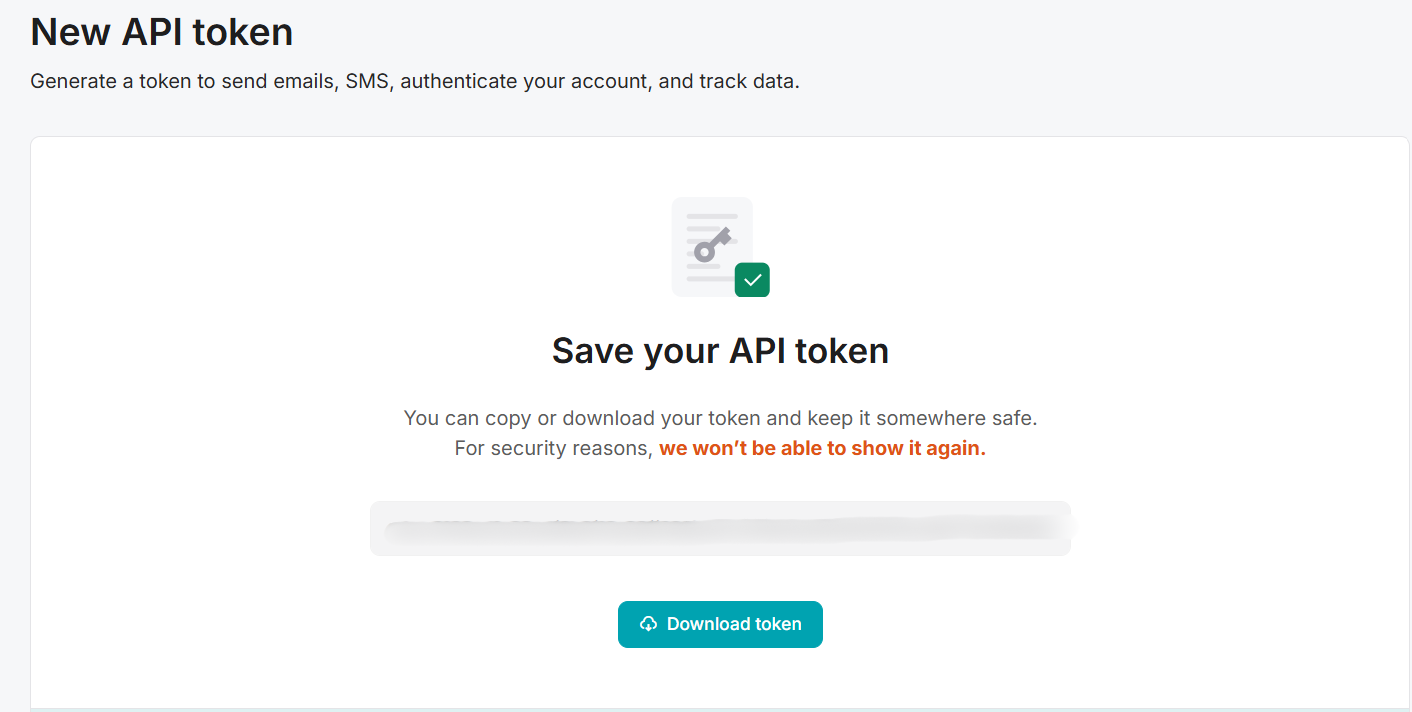
Make sure to copy and store this token securely, as it acts like a password and provides access to your MailerSend account.
To begin, make sure you have installed and activated the GoSMTP plugin.
After installing GoSMTP, you can easily configure the plugin's settings. Just go to GoSMTP » Settings in your WordPress dashboard and navigate to the SMTP Settings tab.
After installing GoSMTP, you can easily configure the plugin's settings. Just go to GoSMTP » Settings in your WordPress dashboard and navigate to the SMTP Settings tab.
To get started, follow these steps to configure the GoSMTP plugin in WordPress:
Basic configuration
After selecting MailerSend as your mailer in GoSMTP settings, you'll see a field to enter your API Token. Generate this token from your MailerSend account and paste it into the field to connect GoSMTP with MailerSend, allowing you to send emails seamlessly via their API.
To begin, you'll need a MailerSend account. If you haven't created one yet, simply click on Sign up to register and set up your new account.
After that, you will see the signup page, or if you already have a MailerSend account, visit MailerSend's website (mailersend.com) and login an account. The signup process is straightforward and typically requires your company, name, email address, and password.
Once signed up, log in to your MailerSend account using the credentials you created during sign-up. You will be directed to the MailerSend dashboard.
Steps to Add Your Domain:
In the MailerSend dashboard, navigate to "Domains". This is where you need to add your domain for verification, which is necessary for integrating MailerSend's API with GoSMTP. Click on Add Domain, which opens a window where you need to enter your domain name.
After adding your domain, you will be redirected to the DNS Records screen. You need to verify your DNS records to send emails from your domain. To do so, you need to add the given DNS records to your DNS provider.
After adding your DNS records to your DNS provider, scroll down and check the checkbox “I have added DNS records” and click on Finish verification to complete the verification process. Please note that it might take some time for the records to propagate and be verified.
Once your DNS records are successfully verified, the status will change from “Verified”.
Once your DNS records are successfully verified, the status will change from “Verified”.
Next, go to the “Integrations” tab and under the API tokens Section click on Manage.
Click on 'Create new token', which opens the New API Token window, provide a suitable name for your token, select the domain you want to send from, set Permission to Full access, and click on Generate Token.
Make sure to copy and store this token securely, as it acts like a password and provides access to your MailerSend account.
Mailer configuration
Within the GoSMTP settings, find the field where you are required to enter the MailerSend API token. This is where you'll paste the API Token you copied in Step 2. After entering the API token, save the GoSMTP settings to apply the changes.
Freqently Asked Question
Yes. MailerSend requires you to verify ownership of your domain by adding SPF, DKIM, and Return-path records to your DNS settings.