
Introduction
This tutorial will guide you through the process of setting up GoSMTP with SMTP2Go.
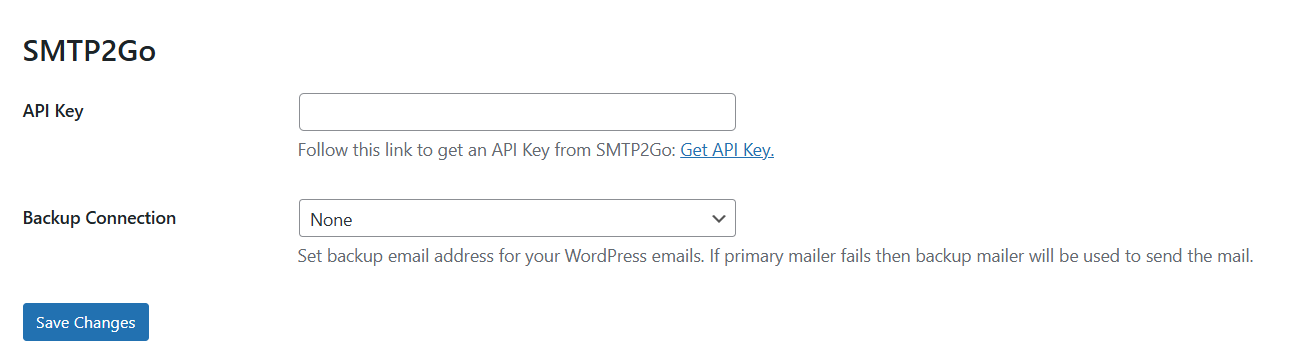
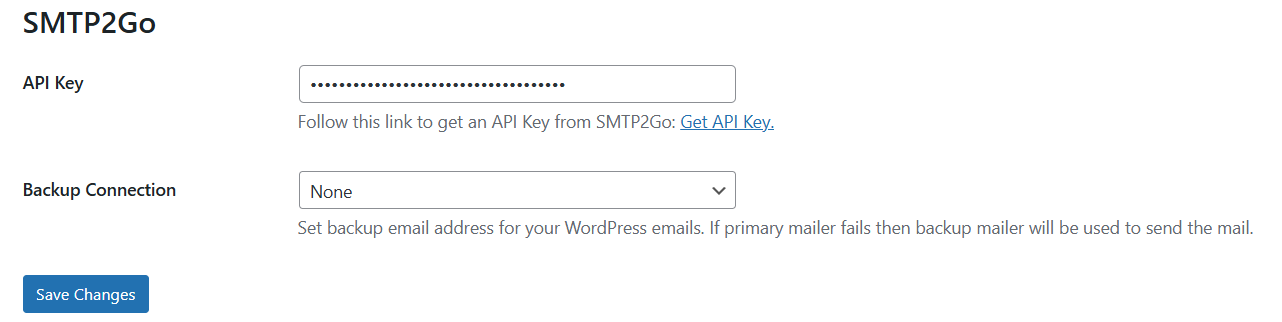
Once you choose SMTP2Go as the mailer in GoSMTP settings, you'll find a field to add the API key. Generate the API key in your SMTP2Go account and paste it there. This connects GoSMTP with SMTP2Go, enabling you to send emails effortlessly using their API.
After verifying your license, you can easily configure the plugin's settings. Just Go to GOSMTP » Settings in your WordPress dashboard and navigate to the SMTP Settings tab.

Basic configuration


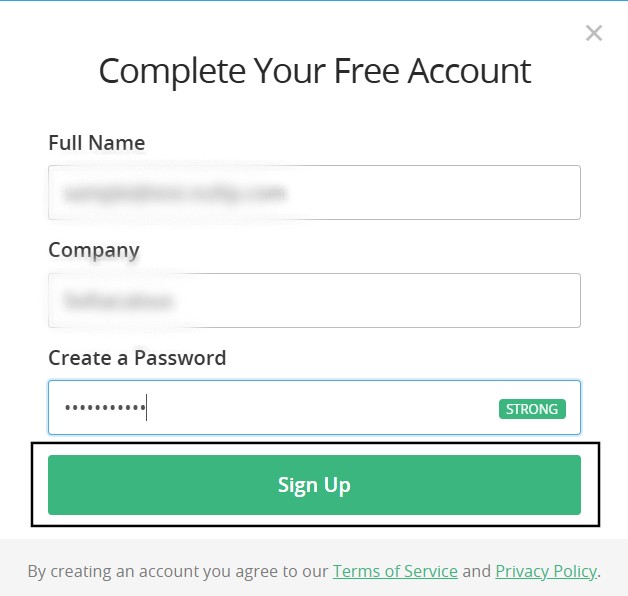
The sign-up process starts by asking for your email address. Enter your email address and click Continue to move to the next step. You'll then be asked to enter your full name, company name, and a password. Once you've filled in the details, click Sign Up to complete the registration.
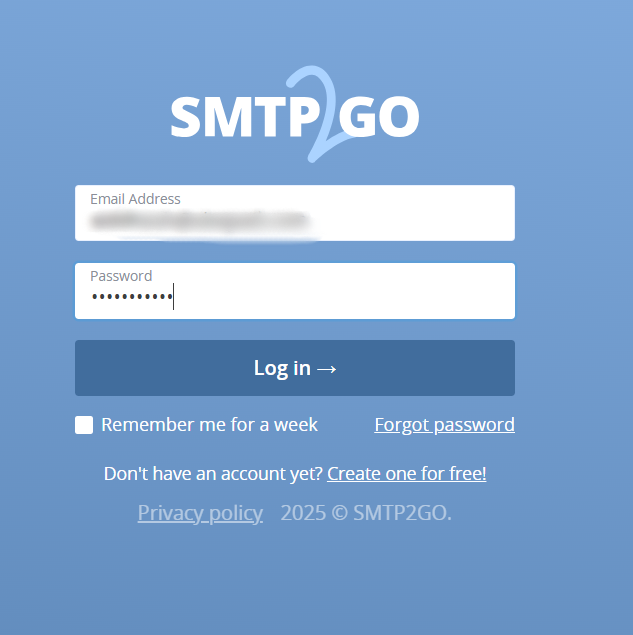
After activation is complete, the login screen will appear. Enter your registered email and the password you set, then click the Login button to access your account.
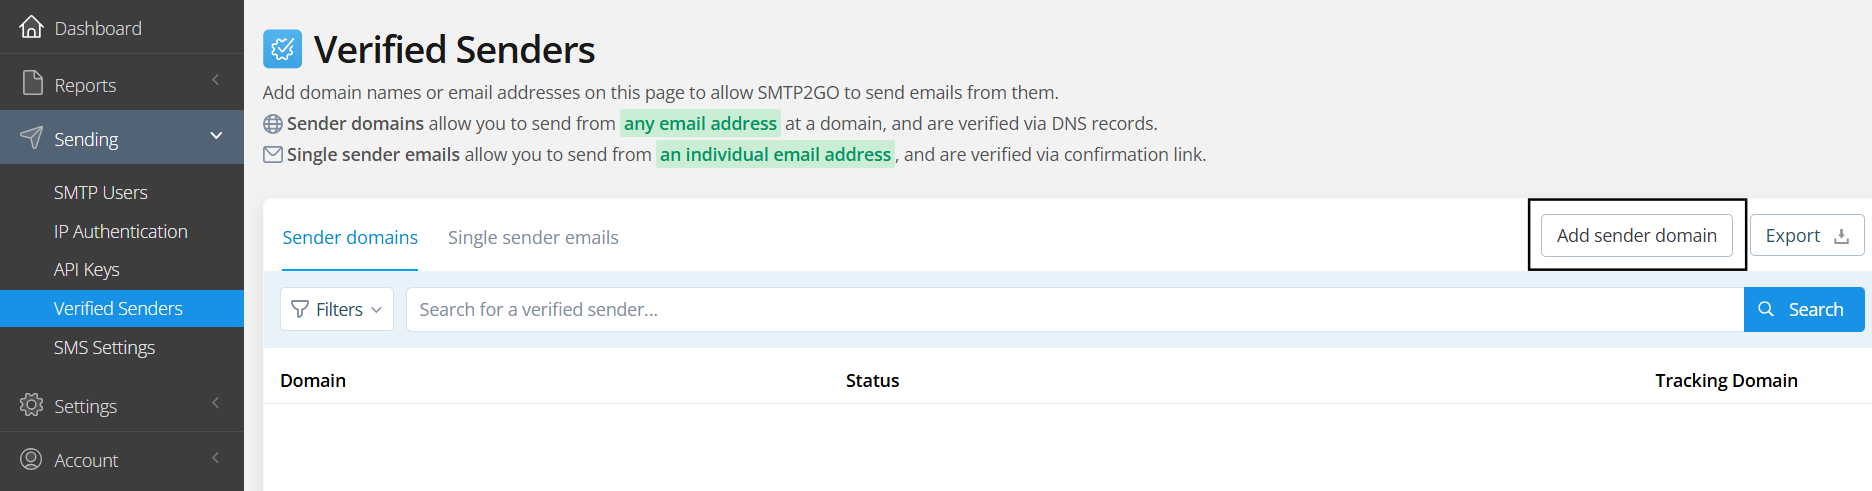
Before collecting the API Key to send emails, you need to add a Verified Sender to your account. SMTP2GO offers two verification methods: Sender Domain and Single Sender Email.
1. Sender Domain Verification: Verifies your entire domain to allow sending from any email address under it.
2. Single Sender Email Verification: Verifies just one specific email address for sending.
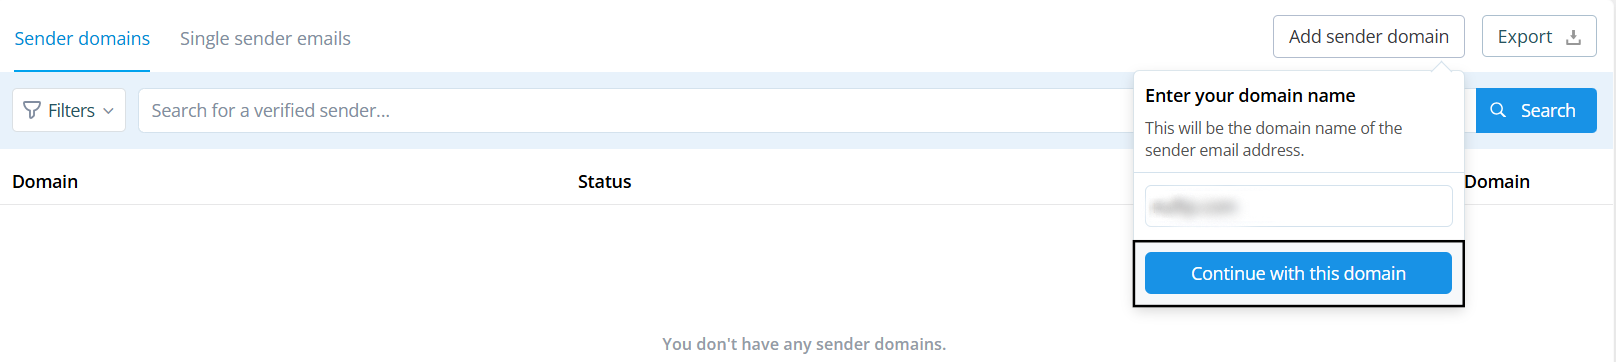
First, we will explore the Sender Domain Verification. Once logged in to your SMTP2GO account, navigate to the "Sending" section from the left sidebar, open the "Verified Senders" tab, and click on the "Add a Sender Domain" button to begin domain verification.
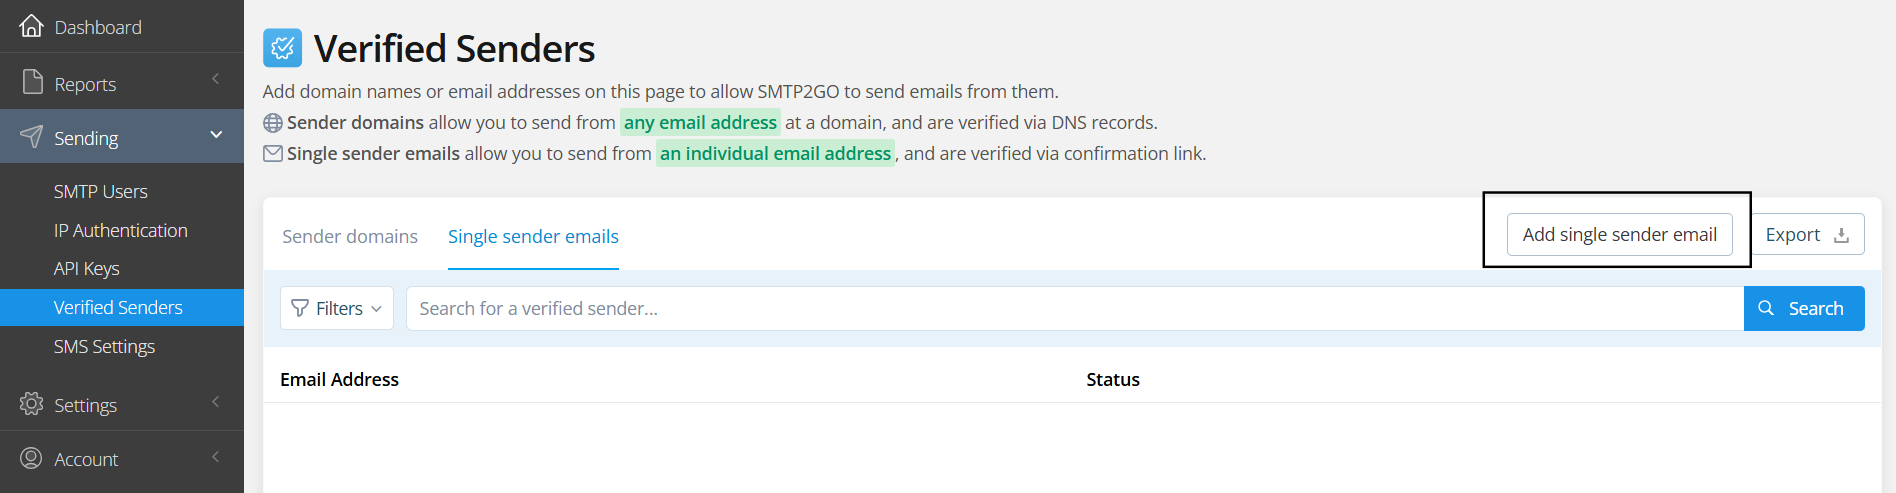
The alternative method to verify senders is by verifying a Single Sender Email. To do this, go to the Sending section in the left sidebar, click on the Verified Senders tab, switch to the Single Sender Emails tab, and click the Add a Single Sender Email button to start the verification process.
A window will appear where you can enter your email. Once you've entered the email, click on Send verification email to proceed.

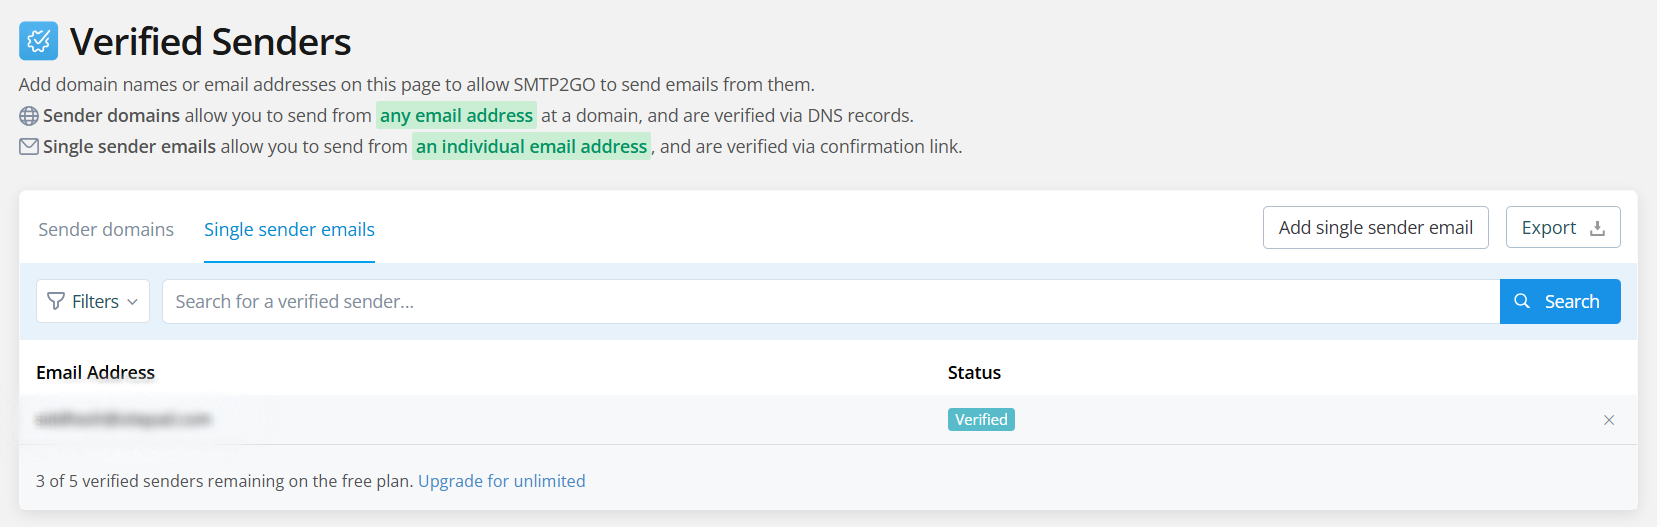
A verification email will be sent to your email address. Once you verify it, the status of the email will be updated to "verified."
In the Elastic Email dashboard, navigate to the left sidebar and click on "Sending." Then, go to the "API Keys" tab and click on "Add API Key" to generate a new key.

An "Add API Key" window will appear. Copy and save the generated API key securely for future use. After that, click on "Add API Key" to complete the process.

Mailer configuration
Send test Mail
Freqently Asked Question
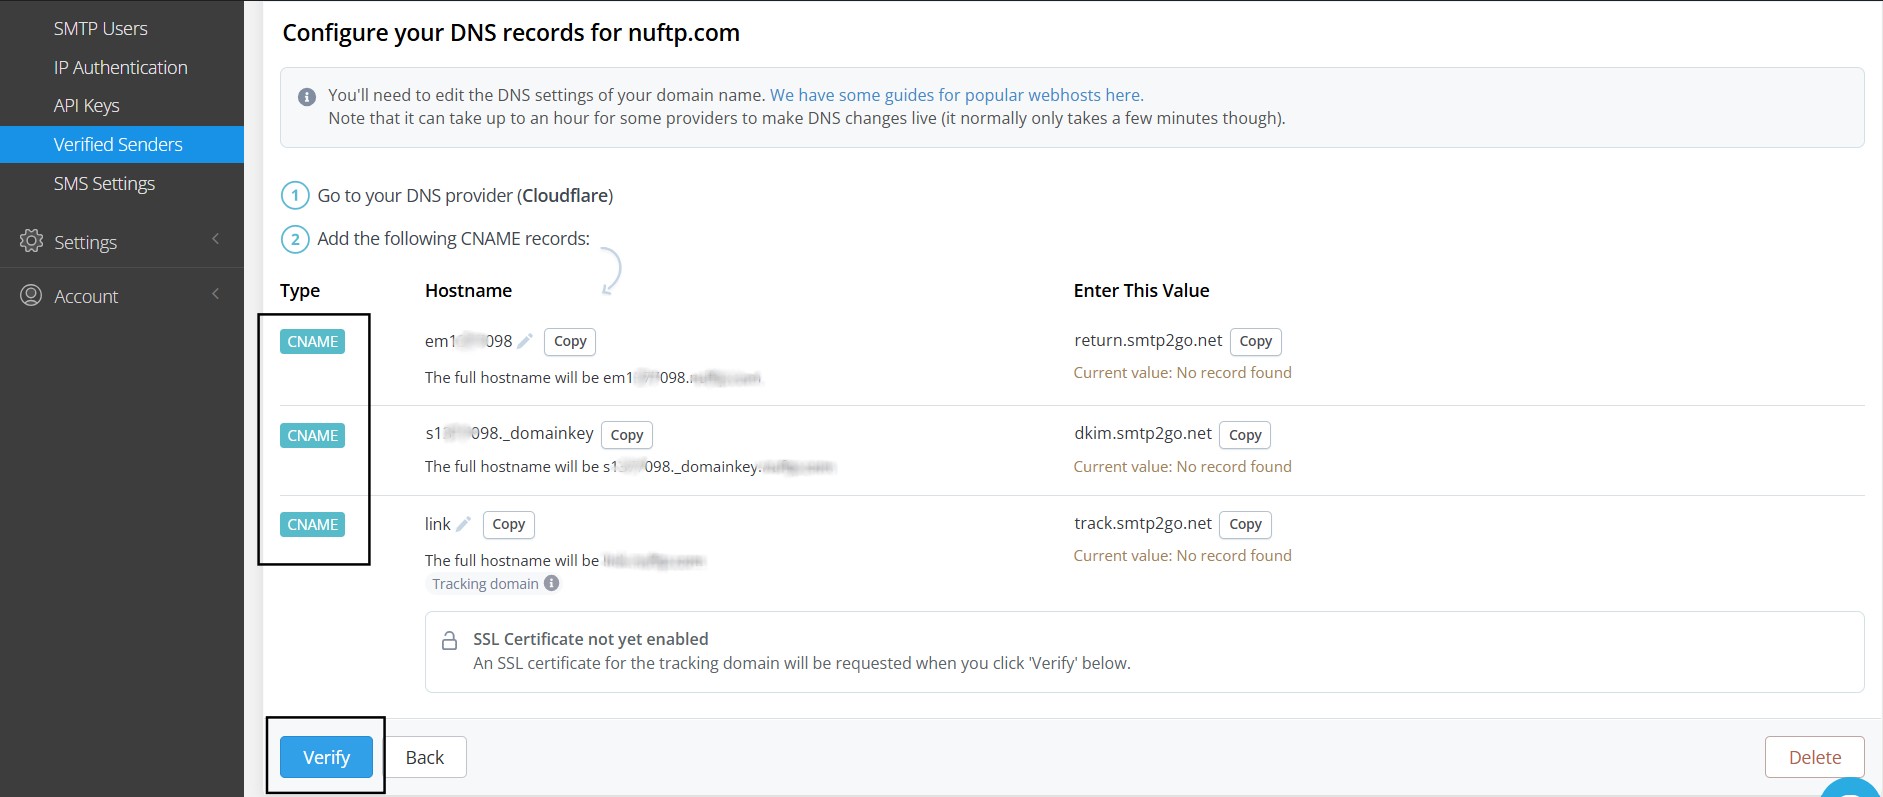
You can verify your sender domain by adding CNAME records provided by SMTP2GO into your domain’s DNS settings under the “Verified Senders” section.
Yes, SMTP2GO also supports verifying individual sender email addresses, which is useful if you don’t have access to DNS settings.