
Introduction
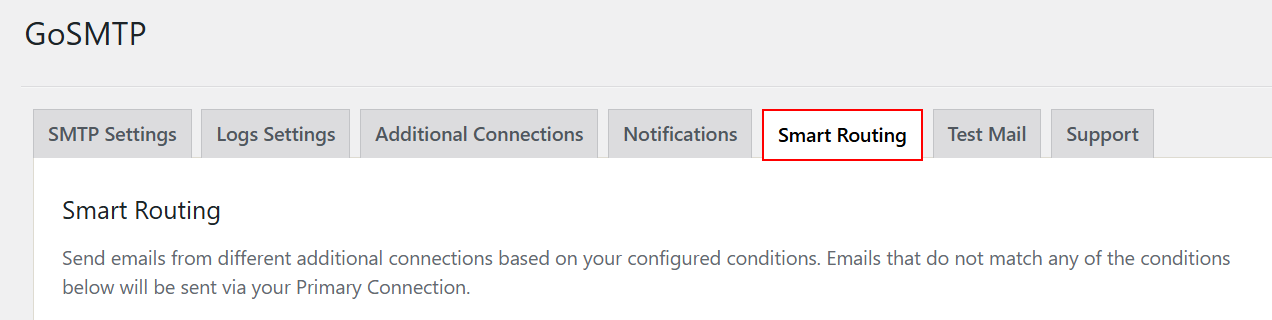
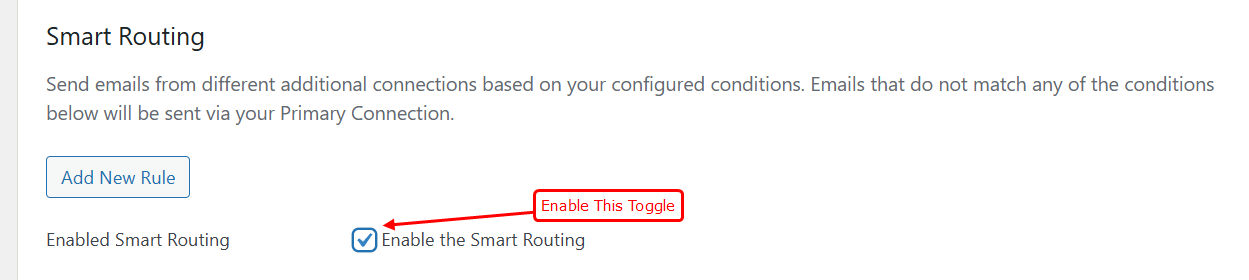
After you've added additional connection, go to GoSMTP » Settings. Then click on the Smart Routing tab.

After you have selected the connection, you will see the Conditions section below the connection.
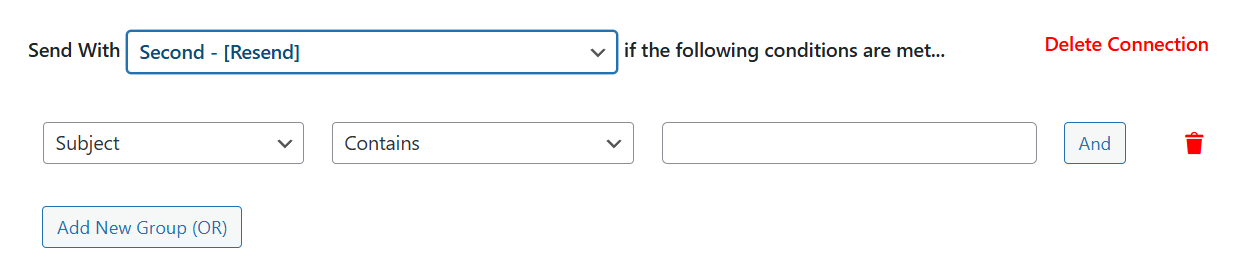
Here is a brief overview of the available options:
- Condition type : This field contains the options you’d like to base the condition on.
- Operator : This field contains various comparison operators for configuring the condition.
- Value : In this field, you’ll need to enter the text or keyword to compare with the condition type.
In the conditions type dropdown, you'll find options for setting up the condition.
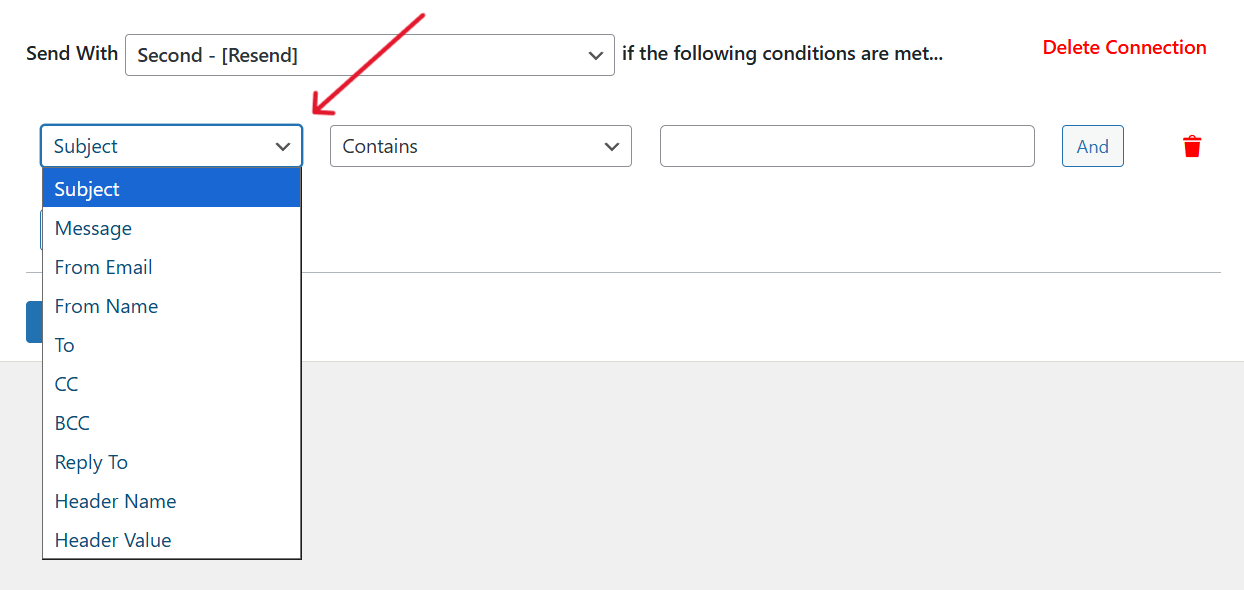
Here are the available options:
Next, in the comparison operator dropdown, choose how you’d like to condition the option you selected.
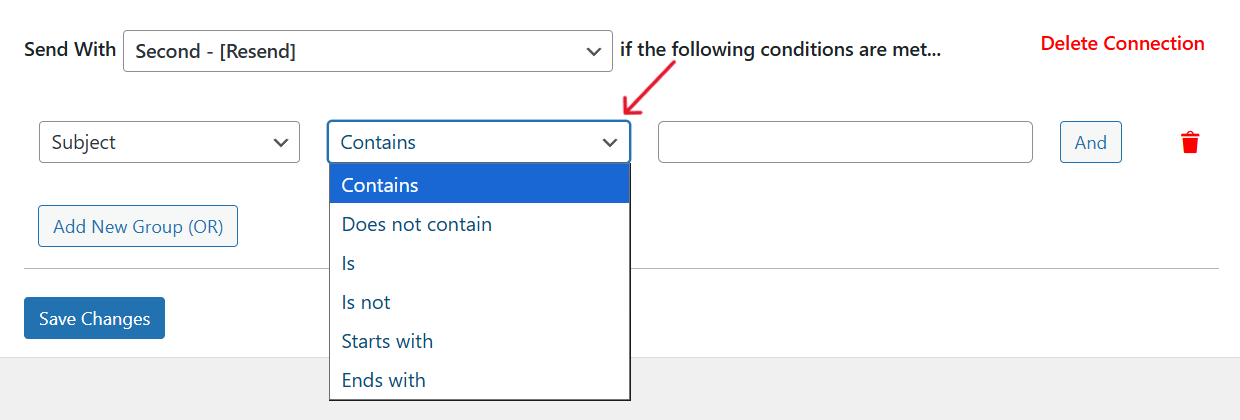
Below we’ve outlined the available options:
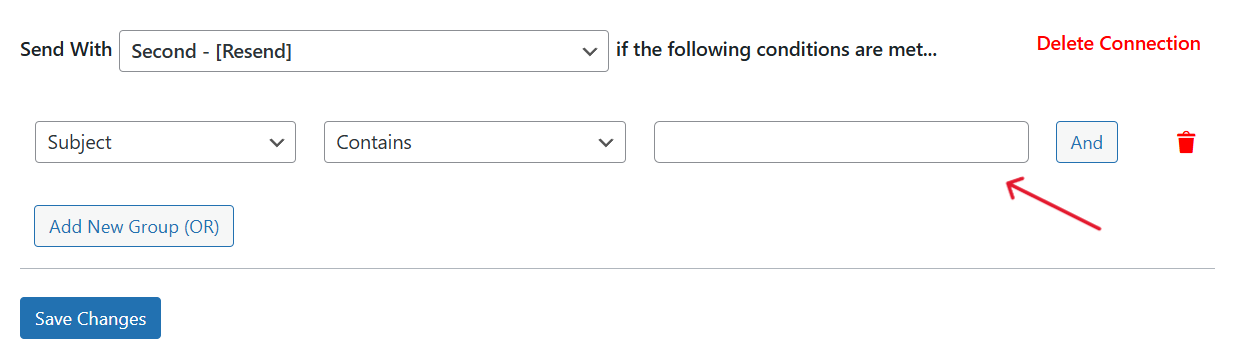
In the value field, enter the text you’d like to use as the condition for sending emails with this connection.
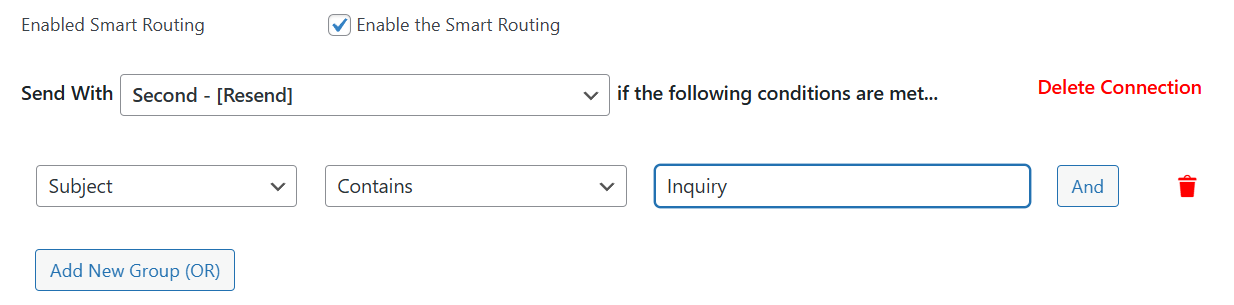
As an example, we’ll use the Resend mailer if the Subject contains the term “Inquiry”
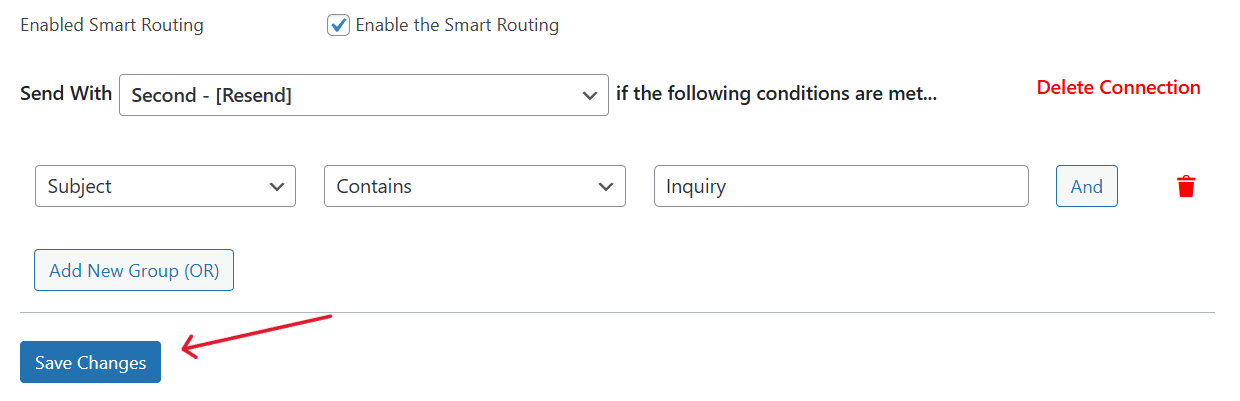
After adding the condition, click on Save Changes to update your changes
With the AND / OR rules, you can add multiple conditions when configuring Smart Routing.
AND
To use this option, click on the and button.
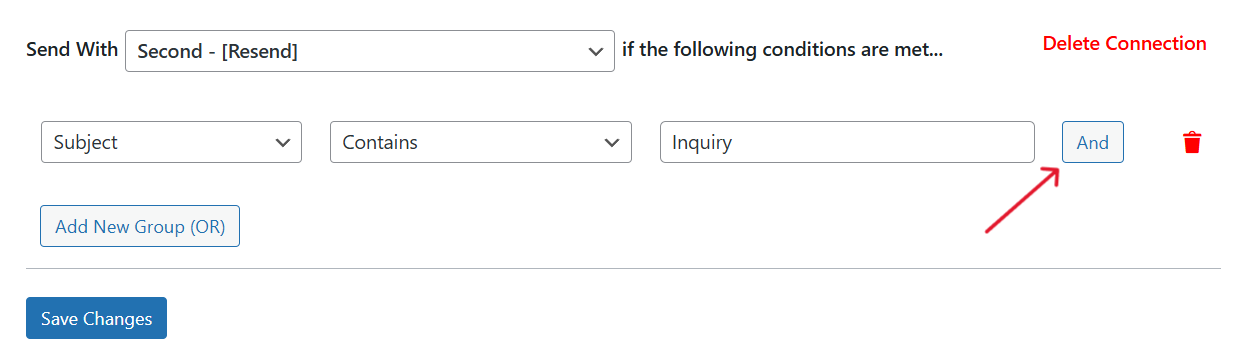
A new condition will be added below the initial rule.

Go ahead and configure the conditions with the options you’d like to check.
With the AND rule set up, the Smart Routing condition will only be true if all of the individual conditions are met.
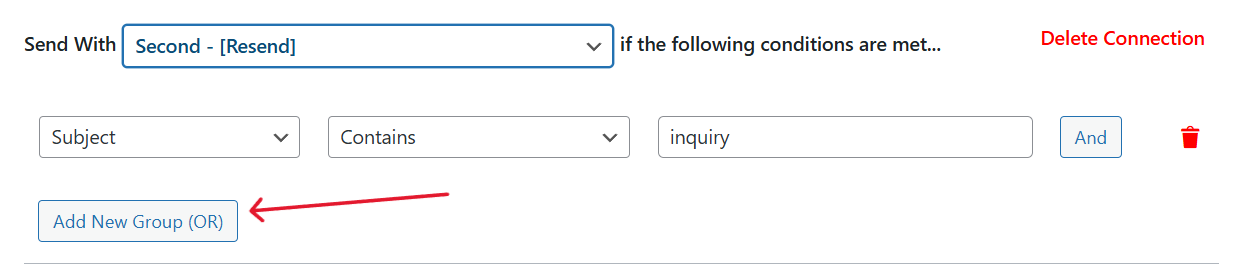
OR
To use this option, click on Add New Group. A new condition will be added to the Smart Routing block.
Next, enter the details of the condition you want to check.
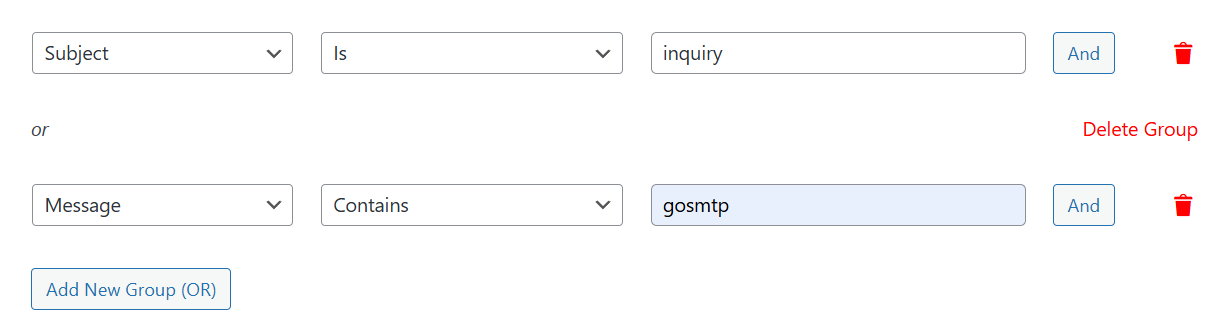
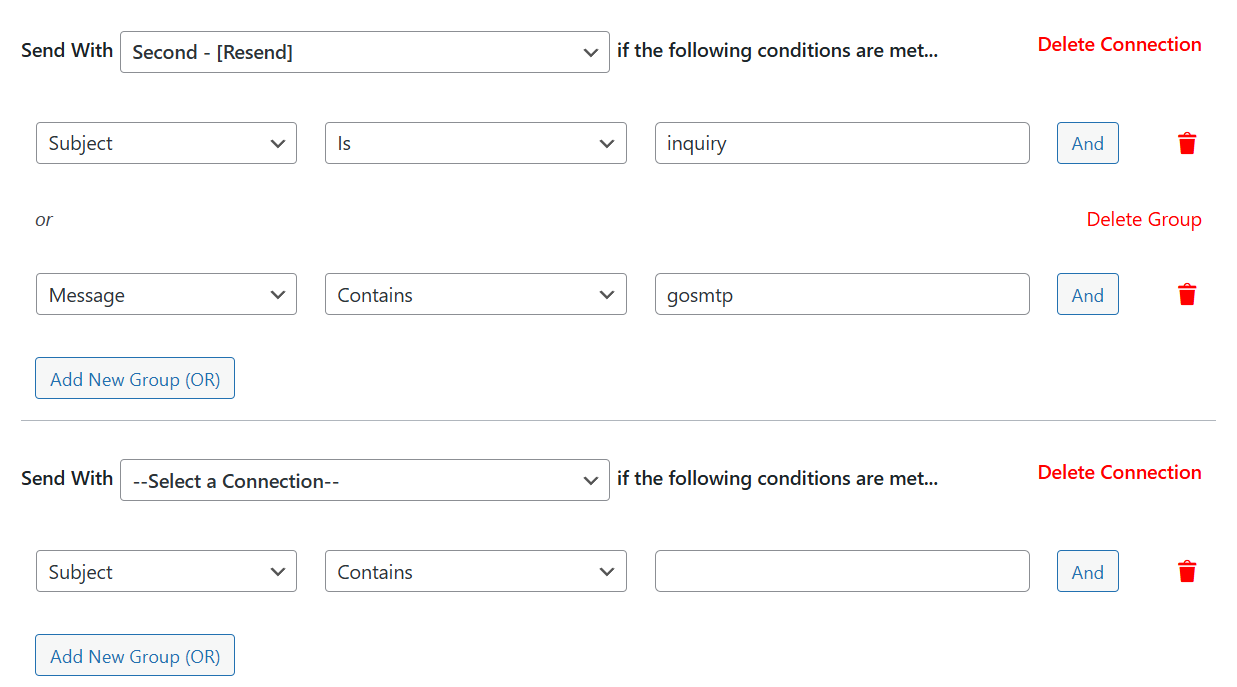
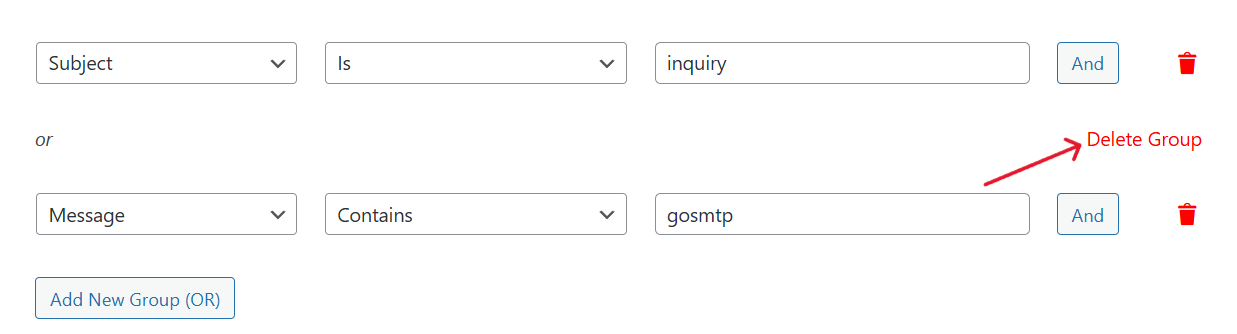
In our example, we’ve set the condition to use the resend mailer if the Subject is 'inquiry' or the Message contains the term 'gosmtp'.
After adding an OR rule, the Smart Routing condition will be true if one of the individual conditions are met.
Once you're satisfied with the conditions, click on the save changes button.
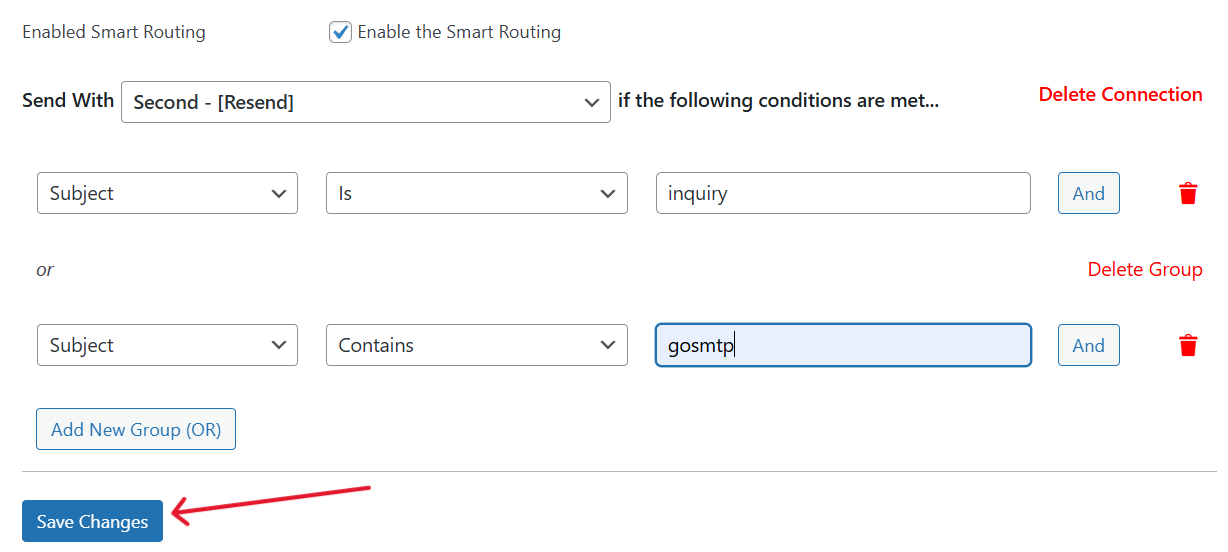
Now when email are send from your WordPress site, GoSMTP will use the connection you selected if the conditions are met.
Note: if none of the conditions are met, your WordPress site will send emails using the primary connection.
You can set multiple Smart Routing conditions for each additional connection you configure on your website.
To create a new connection, click on the Add New Rule button.

It will add a new Smart Routing block below the default block.
The process of configuring the additional condition is the same as we've seen above. Be sure to save your settings after configuring an additional Smart Routing Block.
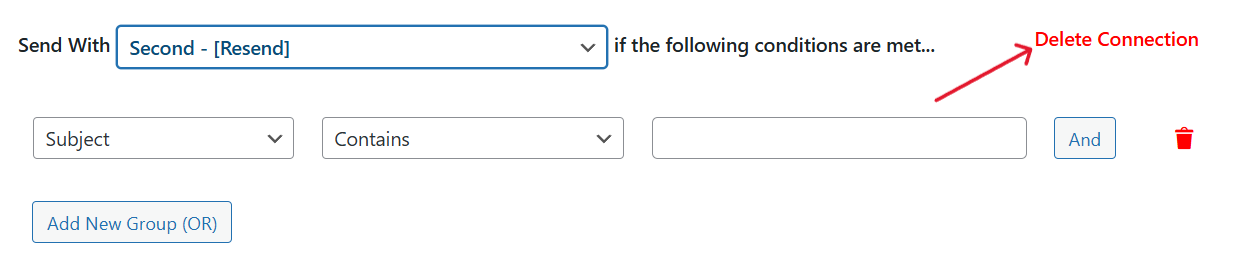
If you'd like, you can delete one of the Smart Routing Connection you've set up. To delete a Smart Routing Block, Click on the Delete Connection button.
If you’ve created multiple groups using the OR rule, you can delete any group by clicking the Delete Group button.
If you’ve set up multiple conditions using the AND rule, you can delete any condition by clicking the trash icon.

That’s it! You now know how to set up Smart Routing to conditionally send emails using different connections.