Introduction
Once you choose Pushover as the notification service in GoSMTP settings, you'll find a fields to add your user key and API Token. To get these, You will first need to create a pushover account and generate an application token. This connects GoSMTP with Pushover, enabling you to receive real-time push notifications on Website whenever an email delivery failure occurs.
This tutorial will guide you through the process of setting up GoSMTP Notification Service with Pushover.
To begin, make sure you have installed and activated the GoSMTP plugin.
After installing GoSMTP, you can easily configure the plugin's settings. Just go to GoSMTP » Settings in your WordPress dashboard and navigate to the Notifications tab.
After installing GoSMTP, you can easily configure the plugin's settings. Just go to GoSMTP » Settings in your WordPress dashboard and navigate to the Notifications tab.

To get started, follow these steps to configure the Notification Services of GoSMTP in WordPress:
Basic configuration
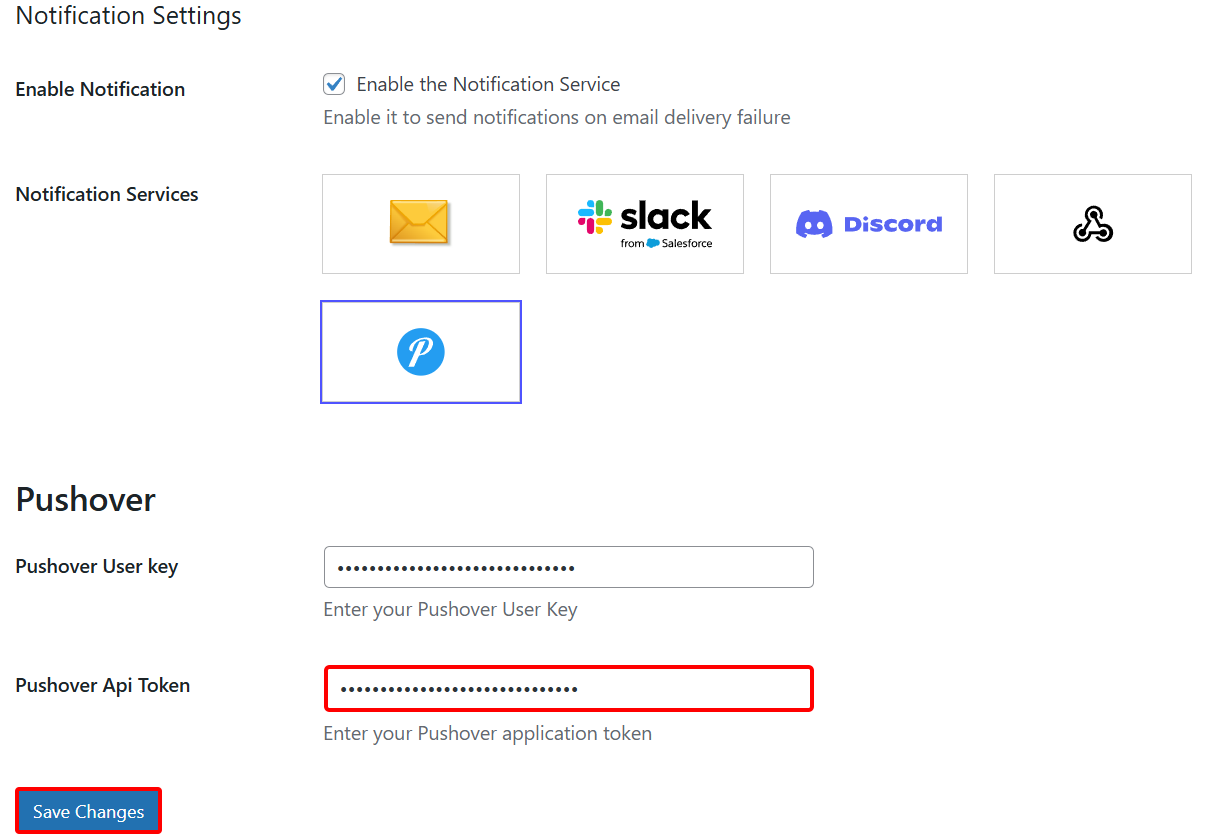
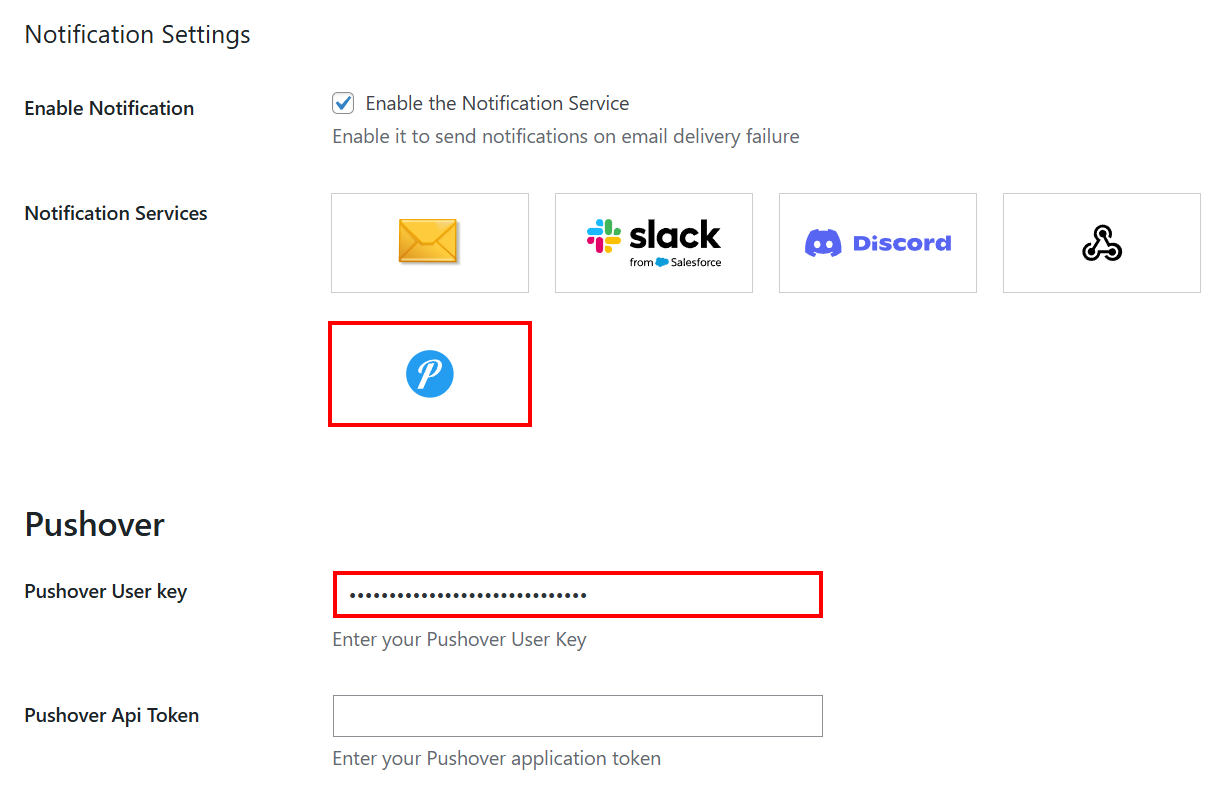
Select Pushover option from the Notification Services field.
After selecting Pushover as your notification service in GoSMTP Notification Settings, you'll see a field to enter your User Key and API Token/Key.
Generate these credentials from your Pushover Account and paste them into the respective fields to connect GoSMTP with Pushover, enabling you to receive an immediate alert on your Pushover app whenever a delivery failure occurs.

- Go to the website https://pushover.net/ and click on the Login or Sign-up
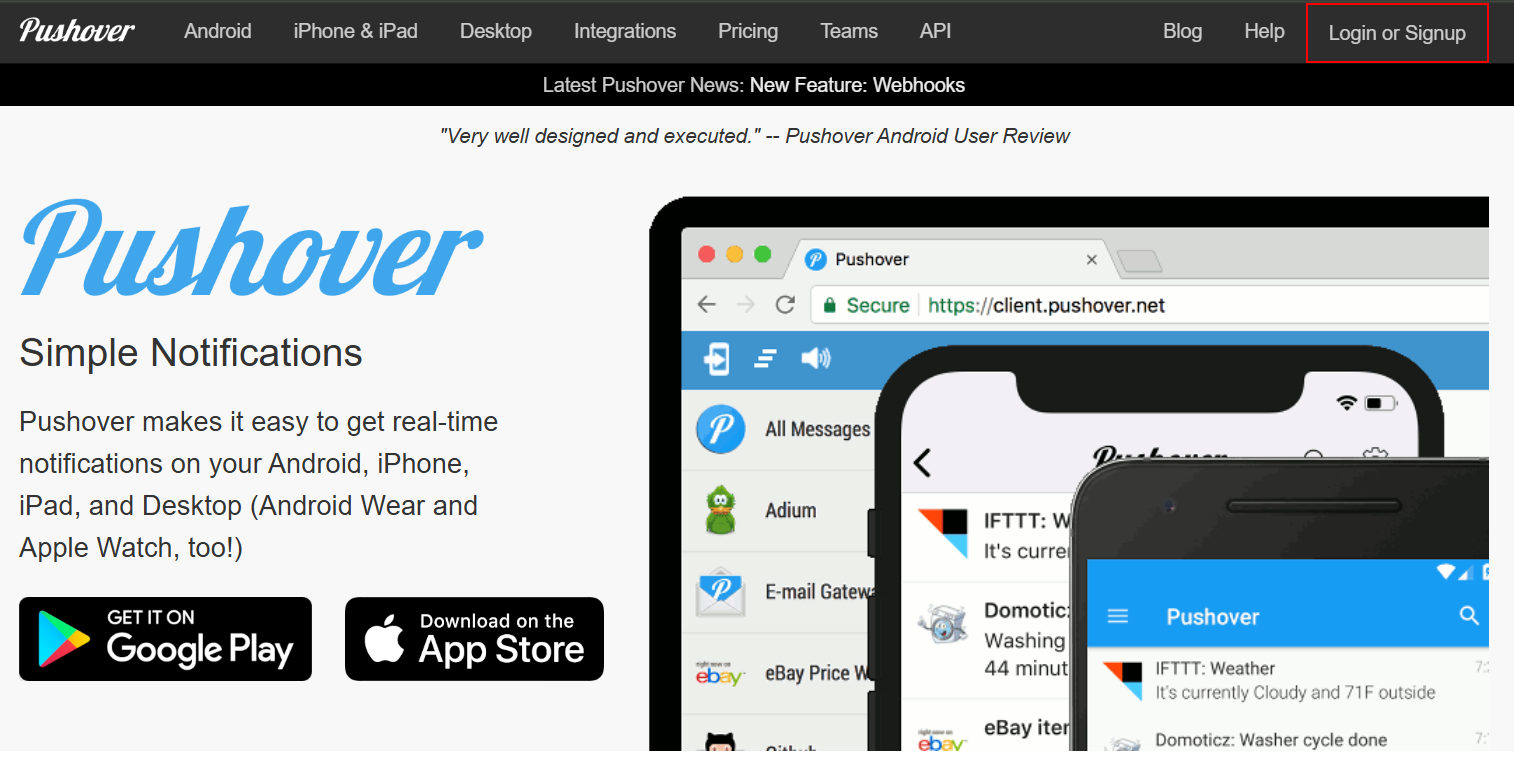
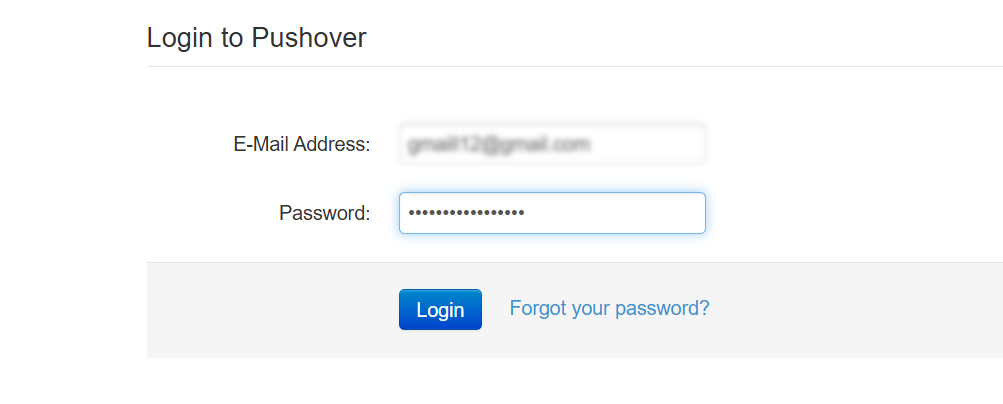
- Already have an account? Log in here using your credentials.
- If you are signing as a new user, then click on the Signup for a Pushover Account and fill in all the required information and click on Signup.

- After signing up make sure to confirm your email address which you used to sign up. When you confirm your email address it will redirect you to the pushover page where you will see your User Key and copy your User Key.
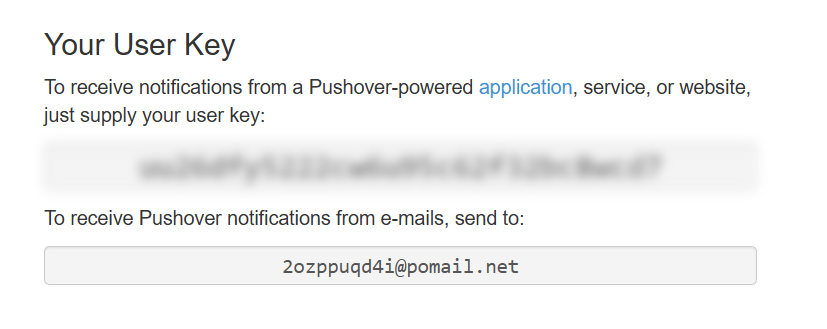
- Go to the notification tab and select Pushover from the notification service. After selecting Pushover, you will see the Pushover credentials options where you have to paste the Your User Key which you have copied.
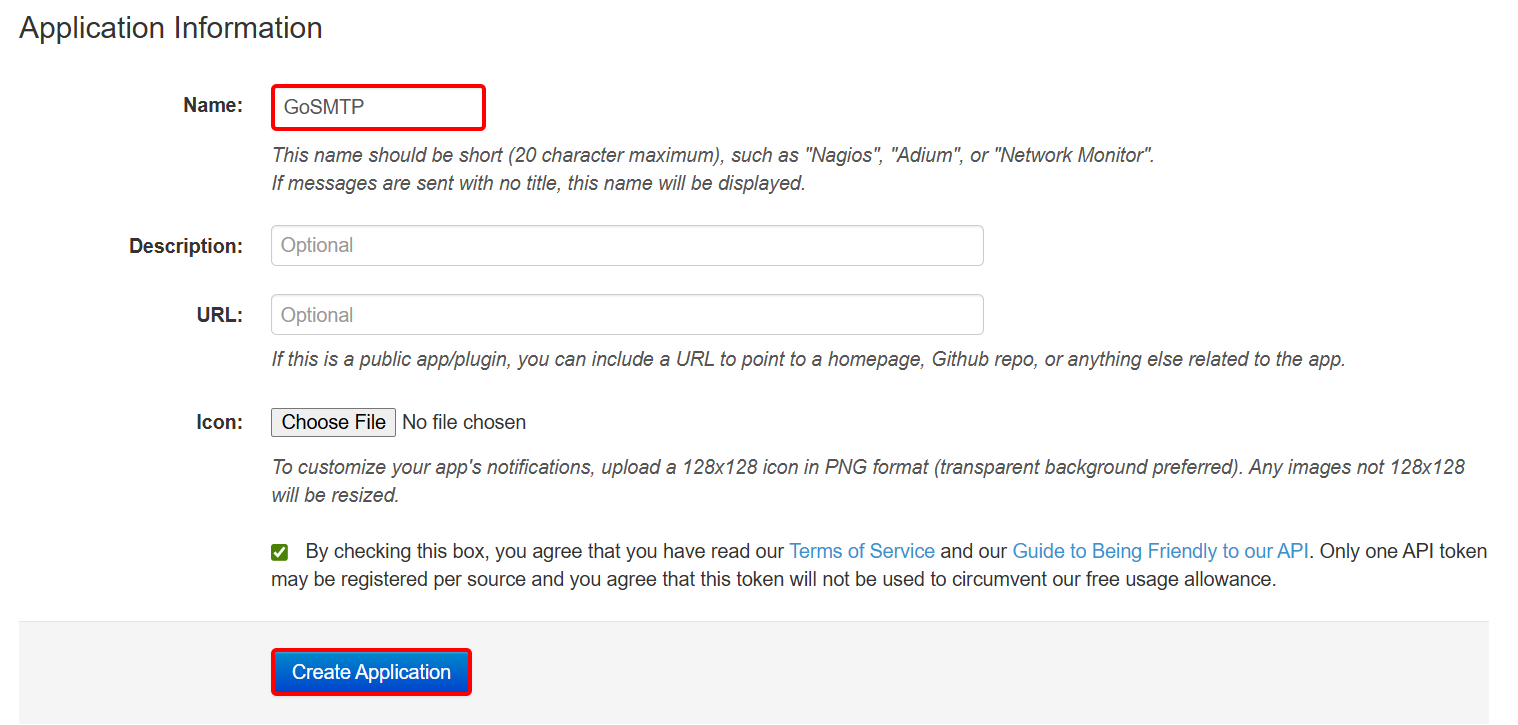
- Go to the Pushover page, scroll down to the Your Applications section, and click on (Create an Application / API Token).

- Write GoSMTP in the name field, click on the check box and click on create Application.
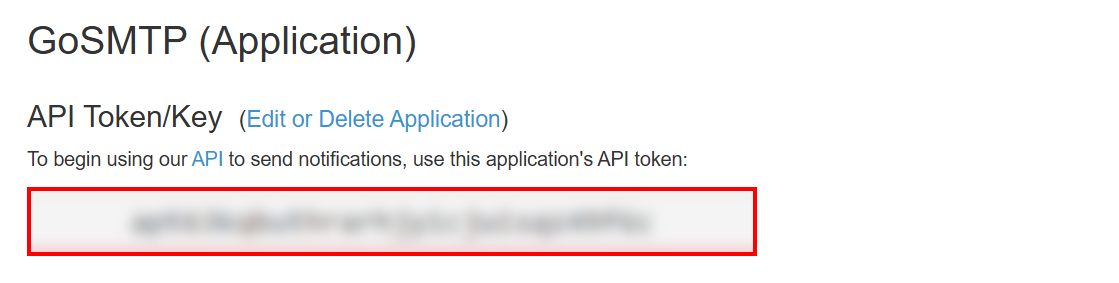
- After creating an Application/API token a new page will appear and Copy the API token/Key.
Notification Service configuration
Go back to the GoSMTP Notification Settings, and paste the copied API Token/Key into the respective field and save the settings to apply the changes.